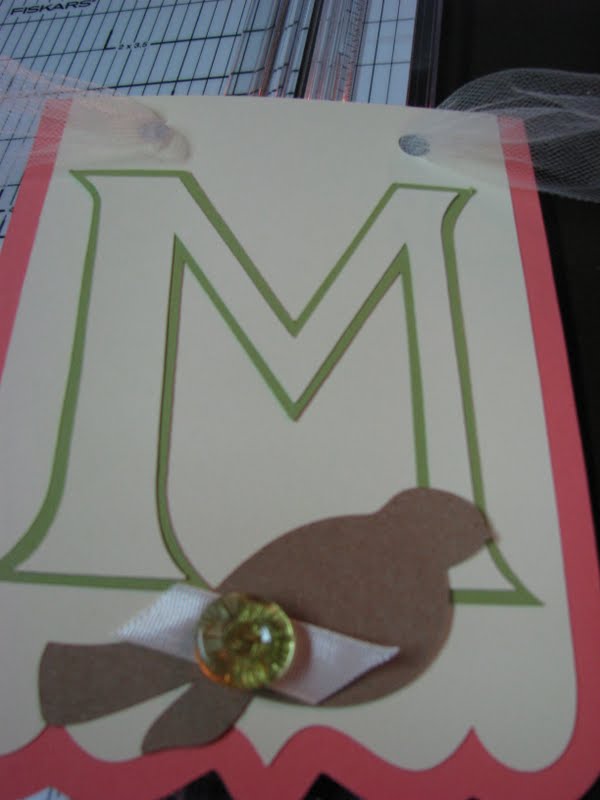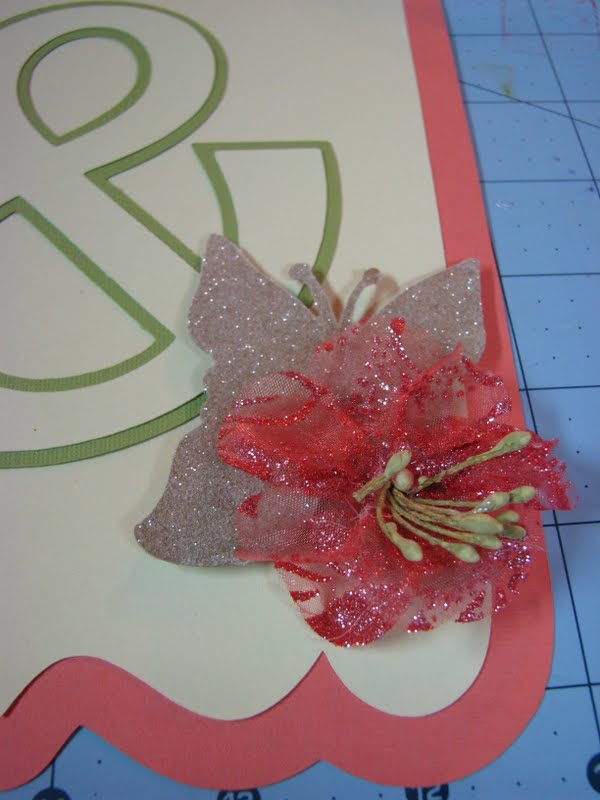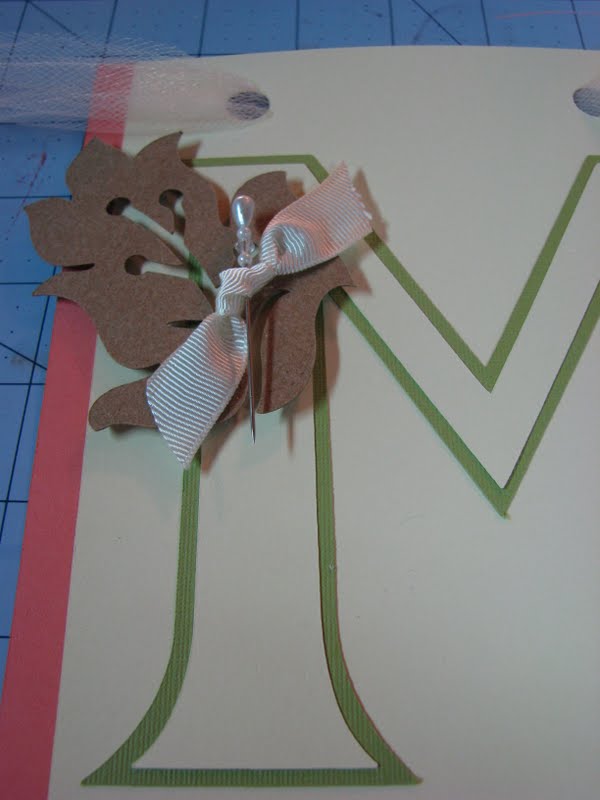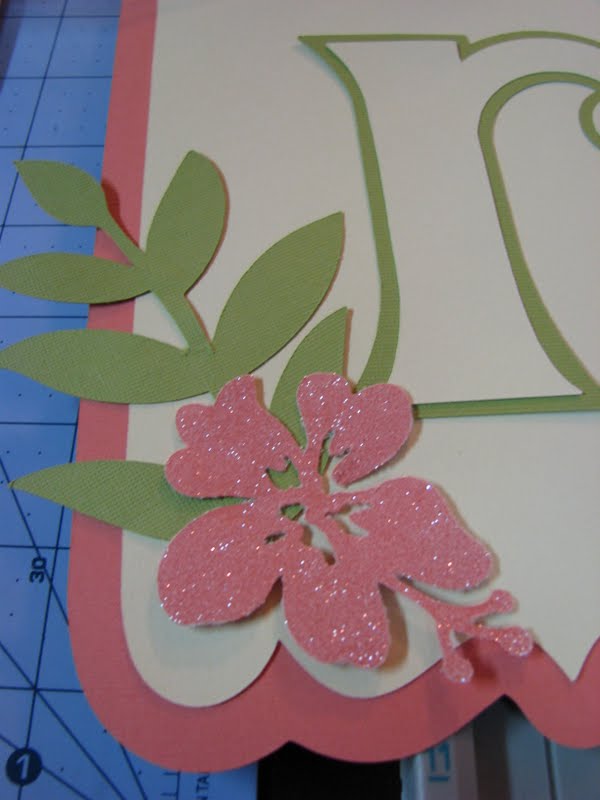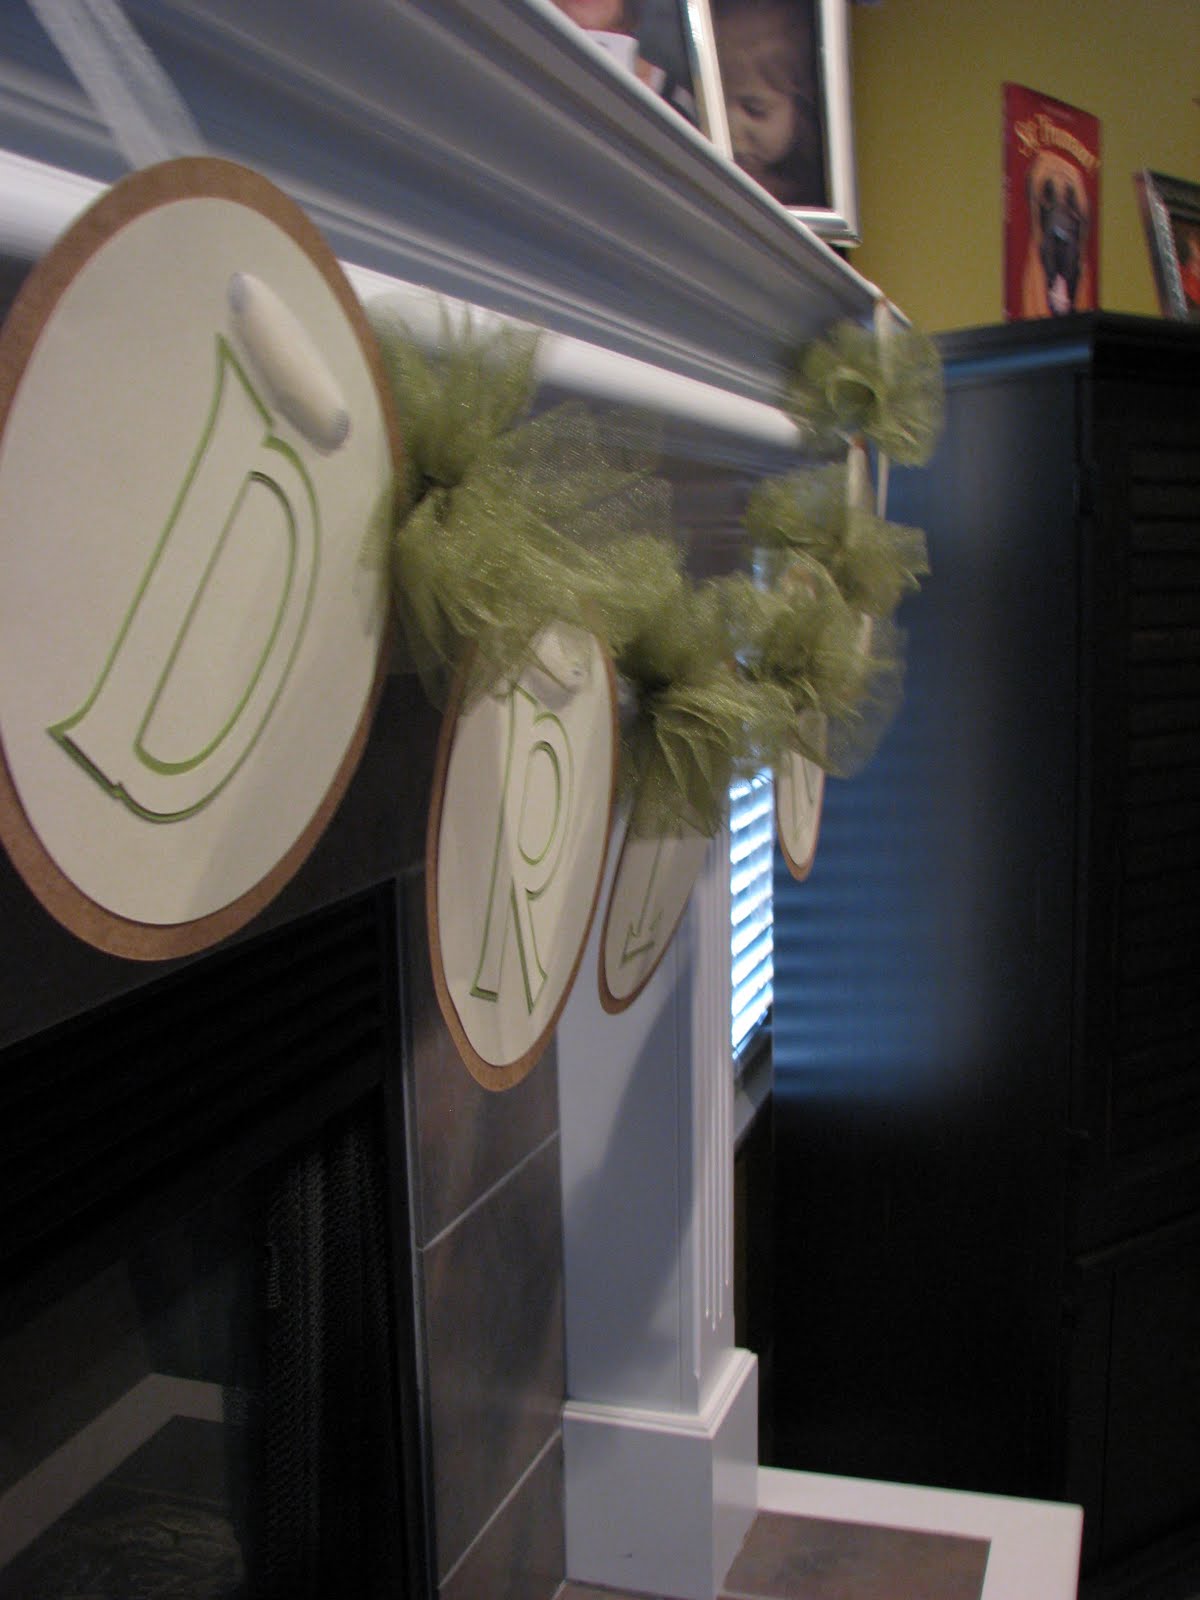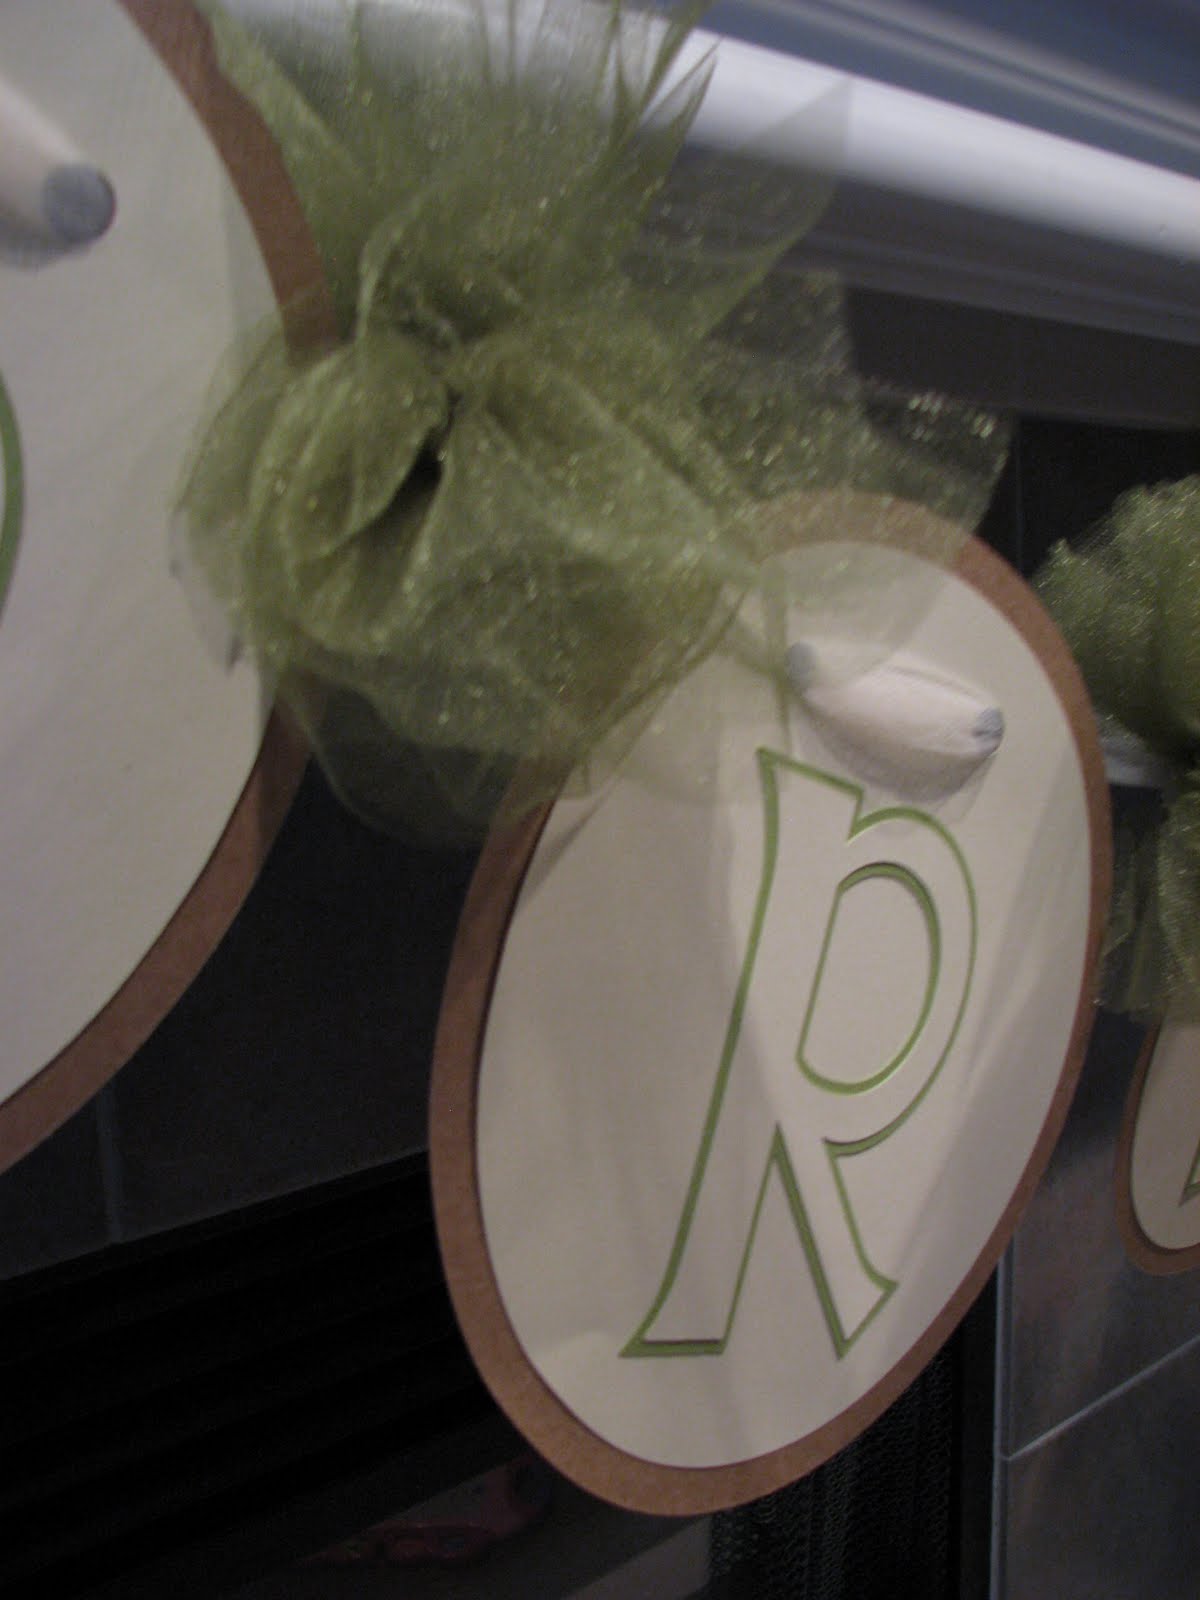
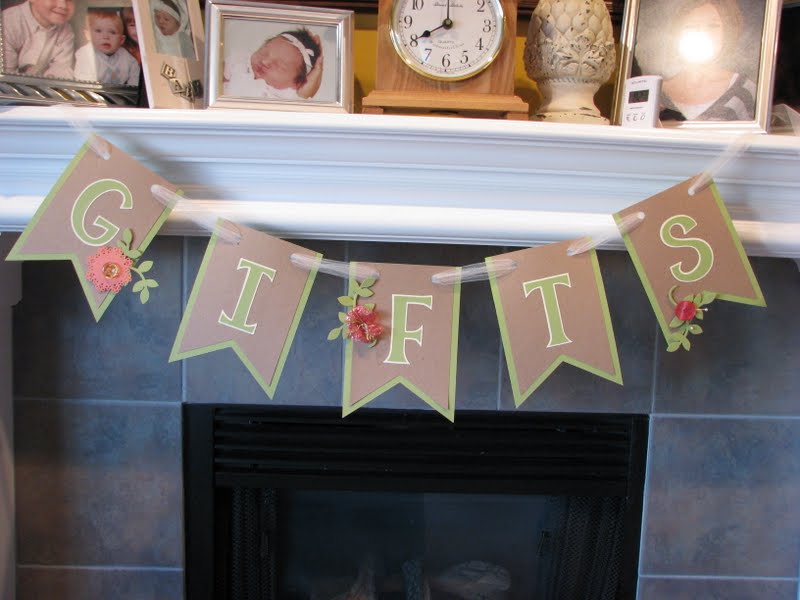
Happy Friday everyone! Here we are at the end of banner week. Are you a little sad? Haha! I wanted to show you the last two banners I made.
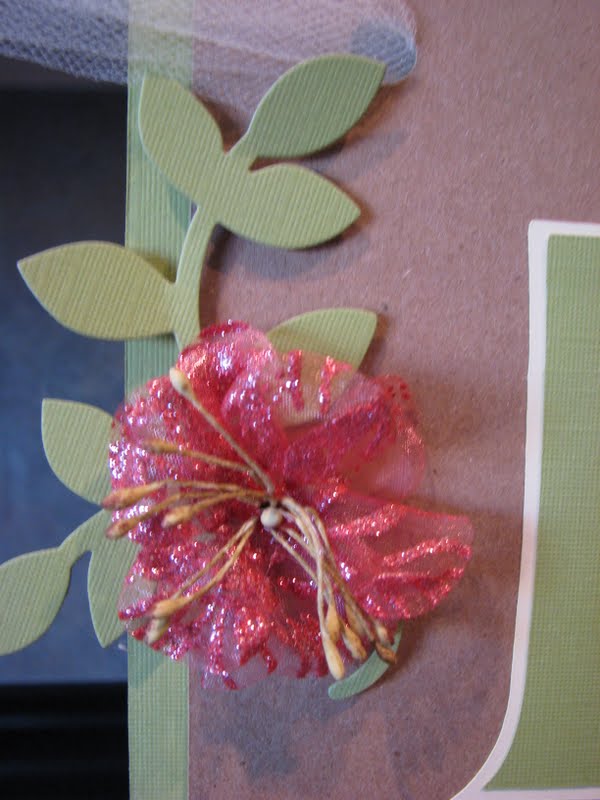
For this banner, Leah wanted just a tiny bit of embellishing. I repeated three leaves, in different directions, and embellished the center of each one in a different way.
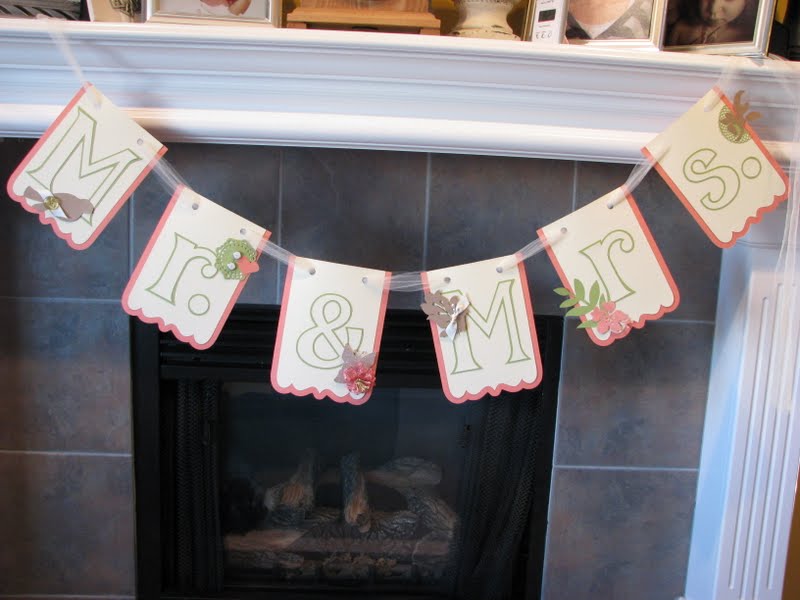
For this banner, Leah wanted a bit more more embellishing. I cut out a bunch of different images from my Storybook cartridge, sprinkled glitter on some, added buttons, ribbon, pins, flowers and brads. I added a little bit to each letter until I was satisfied with the way they looked. This was the fun part for me!
Well that wraps up banner week for me. Thanks for hanging out with me this week and checking out my banner making process :)
Do you have big plans this weekend? It's a girls weekend here. Mike is going to the lake for a bachelor party with our neighbor, the one who I made the banners for. Not sure yet what the girls and I will do, but we'll make the most of it I'm sure. Then on Sunday, Mike will be home and I'll head over to see my dad for a bit for Father's Day.
Have a fabulous Friday my friends and I'll chat with you later!!
Friday, June 17, 2011
Thursday, June 16, 2011
Banner Week, Day 4 and a finished banner!
Morning my dears! I have a finished banner to share with you today. Can you guess where this one will be displayed? Haha!
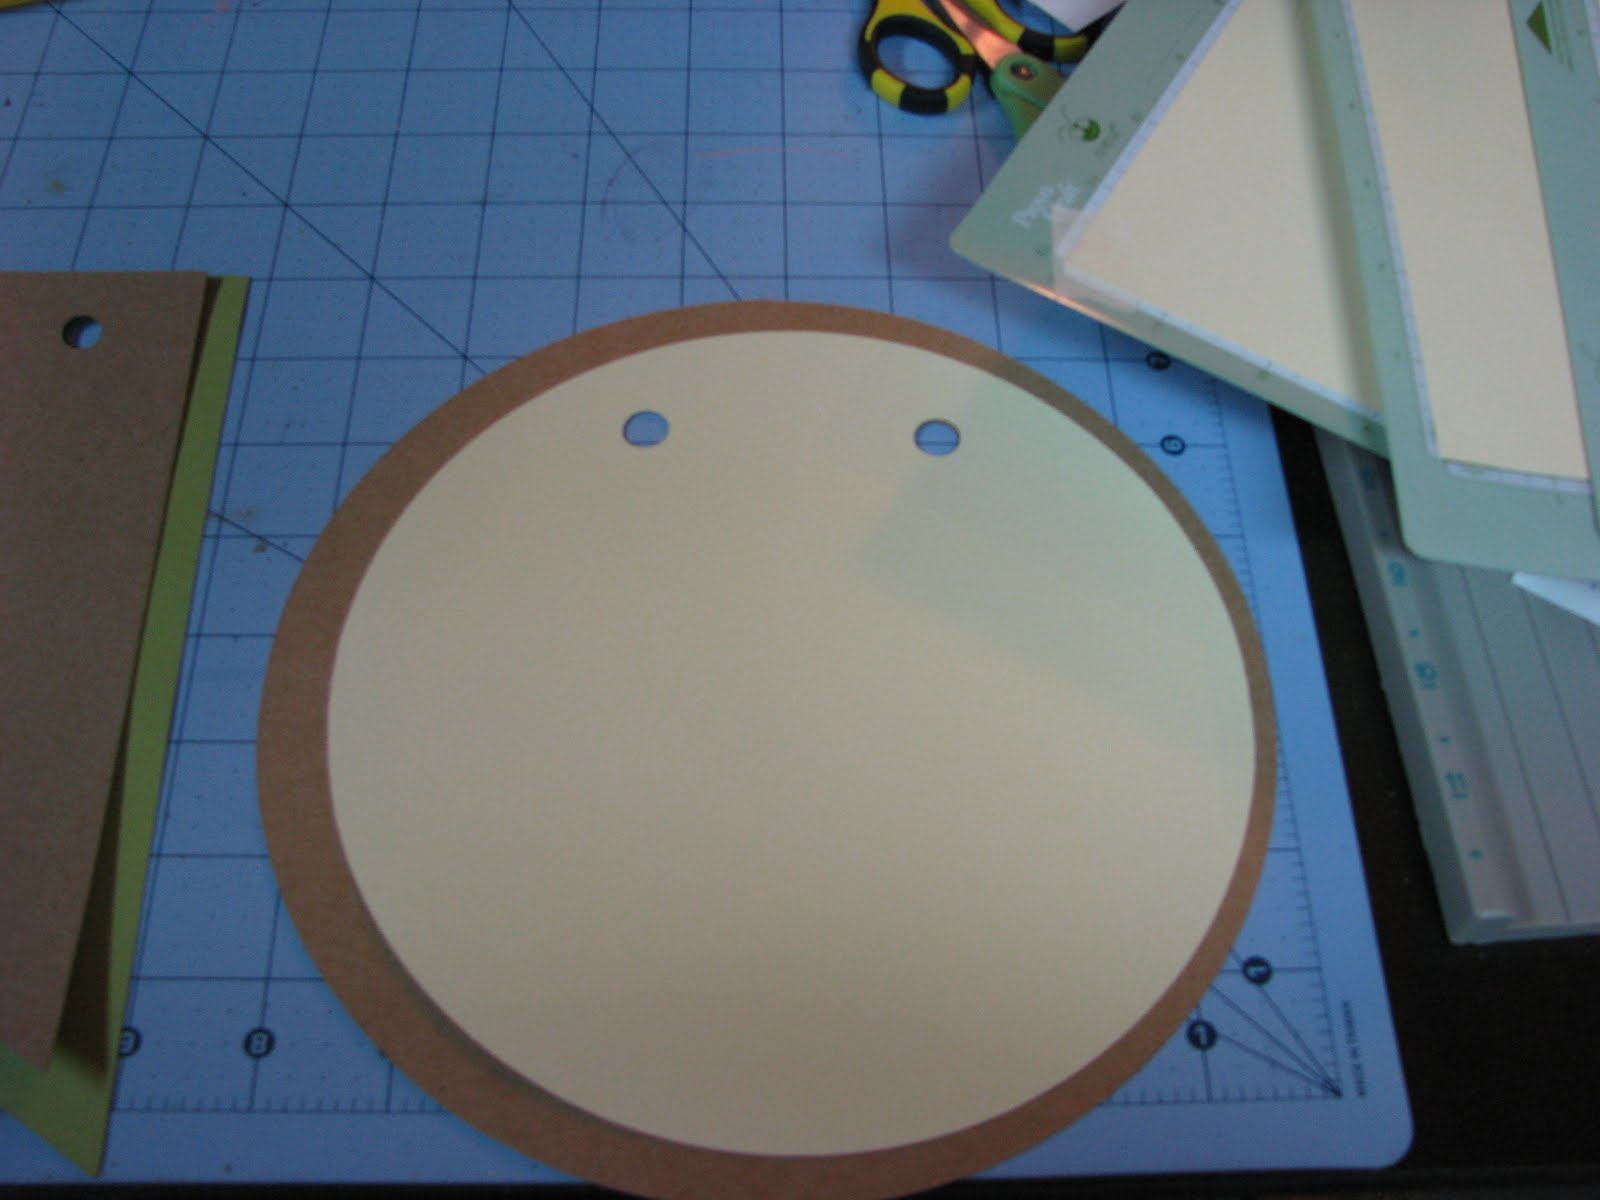
If you missed my previous posts about my banner making process, I used the Cricut Birthday Bash cartridge for the circle bases and cut them at 7 3/4". I used Alphalicous for the letters and cut them at 5". I strung cream colored tulle through the holes in the circles and attached my green tulle pom poms in between each of the letters! Voila, finished banner!
Mike made it back safely from his work trip and my parents made it back safe from theirs. So I'm a very happy girl today :) I hope you have a GREAT Thursday and thank you so much for coming by to see me today!
Wednesday, June 15, 2011
Banner Week, Day 3
Hello there my friends. Do you ever have a day that just wipes you out? I had one of those yesterday. :) I had training for work and it was outside, in 90 degree heat, however there was a breeze which I was grateful for! Mike was also out of town for work so by the time I got home I made the executive decision to order a pizza and have a picnic with the girls in the living room! It was awesome. The perfect way to end a tiresome day!
Today I have a little tutorial for you. I wanted to share some tulle pom poms I made for one of the banners.
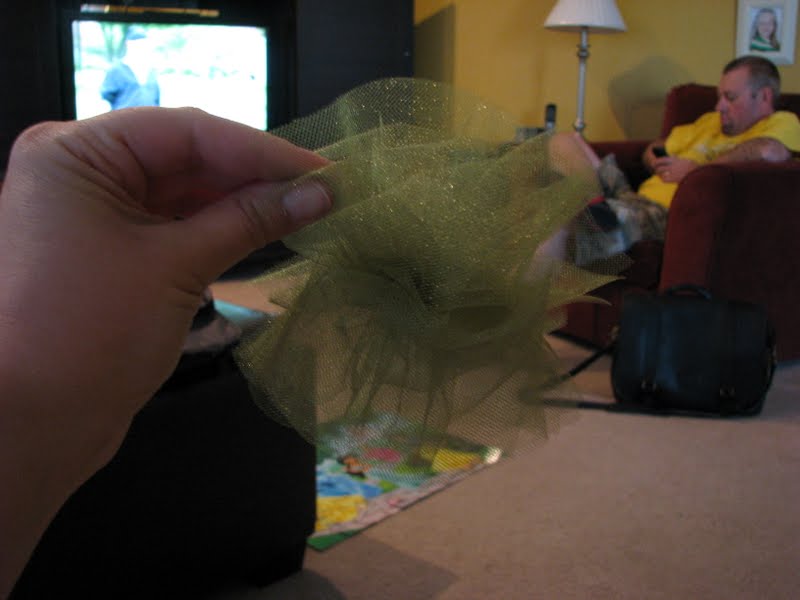
Here's another view of my tulle pom pom. I can't wait to make more of these. I'm picturing hair accessories! What will you use YOUR pom poms for?
Be sure to stop back by tomorrow and see finished banner #1 and check out these pom poms in action! Thanks for coming to see me today!
Today I have a little tutorial for you. I wanted to share some tulle pom poms I made for one of the banners.
To get this baby rolling all you need is tulle, fabric scissors, a piece of 4x6 cardstock, wire and scissors that will cut wire. Look, everything fits in your lap. What a great project to work on while you're watching zombie movies, right Tracy? ;)
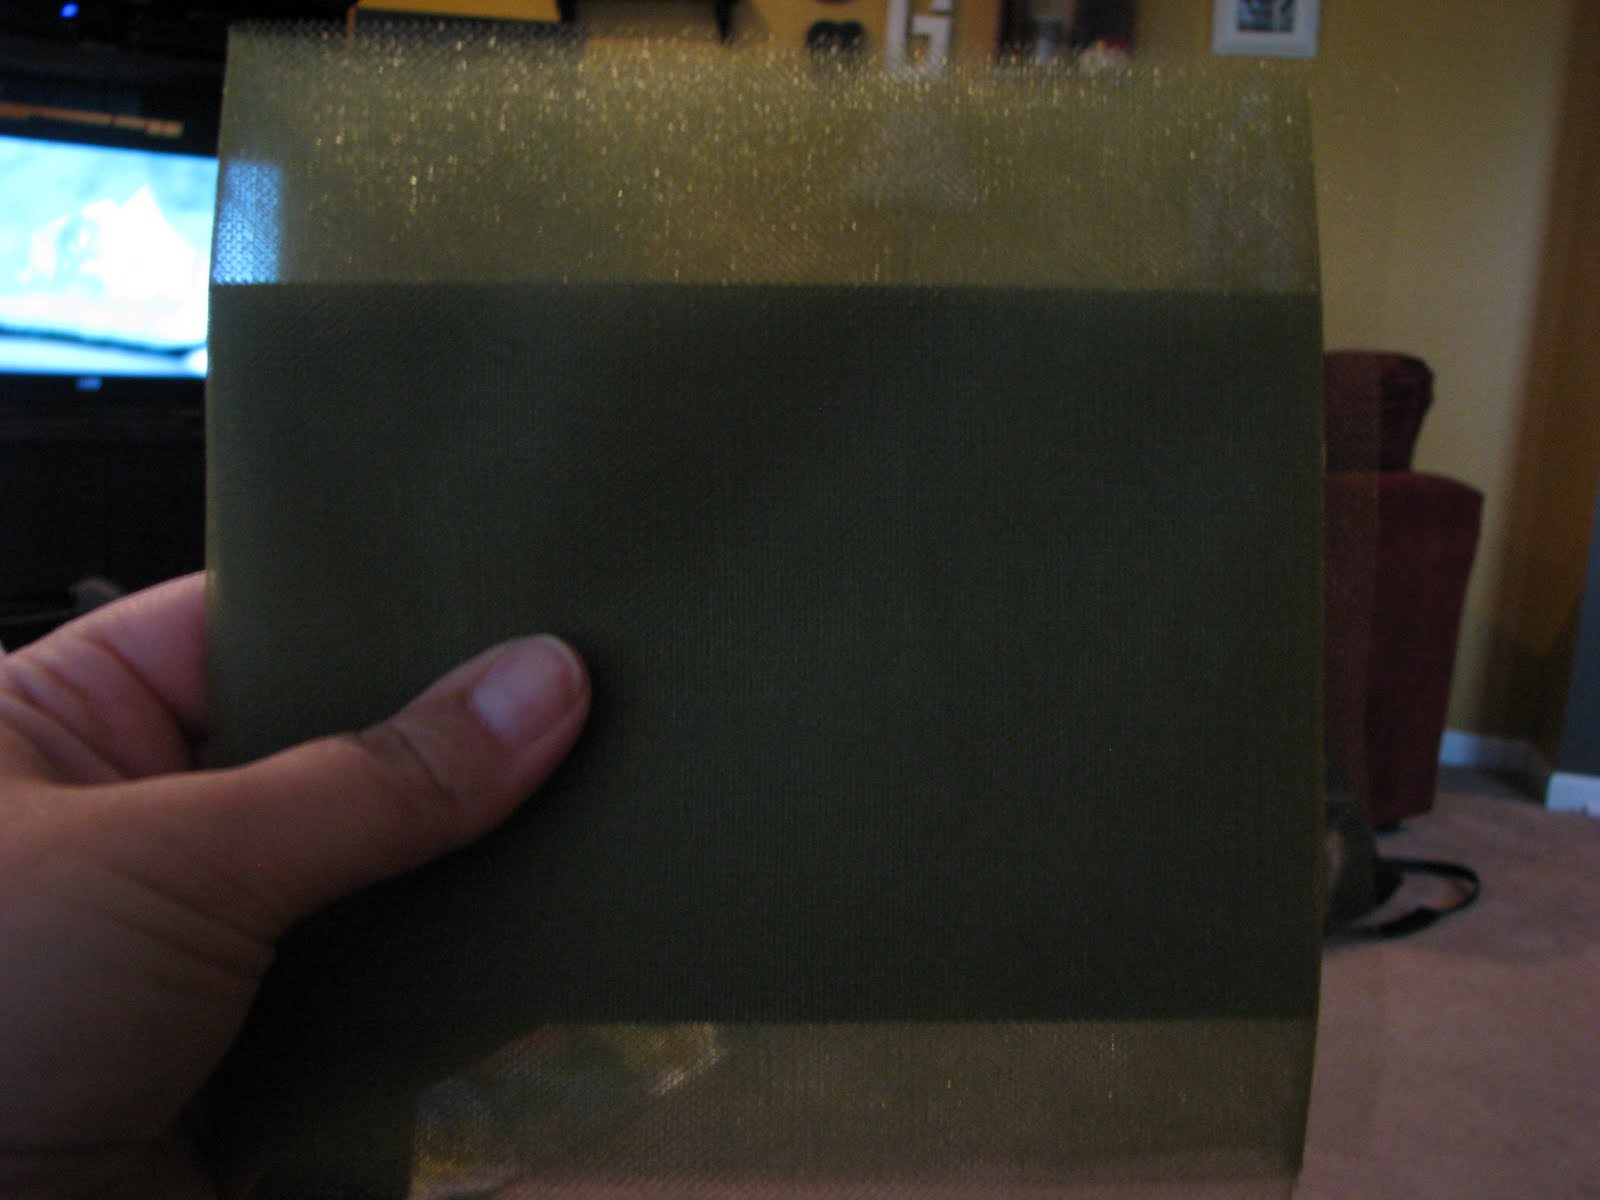
First thing you do is wrap your tulle around the cardstock. My tulle was 6" wide and I wrapped it around the 4" side of the cardstock.
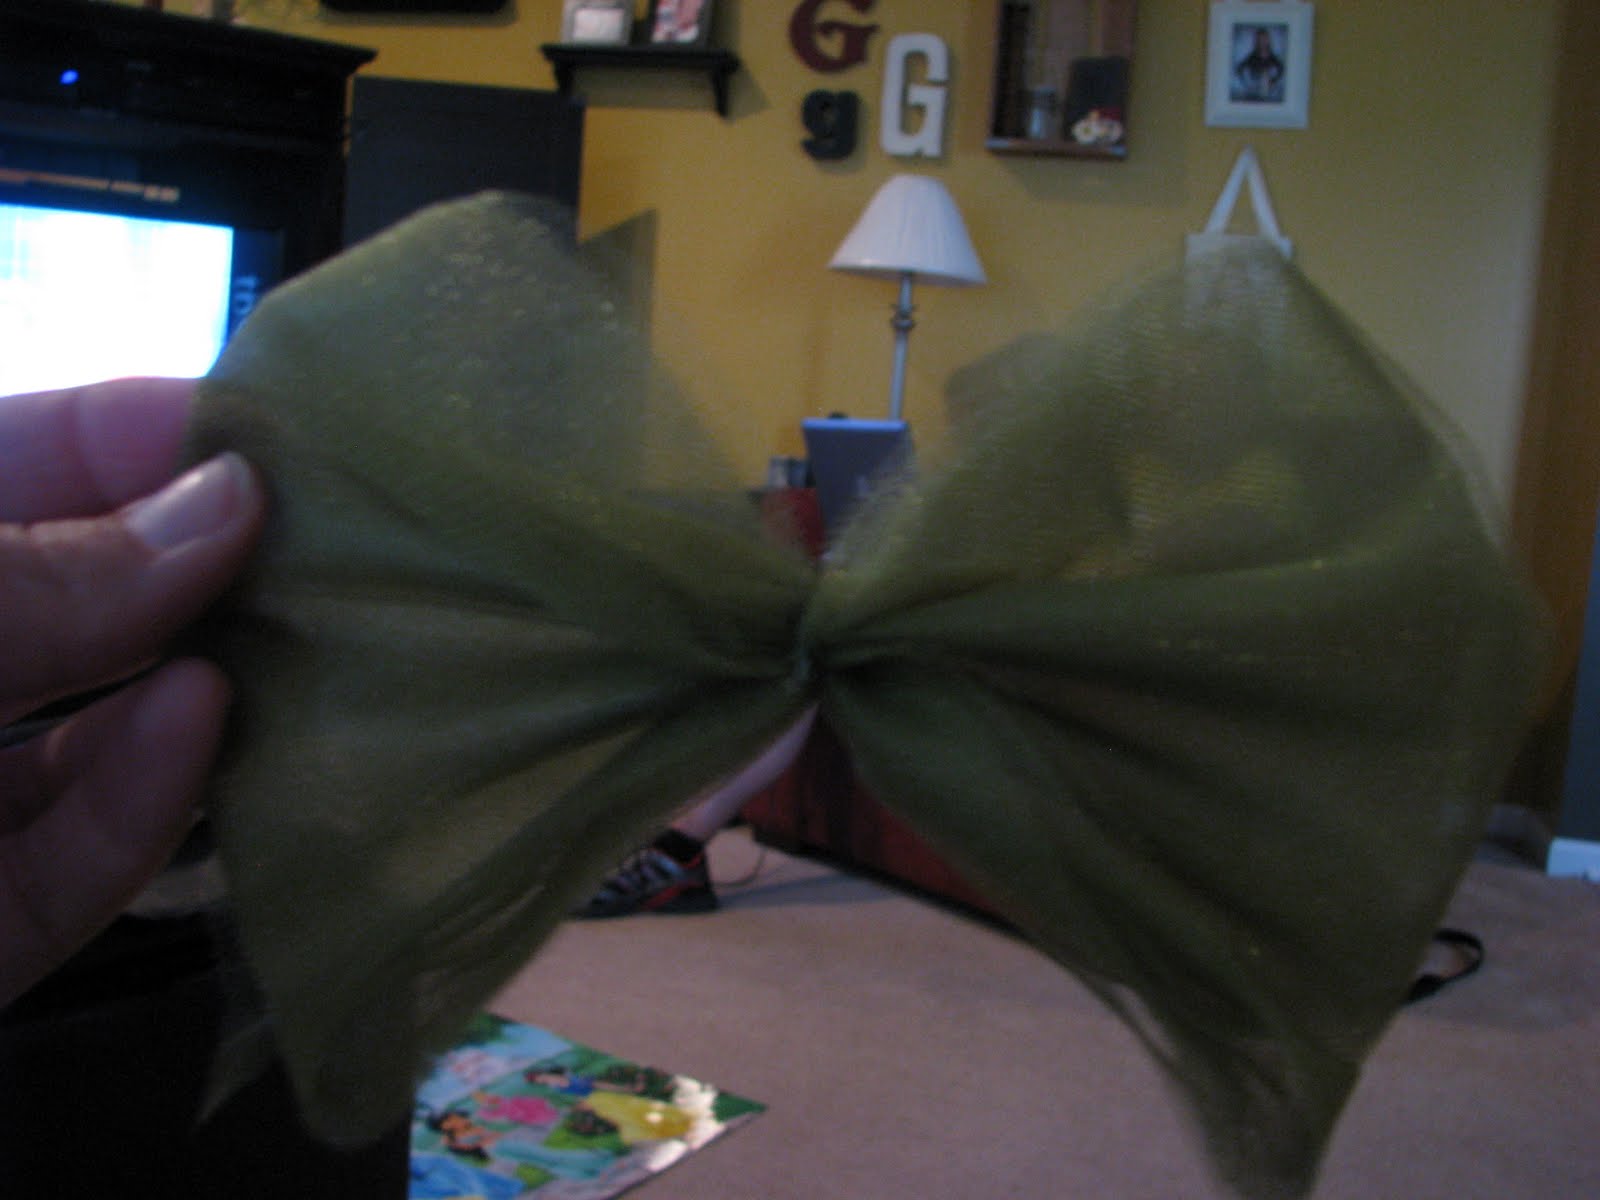
Pull the tulle off the cardstock, being careful not to unroll what you just wrapped up, and twist a piece of wire around the middle of your tulle. Snip of any excess wire with your wire scissors. You'll be left with a fabulous looking tulle bow tie :)
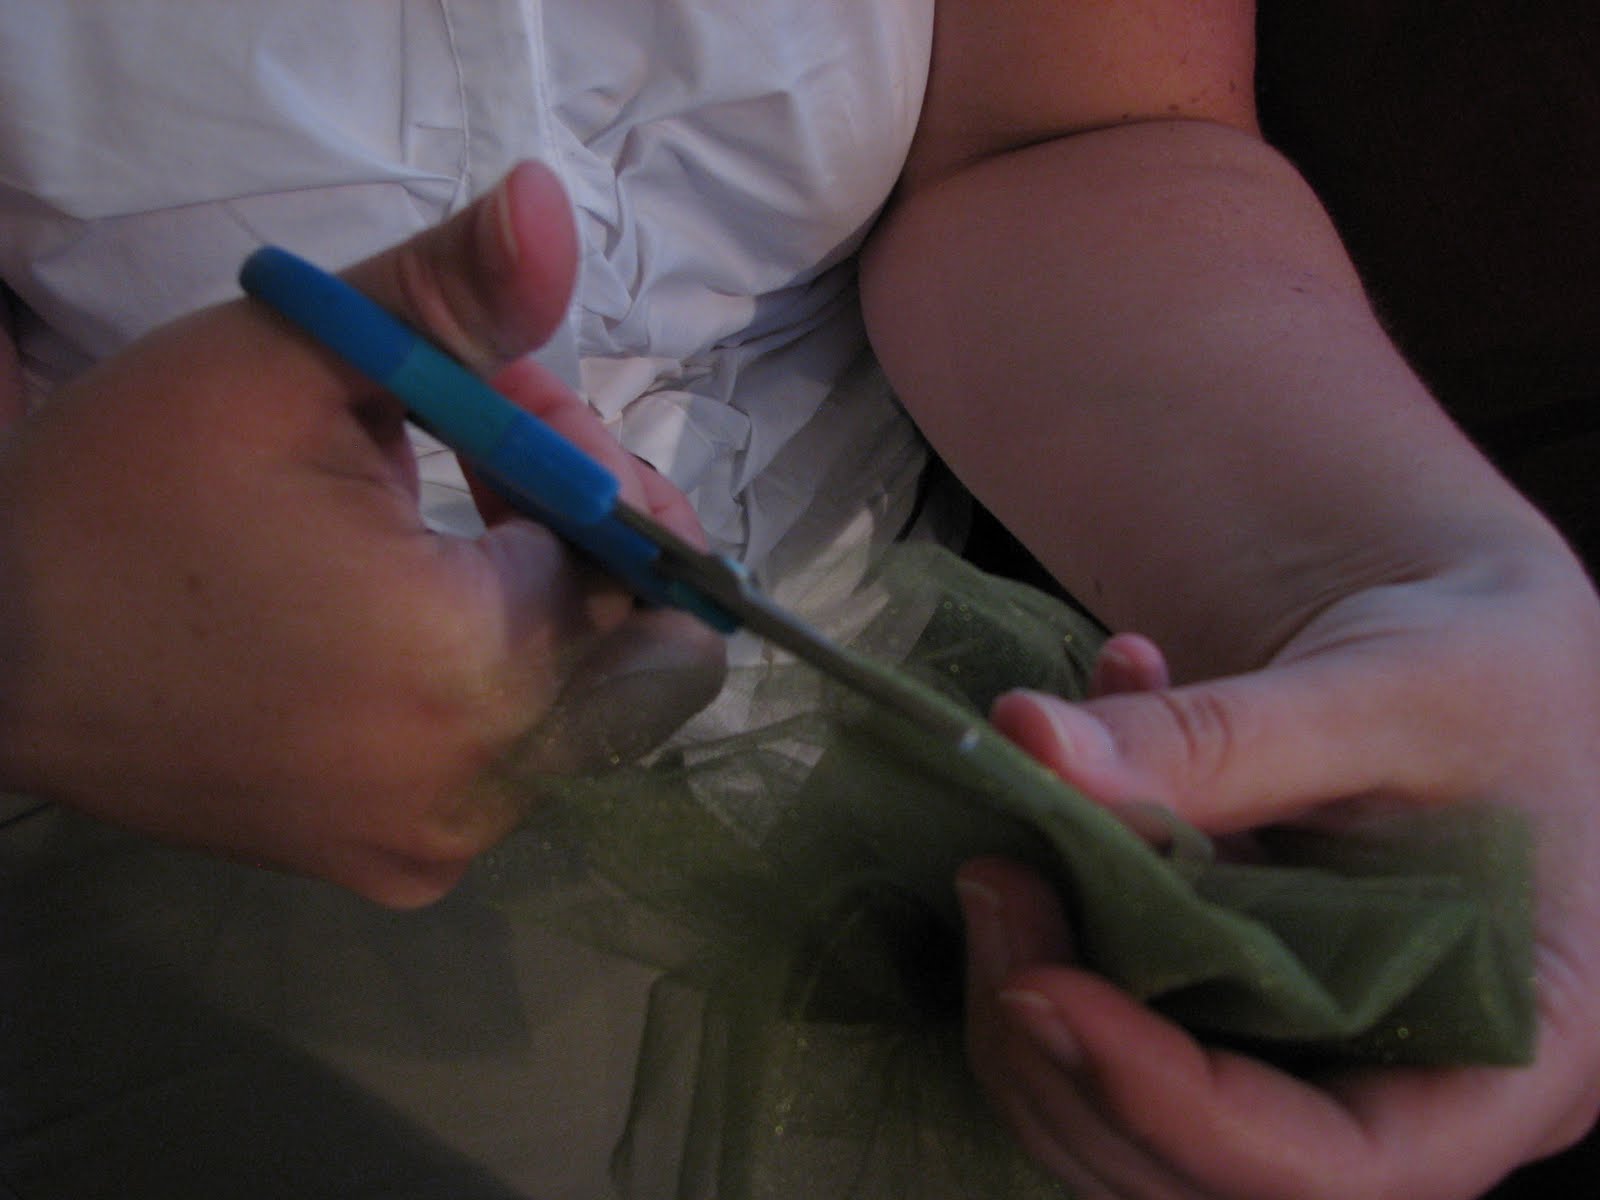
Next up, take your fabric scissors and cut through the folded ends of your bow tie.
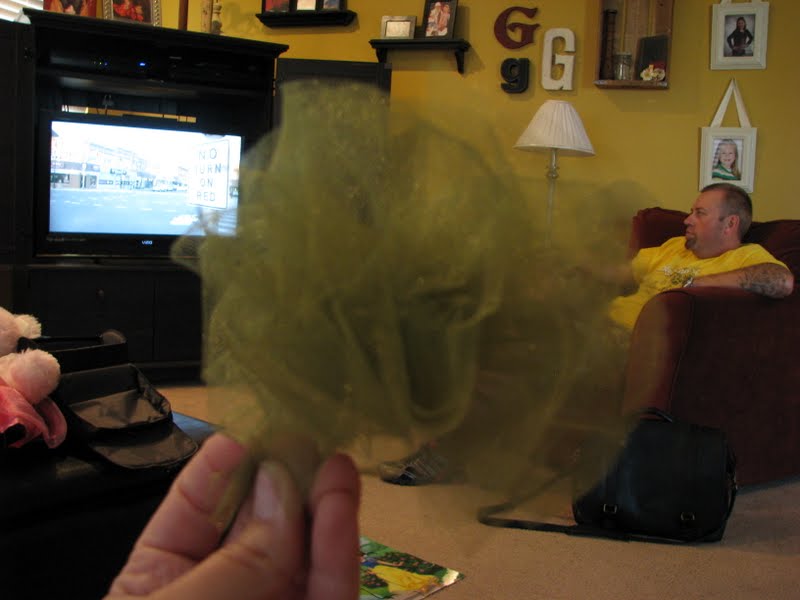
After, pull and fluff the layers of your tulle until you end up with something like this! Isn't it adorable? Almost as cute as my hubby over there. Ha!
Here's another view of my tulle pom pom. I can't wait to make more of these. I'm picturing hair accessories! What will you use YOUR pom poms for?
Be sure to stop back by tomorrow and see finished banner #1 and check out these pom poms in action! Thanks for coming to see me today!
Tuesday, June 14, 2011
Banner Week, Day 2!
Good morning!!!! I always feel so accomplished when I make it through Monday. How about you? ;) Welcome back to day two of banner week! Are you preparing of your materials and supplies for your banners? Haha! I love to use the Birthday Bash cartridge for my Cricut for all my banner needs. It has a ton of banner shapes to choose from, which I love!
After I have all my shapes, mats and letters cut out. I sit down and assemble everything. This usually goes pretty easy, I just have to make sure that all the mats are facing the right way before I stick anything down. This assures I won't have to RE-cut anything. Ha!
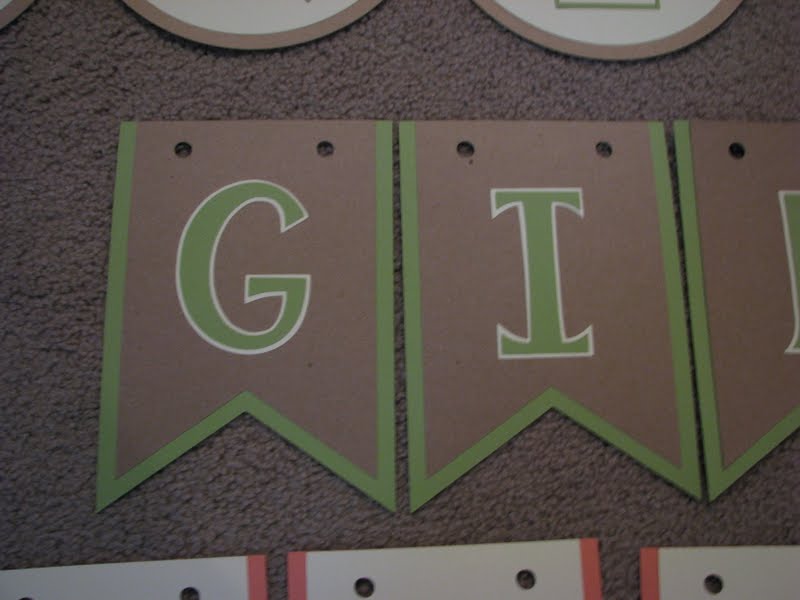
Here's a picture of all three banners. Now keep in mind, these are NOT FINISHED!!!! These are just assembled :)
Be sure to join me tomorrow for a fun tutorial that I'm using as a banner embellishment!
Have a fantastic Tuesday friends and I'll see you here tomorrow. Thank you so much for stopping by for a minute today :)
Monday, June 13, 2011
Banner Week!
Good morning everyone! It's banner week here at the blog :) Last week my friend/neighbor, neighbor/friend Leah asked me to make some banners for her upcoming wedding. I thought I would share my banner making process with you this week.
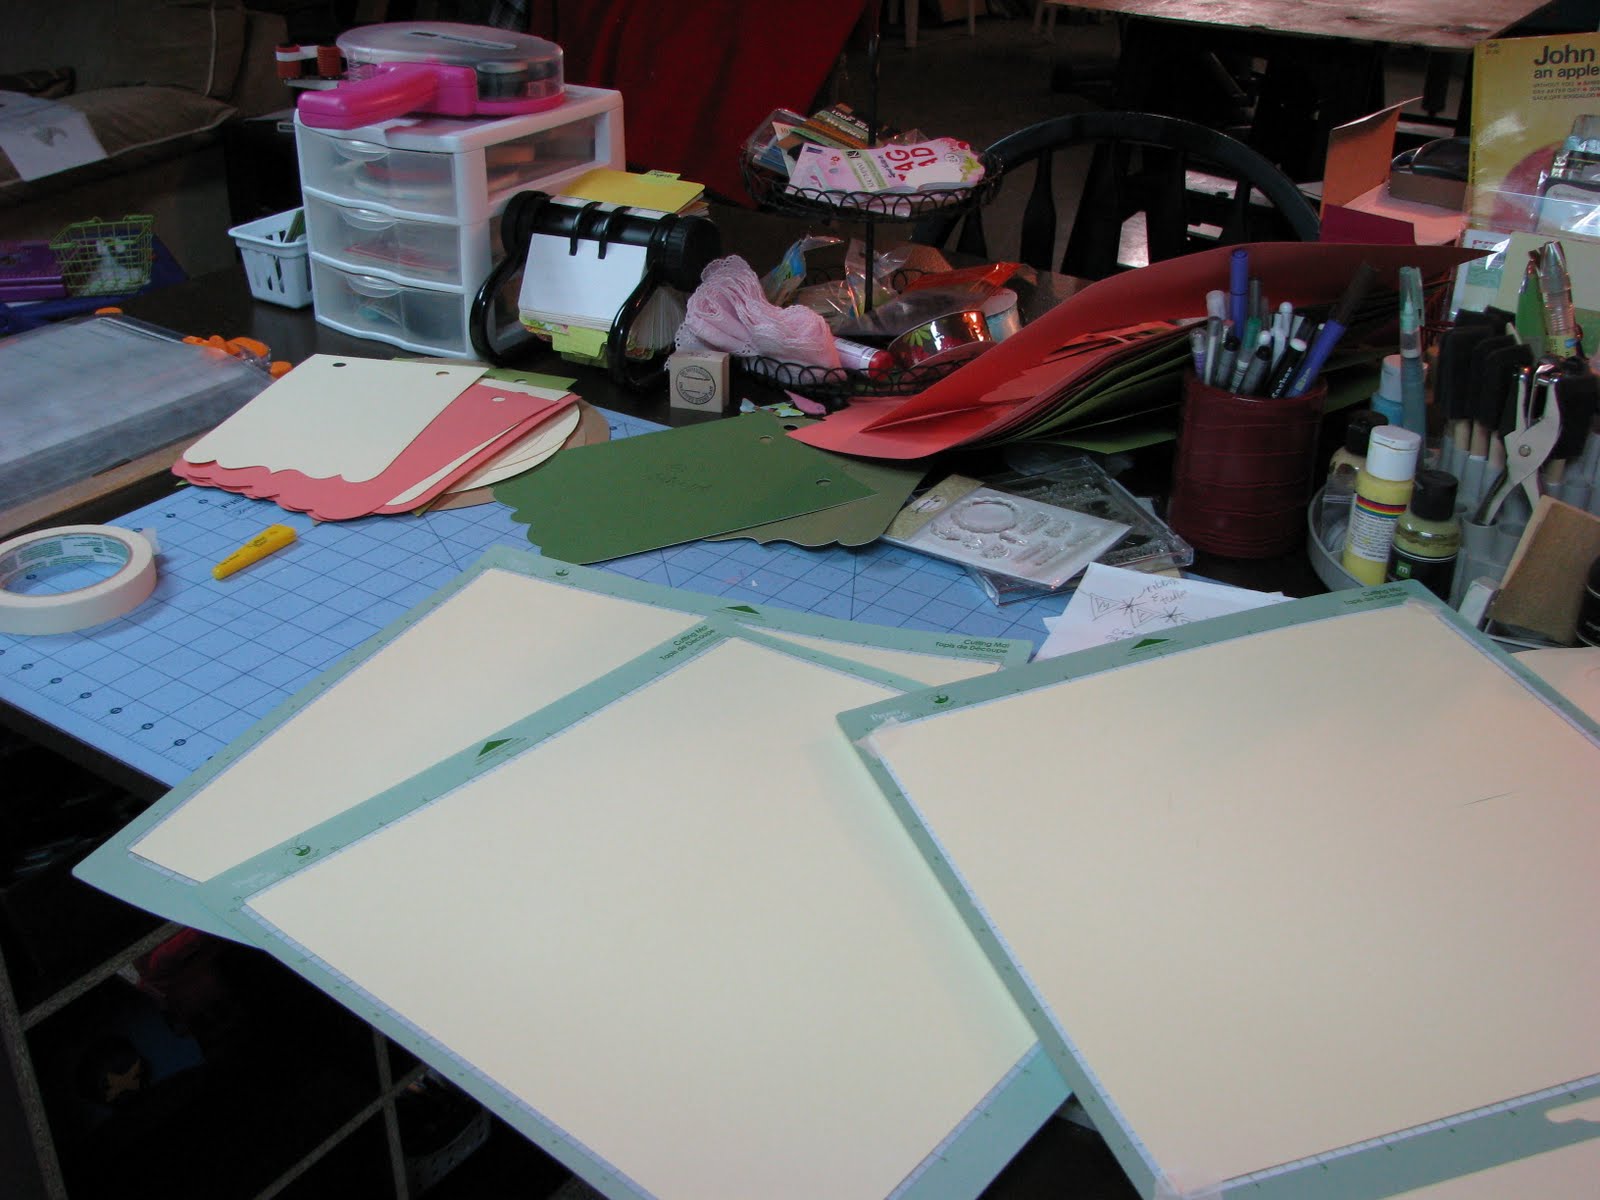
I started by sketching out the three banners and making a list of ingredients BEFORE I went shopping. That way I only bought what I needed. Then I used scrap paper to make test cuts with my Cricut, so I wouldn't wasted my bee-u-tee-ful new paper once I started cutting.
Here's a peek at my work space during my cutting spree!
It was a mess! Isn't it great :)
I cut out all three banners and their mats along with all the letters and their mats. This way, all of my cutting was done and I could clean up my area and assemble.
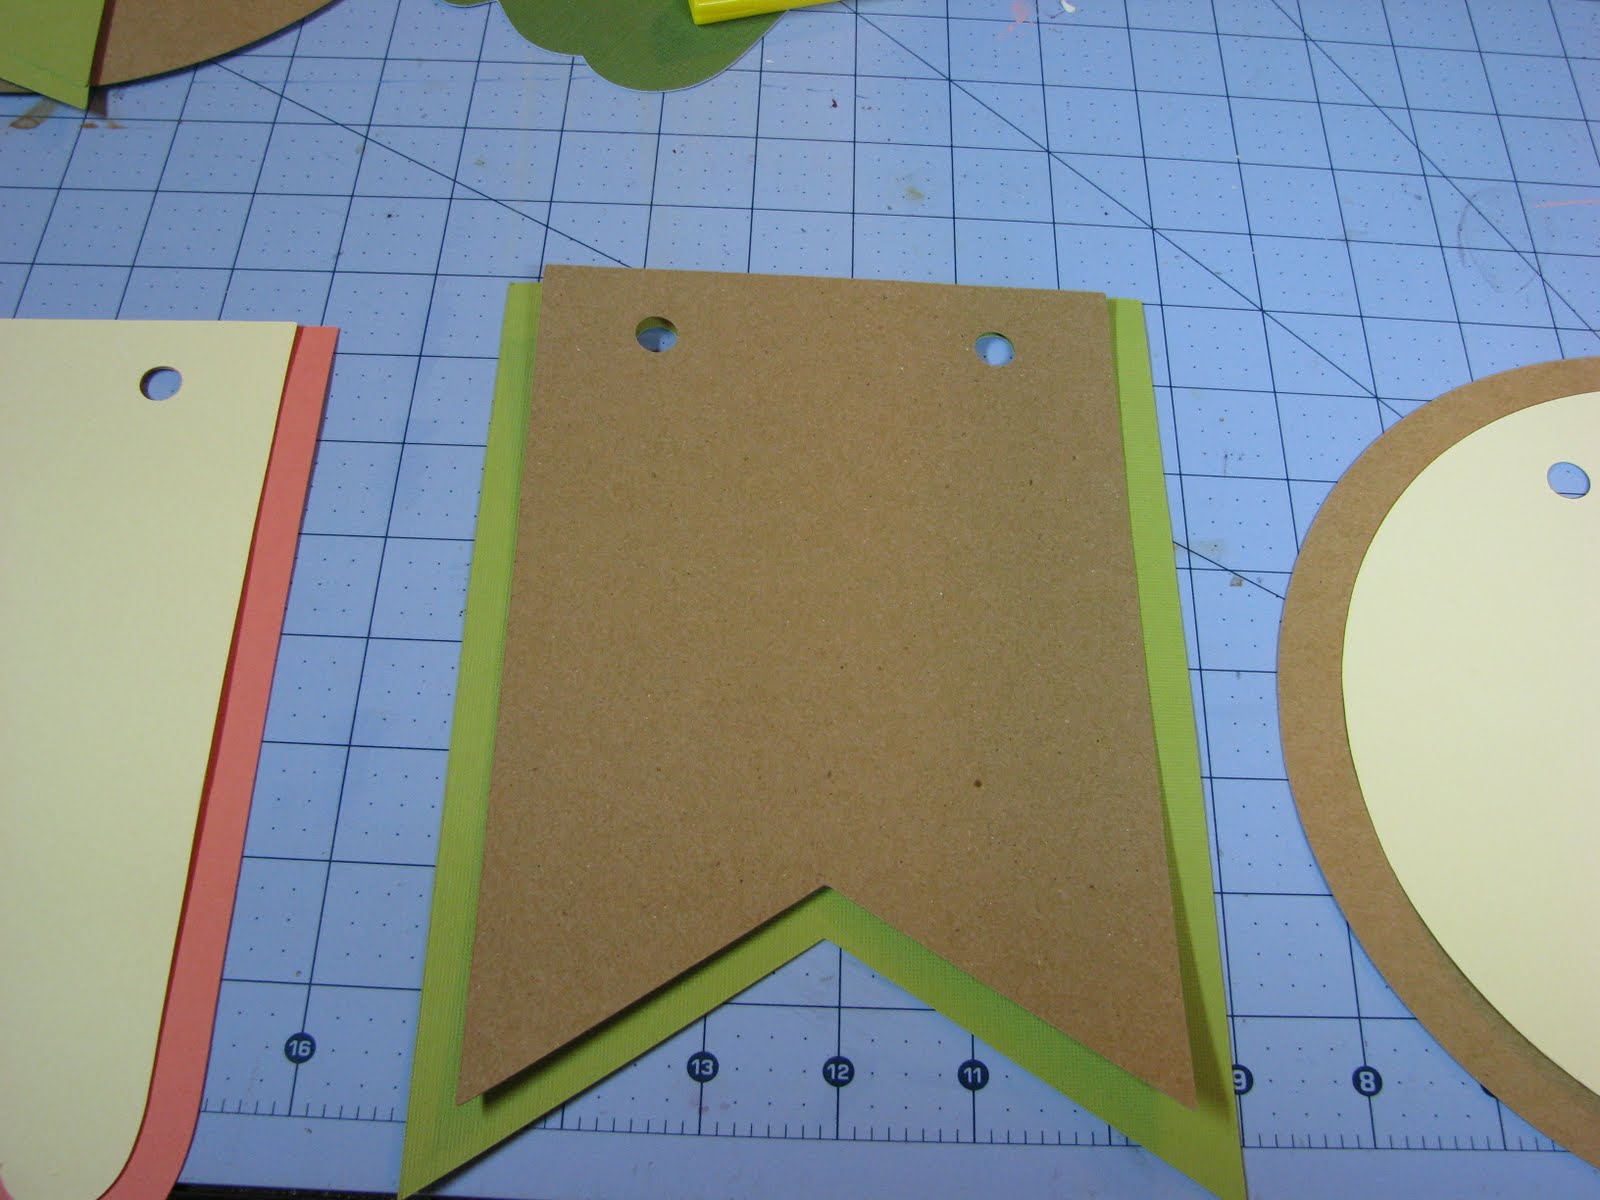
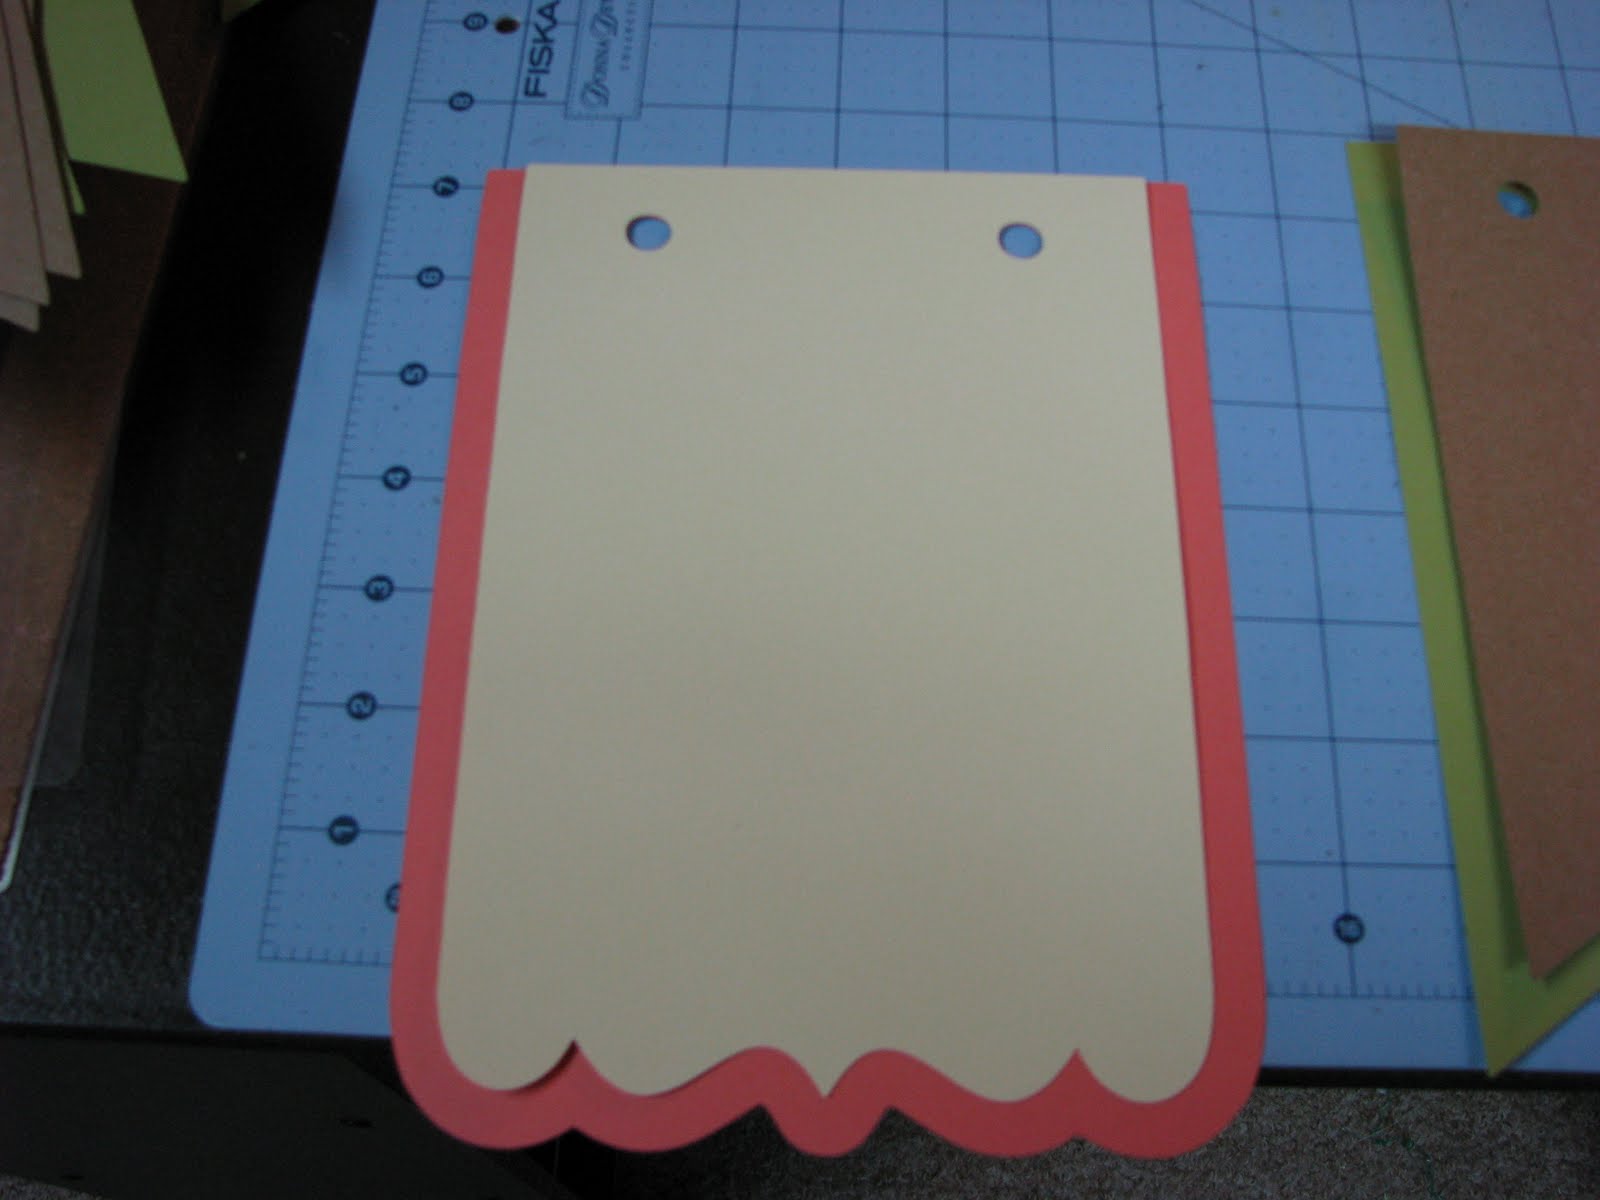
Here's a pic of the three different shapes for the three different banners.
This banner will say DRINKS
This banner will say GIFTS
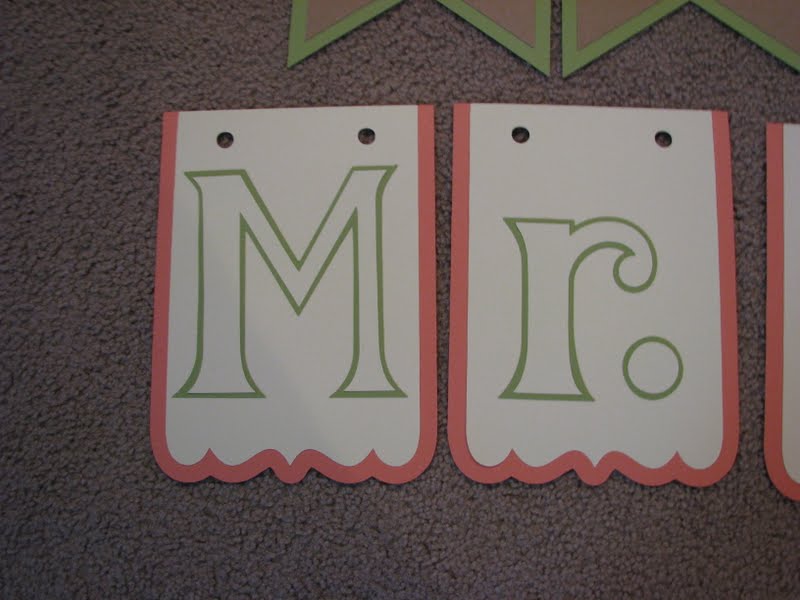
And this banner will say Mr. & Mrs.
Stay tuned, tomorrow I'll have some more banner fun for you!
Did you all have a nice weekend? We had beautiful weather here on Saturday and spent the whole day outside, on into the night with the neighbors. The kids were running around playing, chasing lightening bugs and it's just one of the many reasons I love our neighborhood. Sunday was spent on the motorcycle, crafting, doing laundry and relaxing a bit. It was a wonderful weekend and I needed it to be because I have quite the week coming up this week!
I hope you have a wonderful Monday and I'll see you tomorrow!
Friday, June 10, 2011
Little brown bag.
Helllllllo Friday! I'm so happy Friday is finally here. The week after a holiday week is always a difficult one, isn't it?
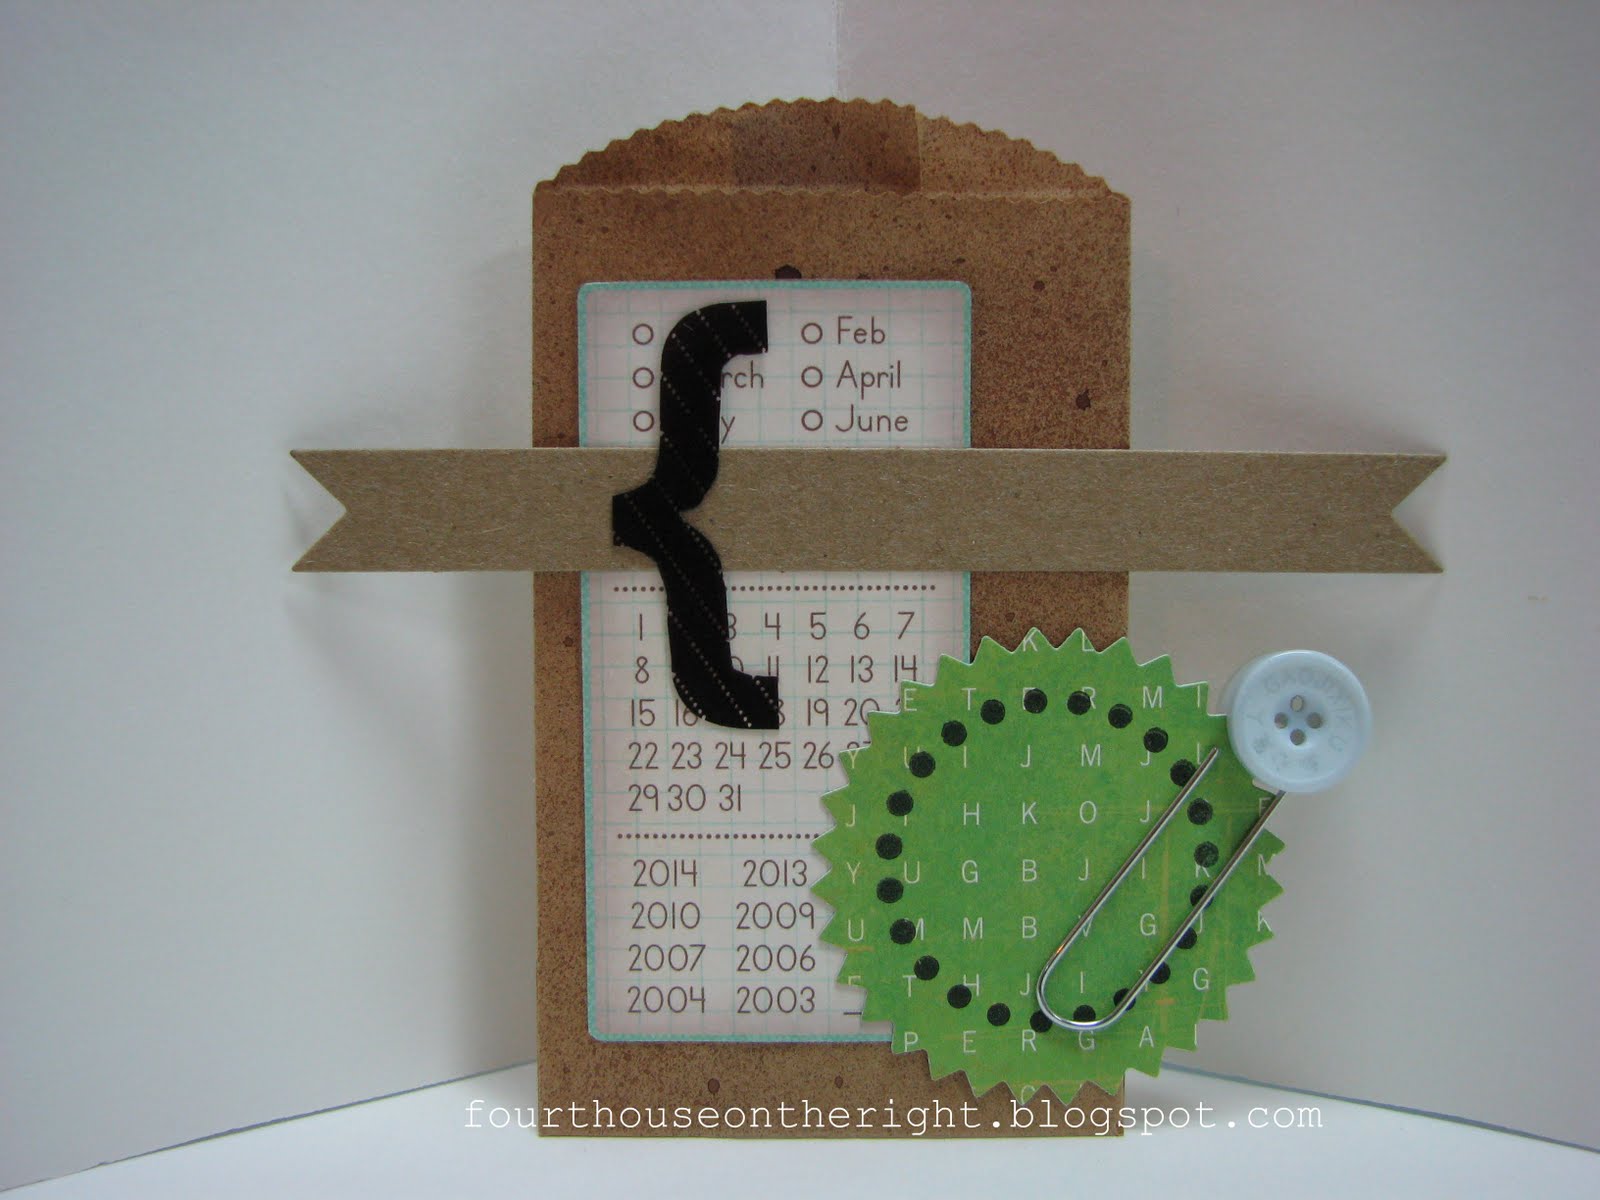
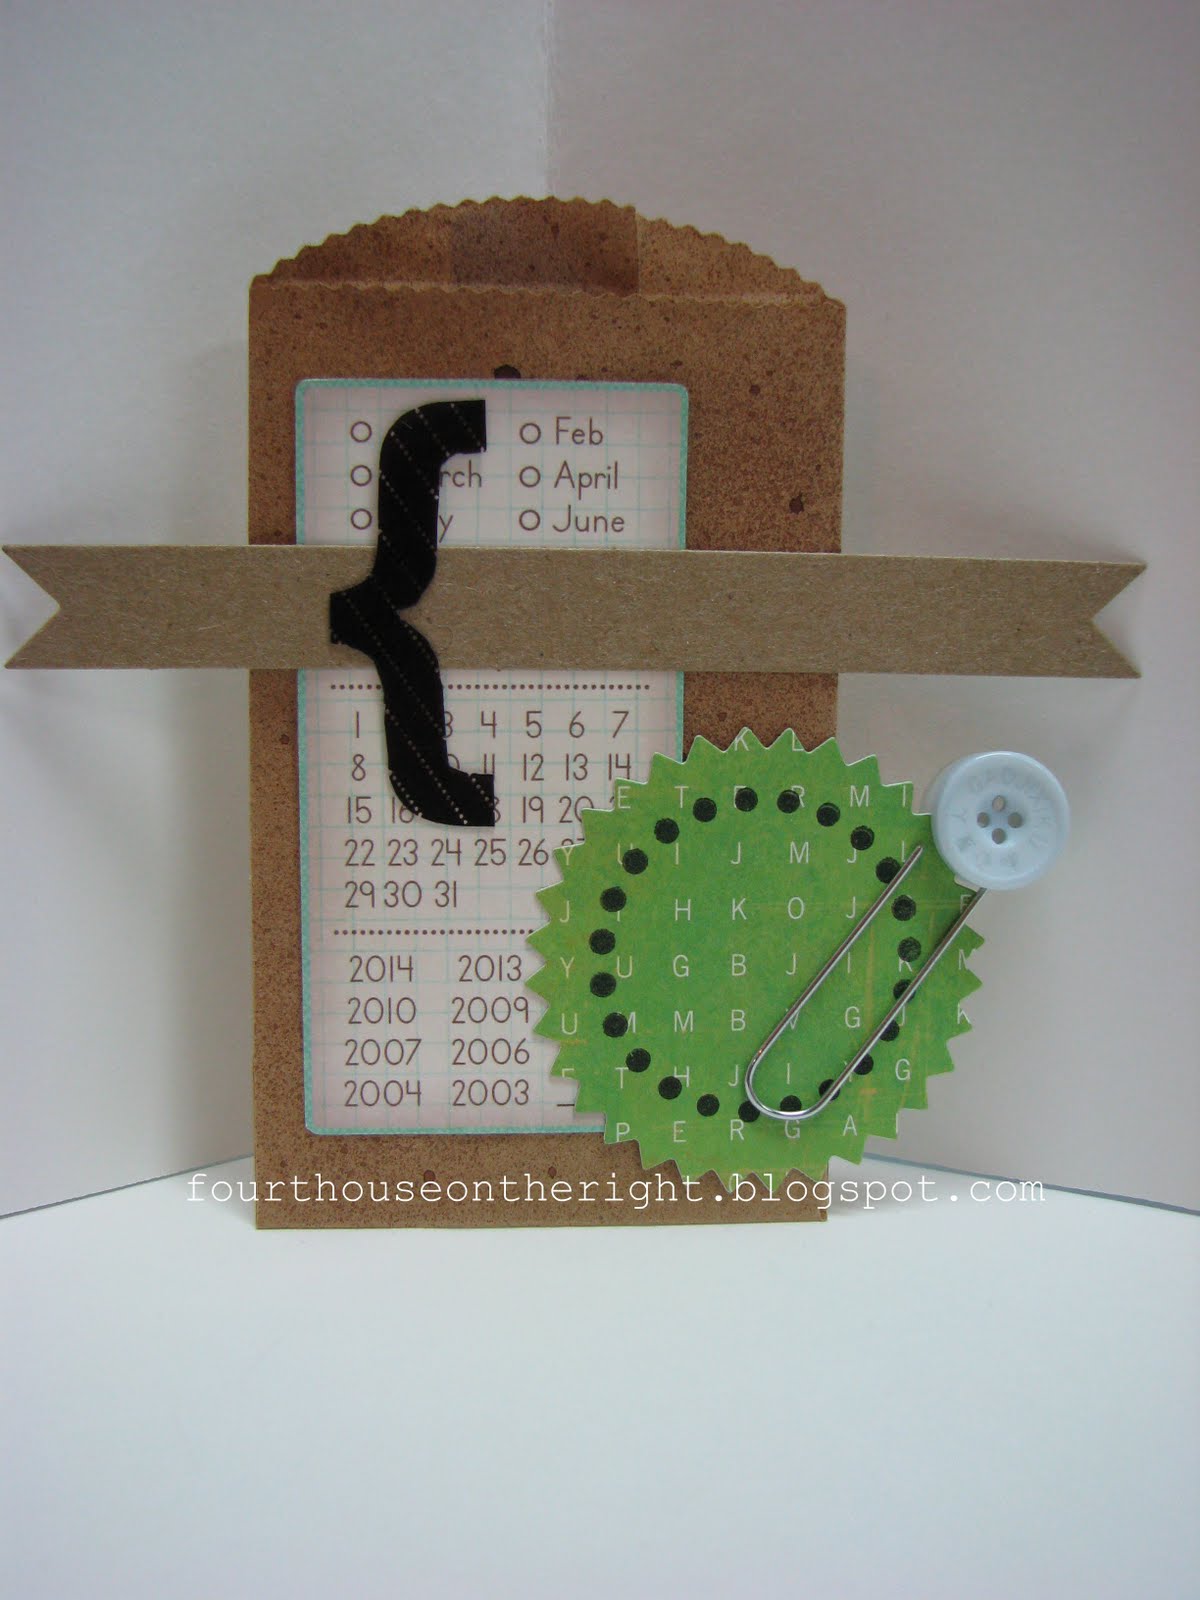
So the other day I was crafting away and I came across these little paper bags I bought at Michaels. I just love them and think they're adorable, but never seem to use them. I pulled one out and started messing around with it. I sprayed it and started layering and this is what I ended up with:
I'm not sure what I'll use this for. Maybe a gift tag, maybe a card? Whatever purpose it ends up serving, I hope the recipient enjoys it as much as I do! Ha!
What are your plans this weekend? I have some crafty stuff I need to work on for a friend and Mike and I are hoping to go for a ride on Sunday, weather pending. Next week is kind of crazy for me at work so I'm hoping to be very productive around here.
Thanks for coming by today. I really appreciate all your comments and the time you take to read my little blog!
Thursday, June 9, 2011
Not quite what I imagined...
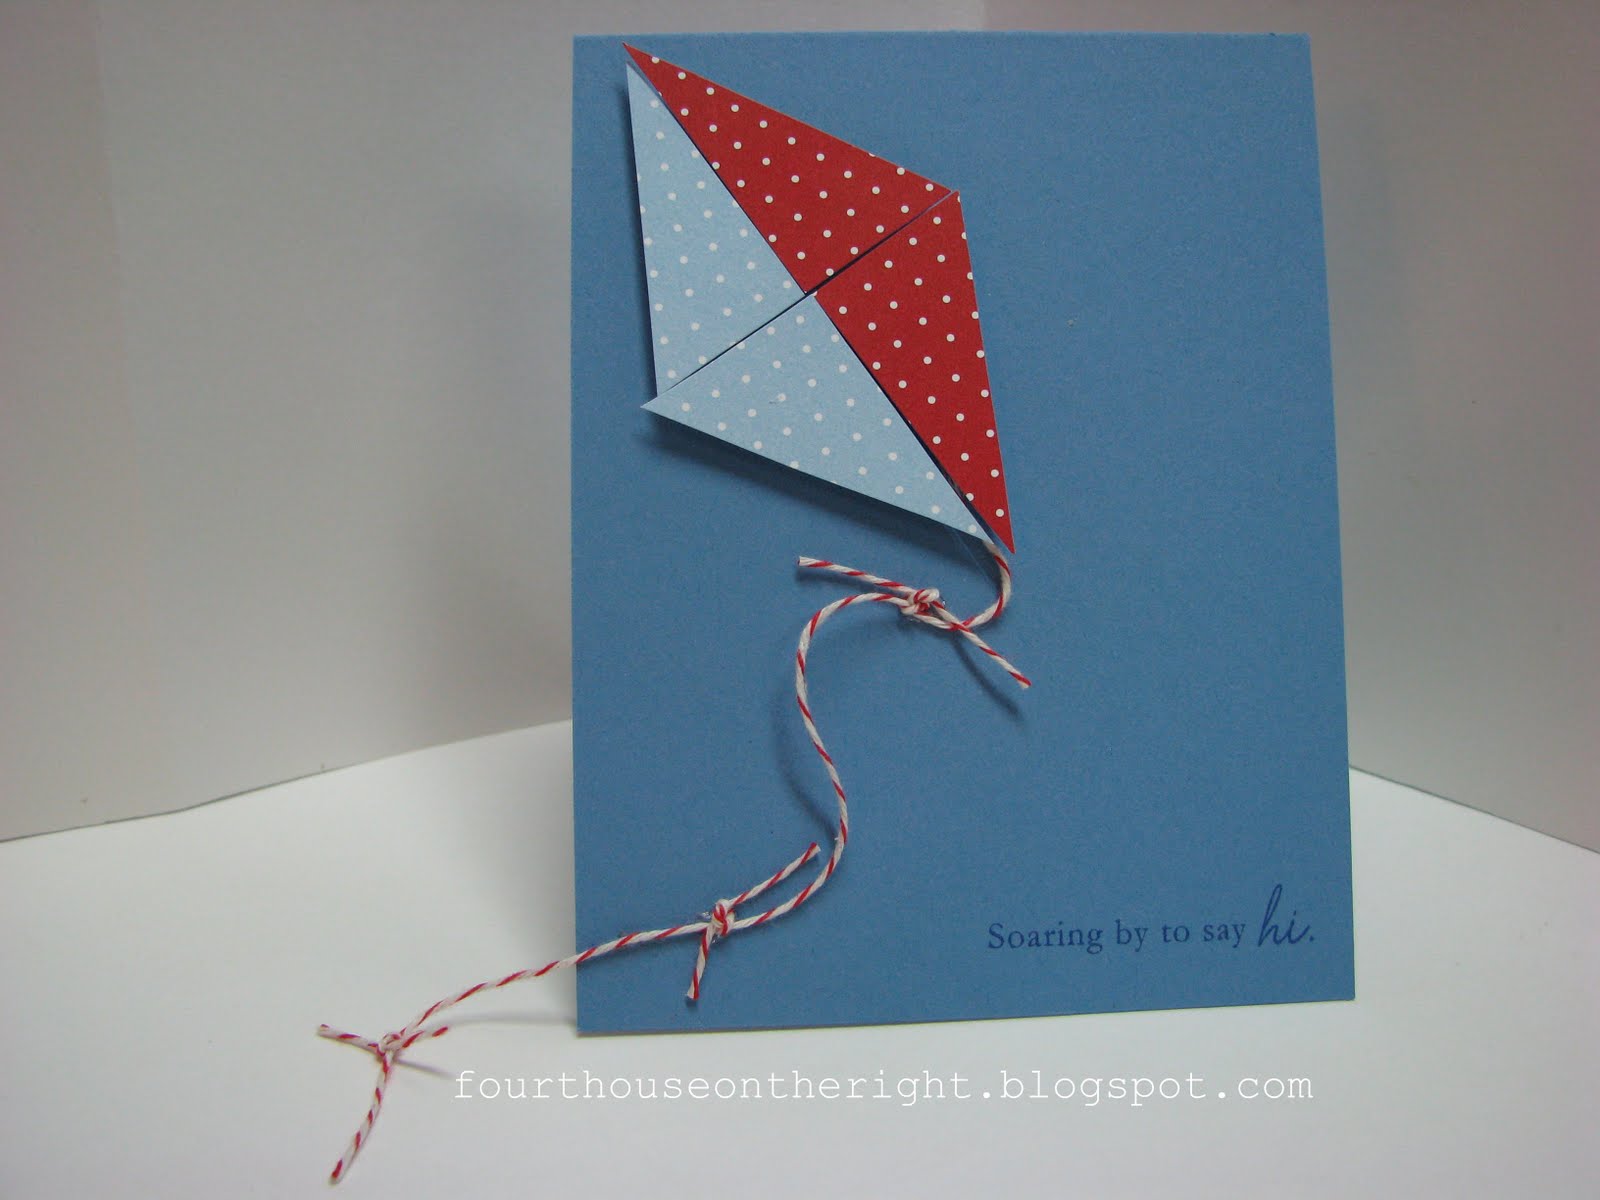
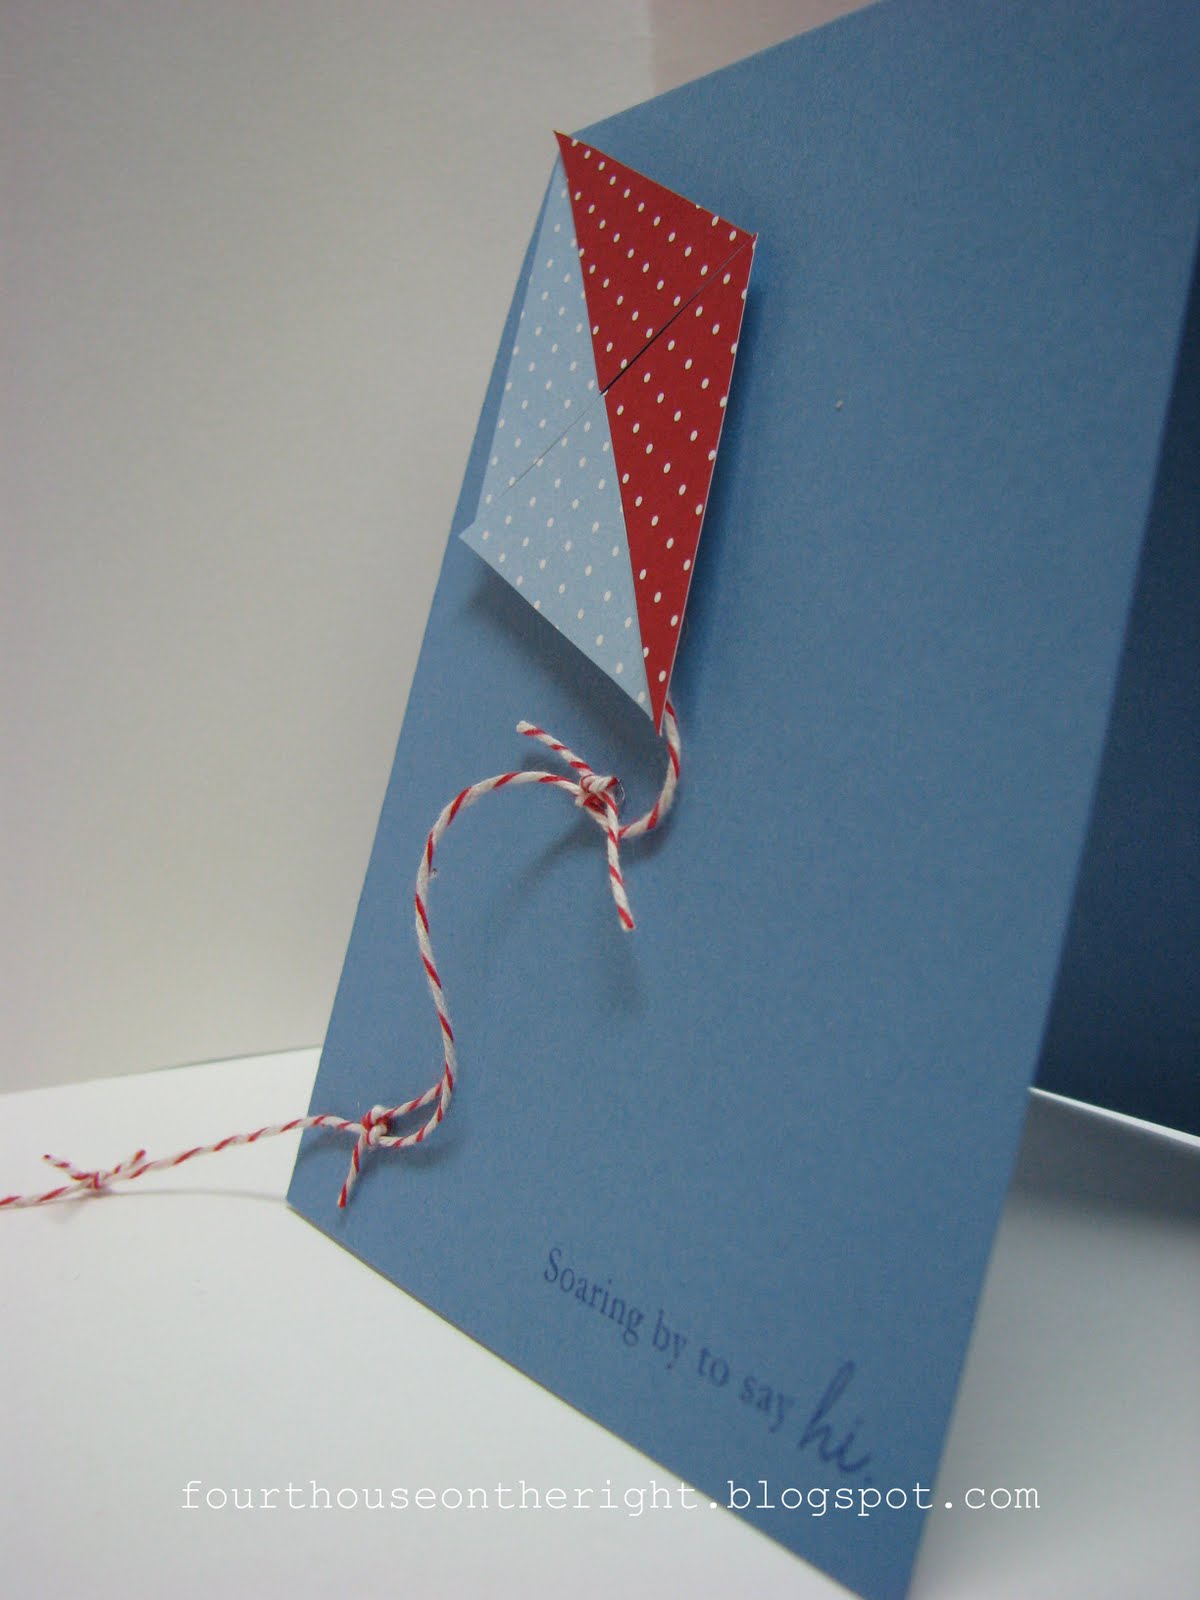
Do you ever picture a layout, card, project etc. in your head and think it's a FANTASTIC idea and then once it's executed it's just sort of... blah? Well that's kind of what happened with this card. The idea came to me last weekend when I was drifting off to sleep. I thought it would be SO CUTE! I think it turned out SO... OKAY :)
I'm not thrilled with my kite. It's wonky. Probably because I free handed it. I'm horrible at stuff like that. In my "vision" I pictured the kite on a white background, but I feel like I've been doing tons of white cards lately. I do like the blue. I also like how the tail of the kite is flying off the card :) I'm wondering if I should have put the kite in the other corner though.
Good news here, Abie got her splint off yesterday!!! The doctor said she should have full range of motion within two weeks and he wants to see her back in a month for another x-ray. Poor girl, she was excited but her ear was killing her. Turns out she has an ear infection and is now on antibiotics for 10 days. Better to be on antibiotics WITHOUT a splint though, right? :) I'll remind her of this just as soon as her ear stops hurting.
I'm super excited about my little project for tomorrow. It's quite the opposite of today's. I didn't have it planned. I just went all willie nillie and it turned out perfect! Until then my dears, have a fantabular Thursday and thanks so, so much for coming to see me today :)
Wednesday, June 8, 2011
Patriotic Banner Card
Well, today just might be the day. The day Abie gets her splint off that is. Her appointment is at 9:00, so wish us luck! :) She's been so GREAT about wearing the splint, never complaining and going about her business as if her arm wasn't broken at all.
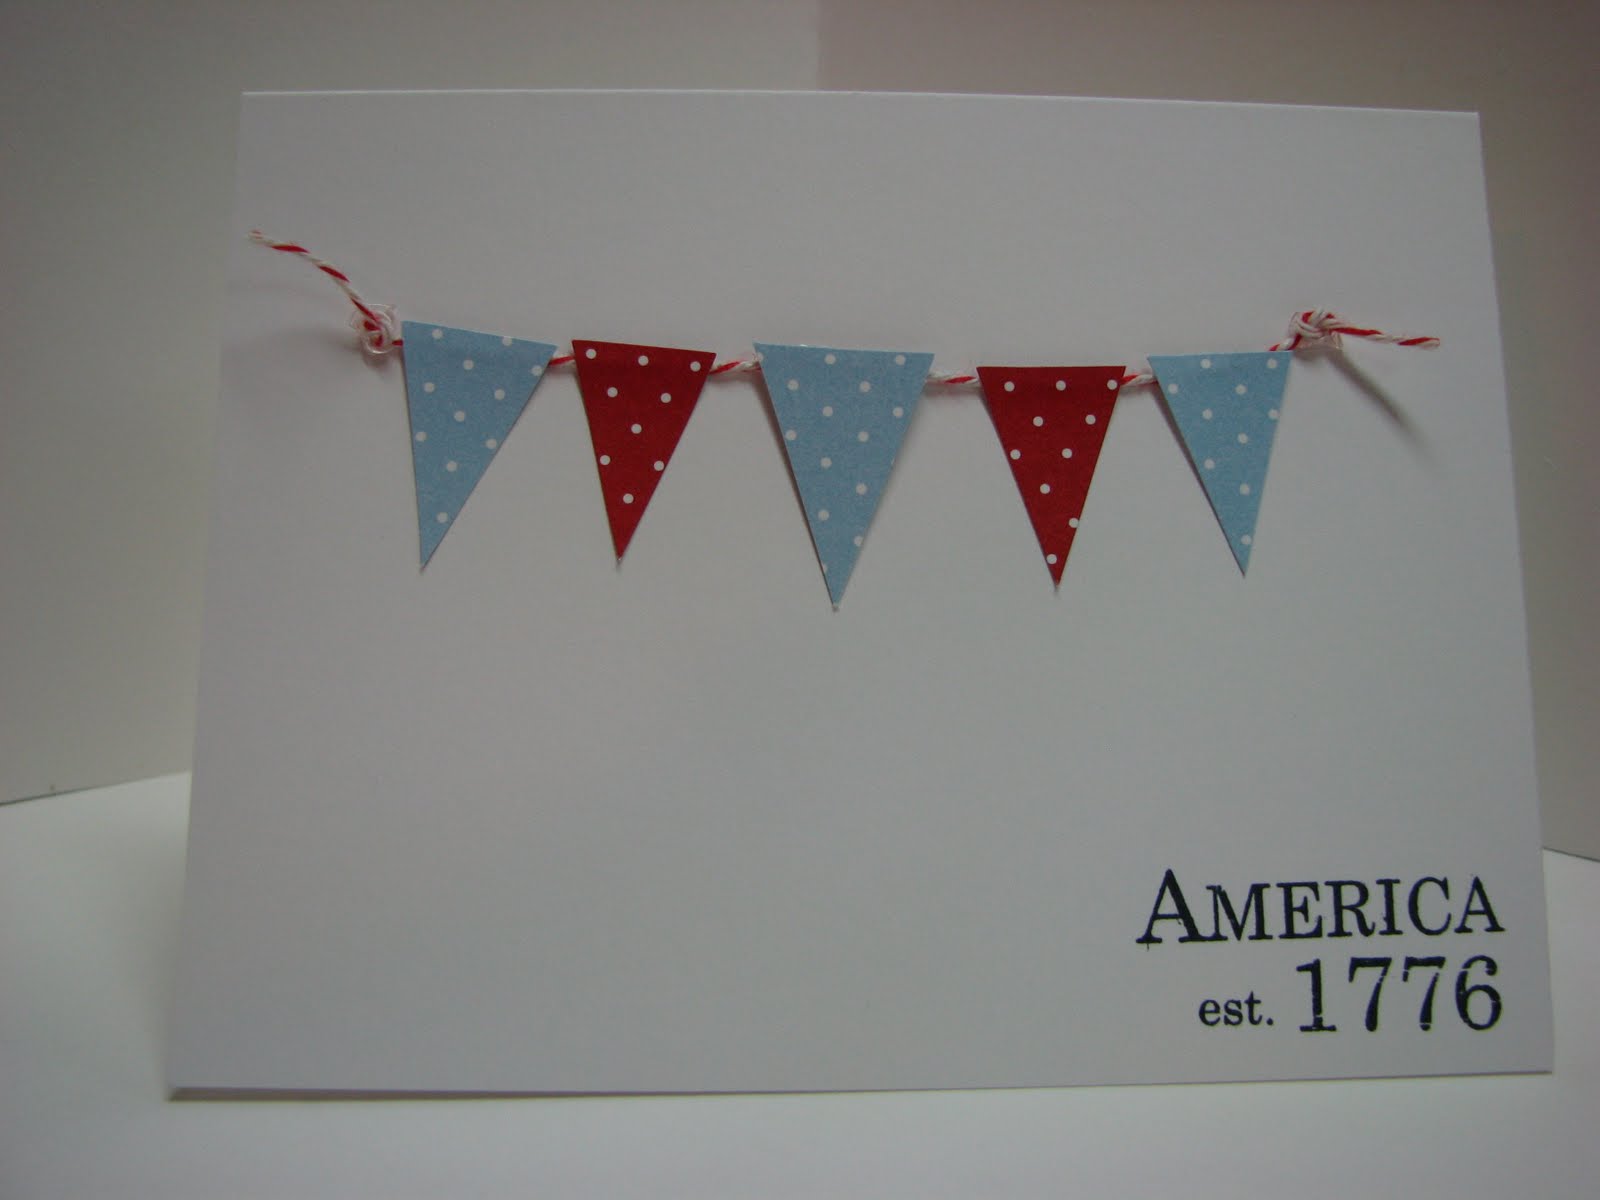
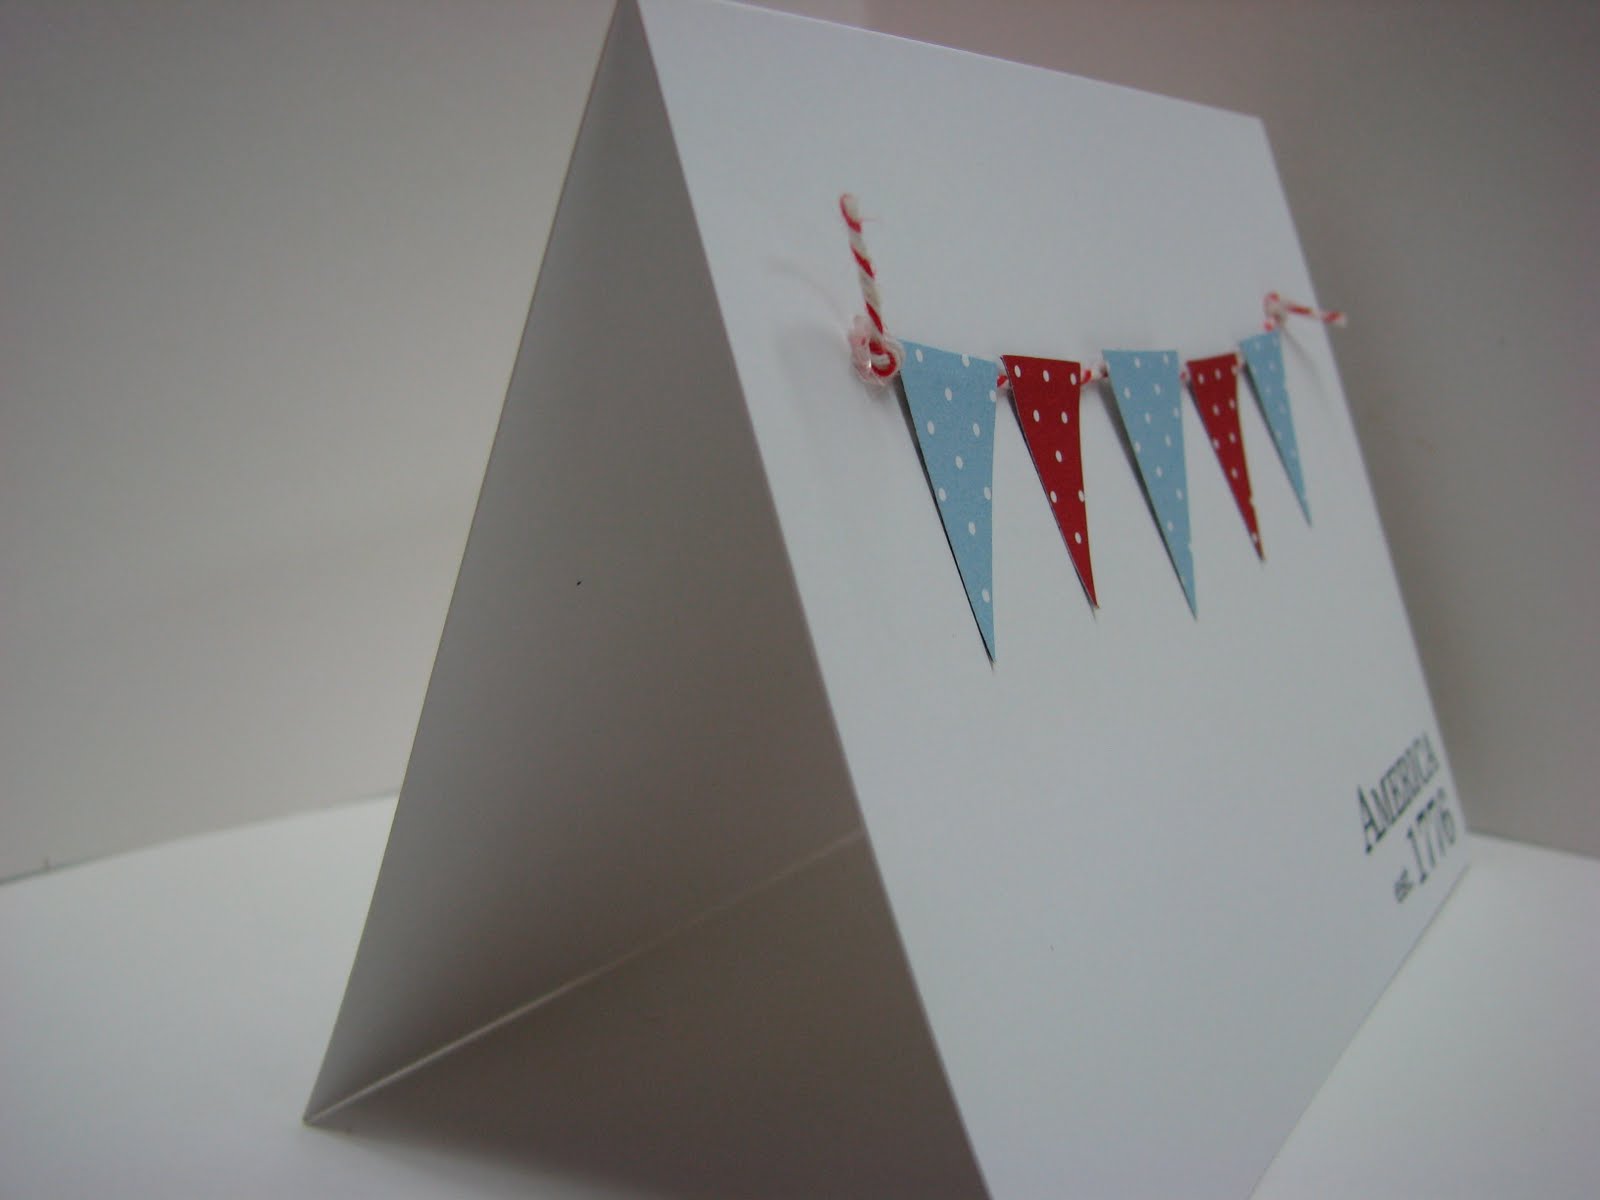
I have a simple little card to share with you today. I stamped my Hero Arts banner on the back side of two different polka dot papers and trimmed the pieces out then adhered them to some twine. I stamped my sentiment at the bottom and was done!
Pretty simple today, seems to be my theme this week huh? I hope you have a wonderful Wednesday and I'll see you again tomorrow! Thanks so much for stopping by today!
Tuesday, June 7, 2011
CFC #5
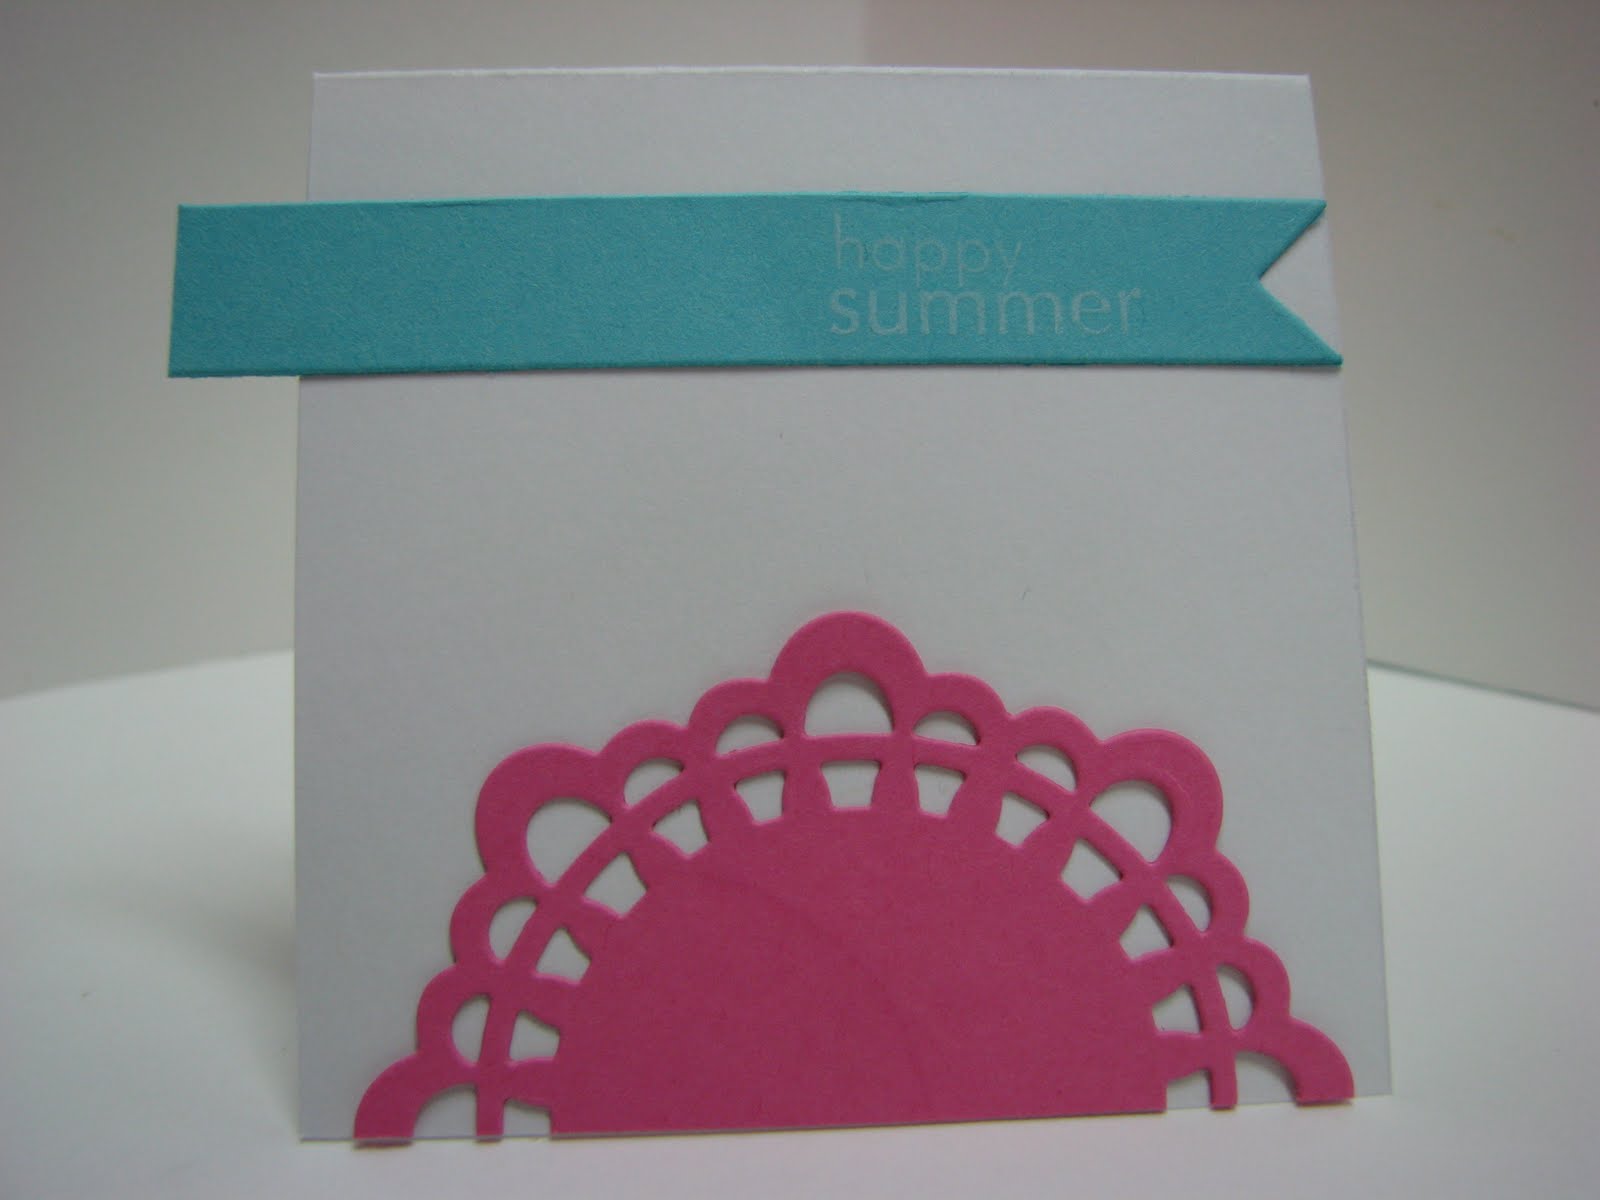
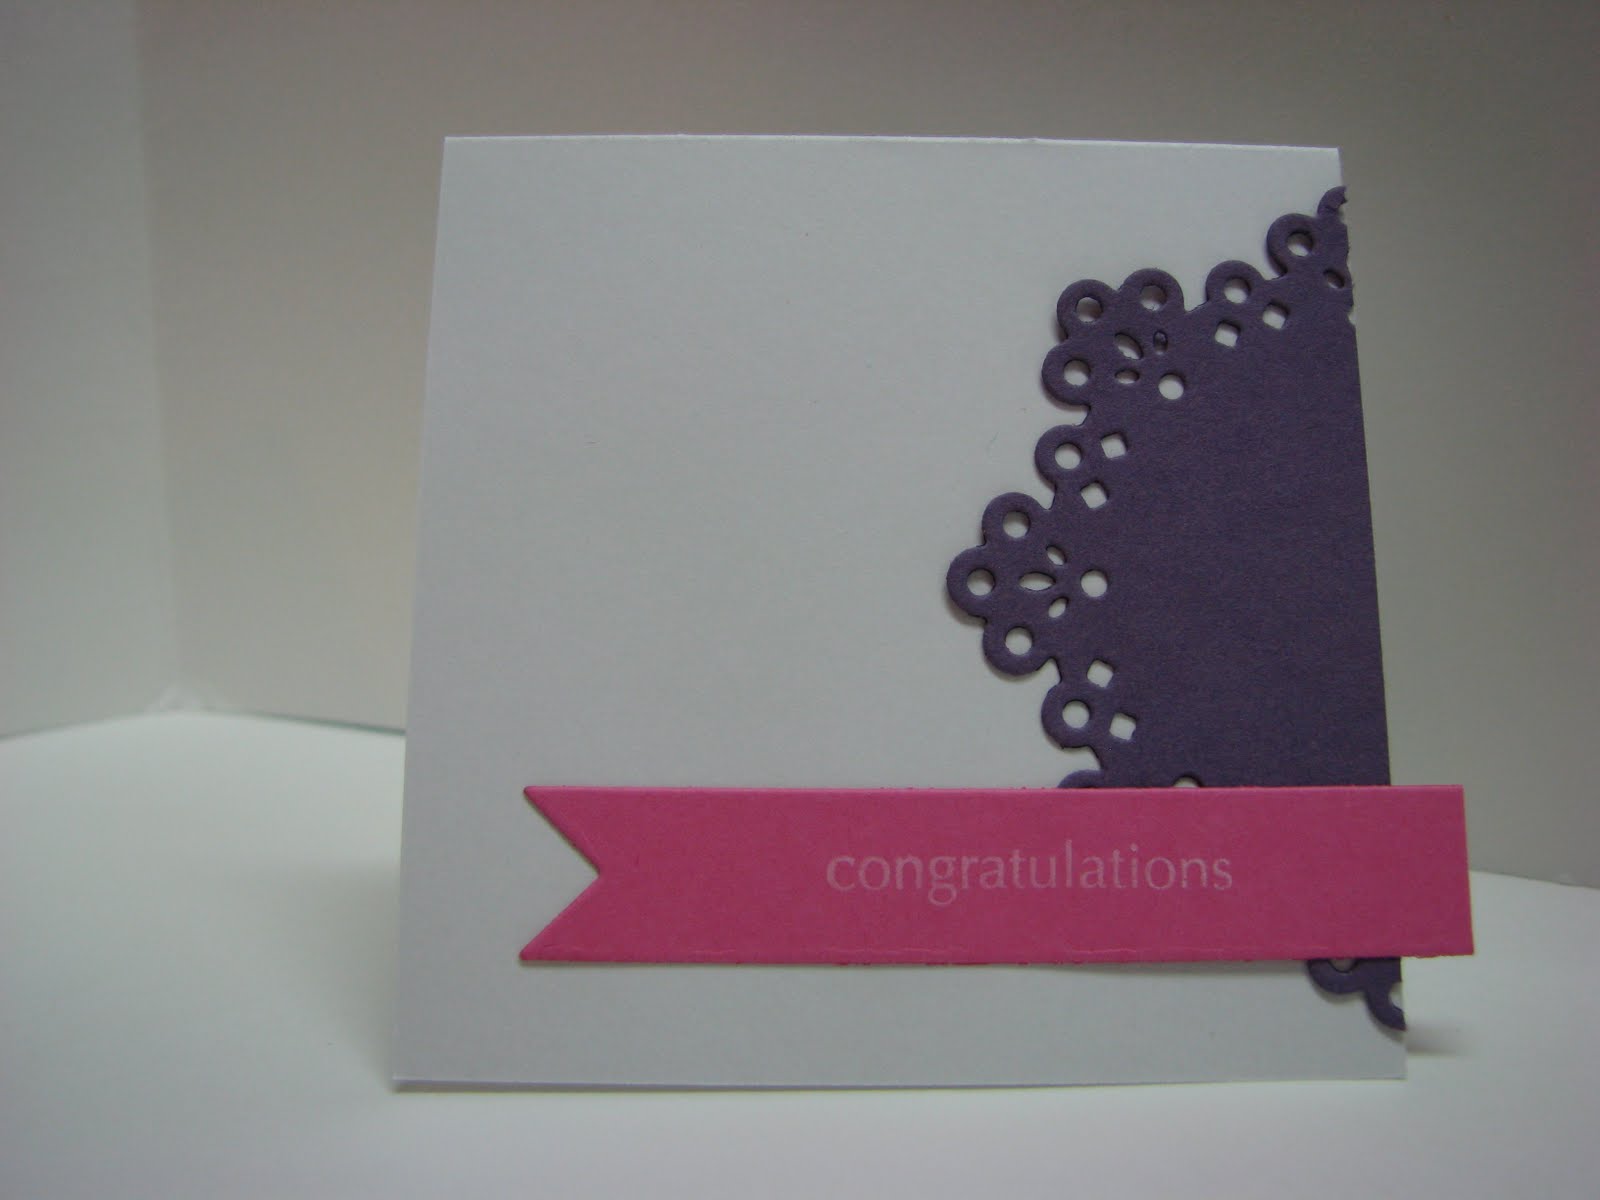
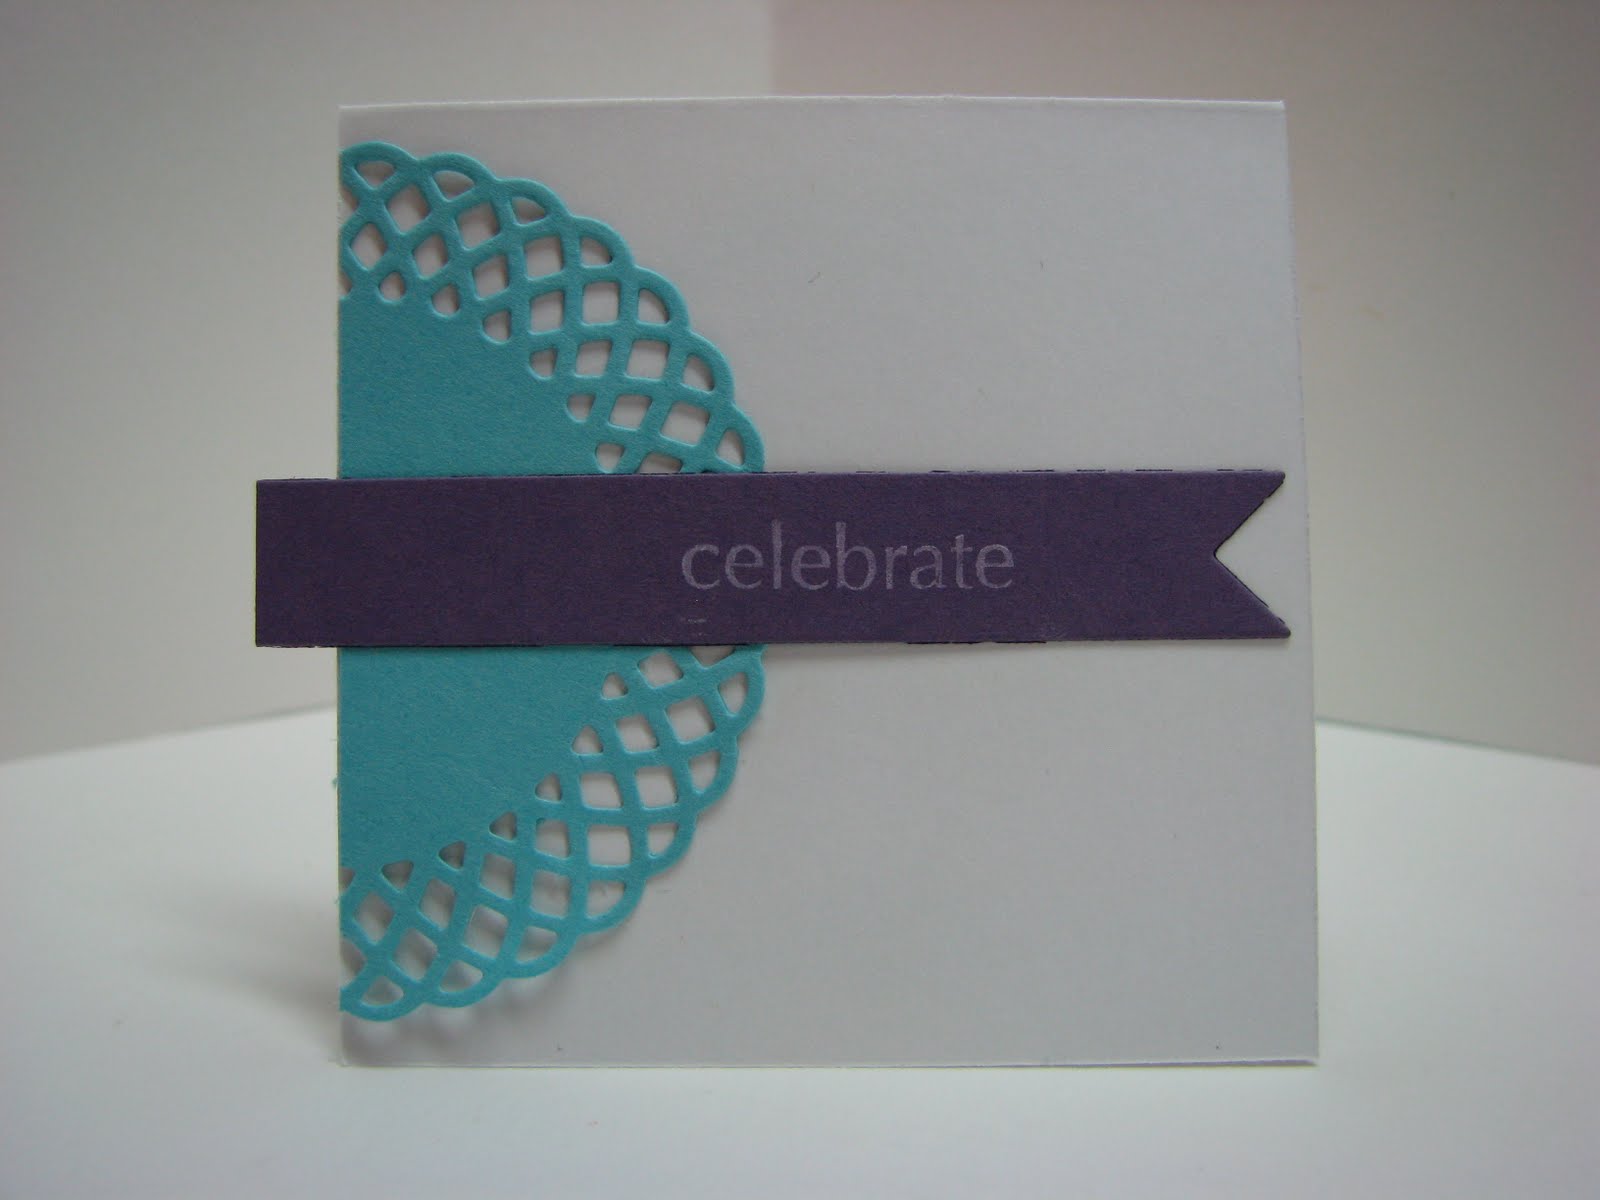
Happy Tuesday everyone! I'm playing along with CAS-ual Fridays Challenge this week and it's a fun one, a sketch!
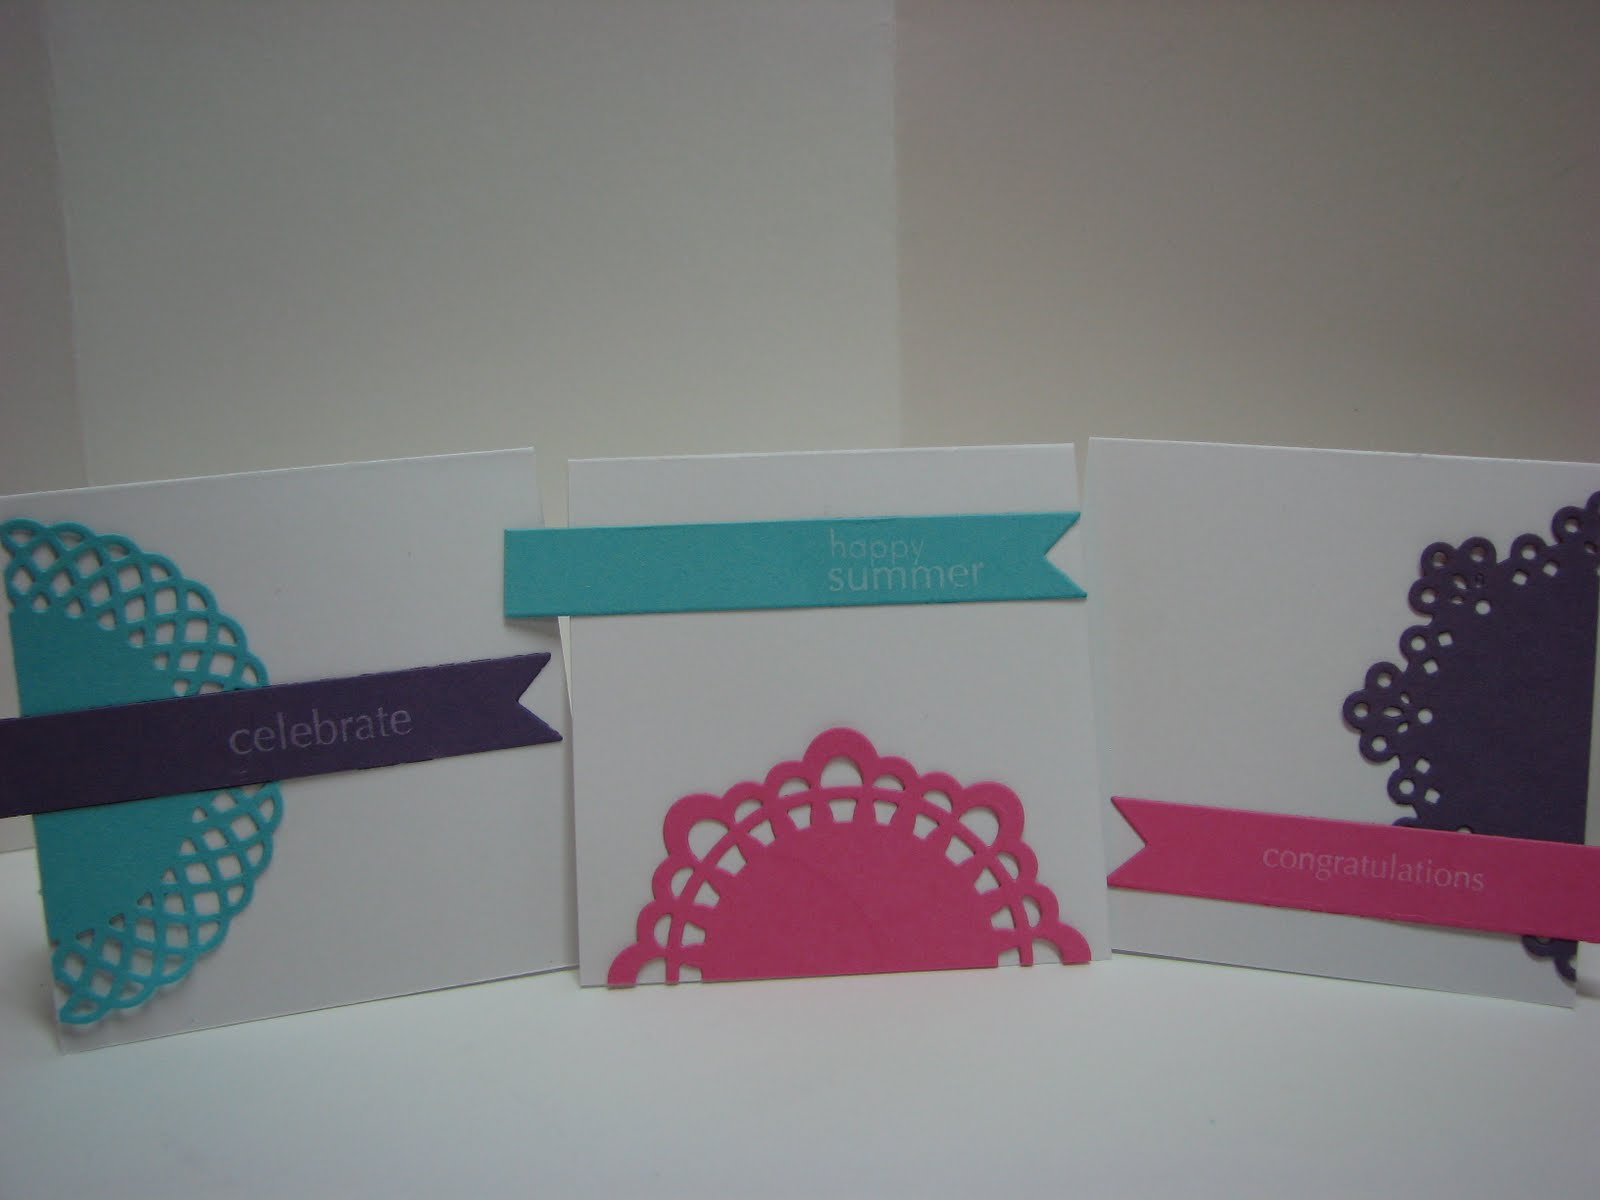
I decided to make a set of 3x3 cards and turn the sketch on its side four times.
Stamps: Papertrey Ink Tag Its #4
Ink: CTMH White Daisy
Paper: Papertrey Ink Hawaiian Shores, Hibiscus Burst, Plum Pudding
Other: Papertrey Ink Doily Details Dies and Double Ended Banner Dies
Well, that's about it for me today. I hope you have a fantastic Tuesday! We've been having a bit of hot, hot weather here. We spent about an hour at the pool last night before dinner. Looks like we might be headed that way again today :) Is it pool weather where you are yet? Thanks for stopping by today!
Monday, June 6, 2011
Quickie Tag
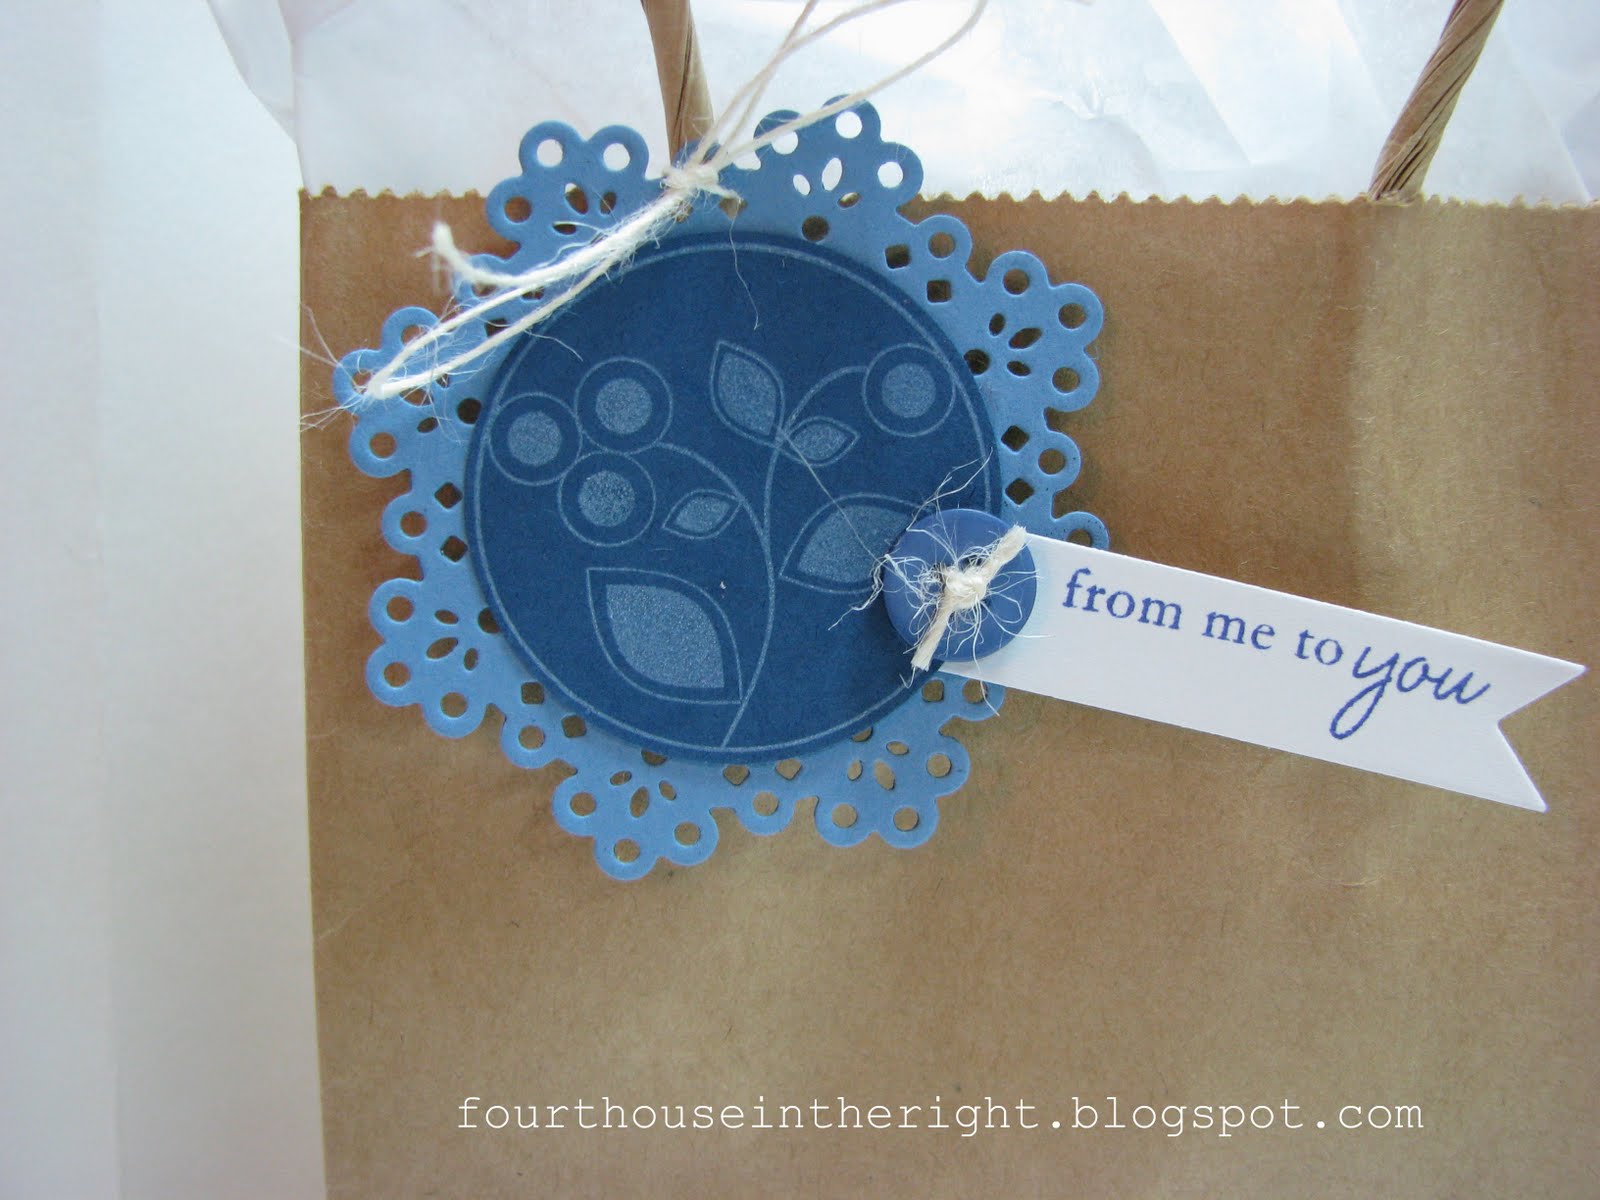
Morning everyone! I wanted to share with you a quick tag I made for my grandma's gift that I posted Friday.
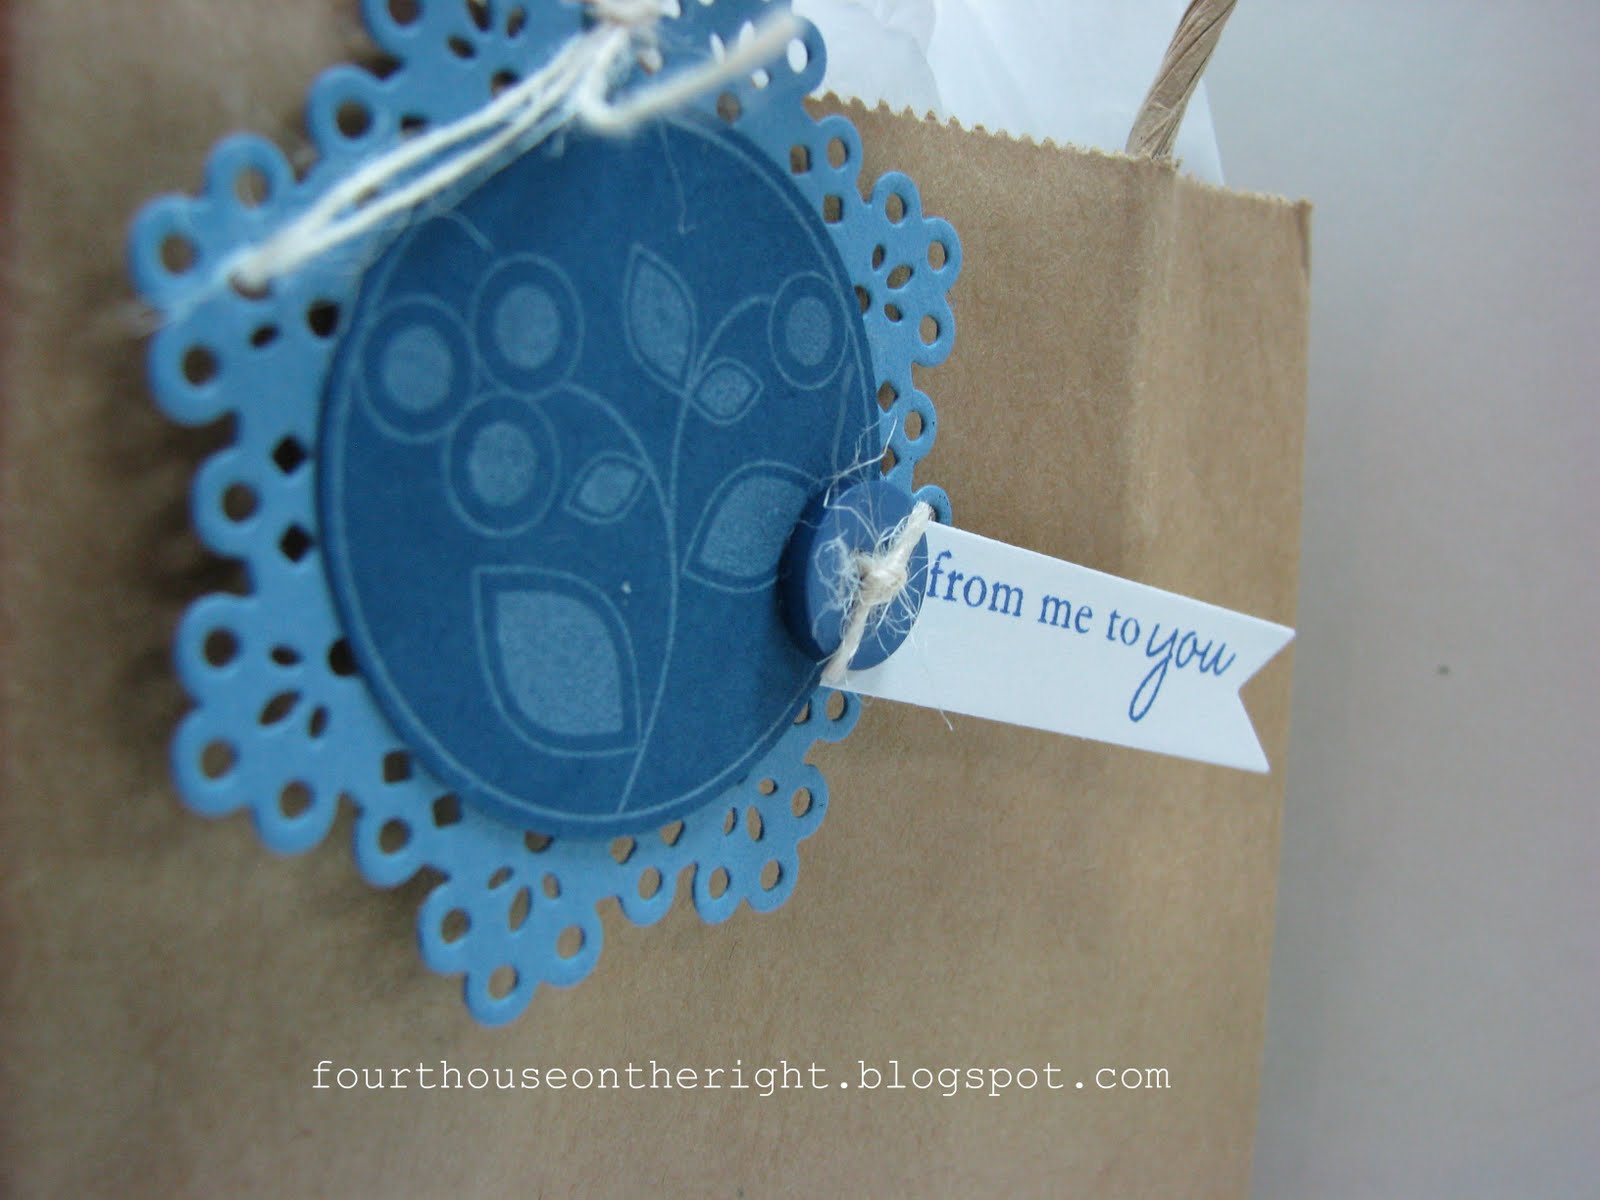
I love Papertrey Inks Doily Detail Dies for quick little tags like this. I already had the Blueberry Sky doily cut out from a previously failed project :) So I punched out an Enchanted Evening 1 3/4" circle and stamped one of the images from Round and Round in CTMH White Daisy ink on it. Then I added a little banner with my sentiment and a button and some twine! This really took minutes since I already had the doily from before. I love to save pieces like that because I know I'll use them eventually :) Do you have a place on your desk for bits and pieces or do you throw everything away?
How was your weekend? We went down to the lake to see Grandma and Grandad on Friday and had a great visit with them! Grandma loved her card set :) On Saturday we got up and headed on down to Springfield, MO and saw our friends and their new, now seven month old, baby and spent the afternoon with them. We drove back home Saturday night and had all day Sunday at home. We got up to the pool first thing Sunday, while Mike mowed, and took Abie's splint off so she could get in without anyone bumping in to her. We spent about an hour at the pool before it started to get very busy. All in all it was a great weekend and I'm looking forward to a great week!
Thanks for stopping by today and I'll see you tomorrow!
Friday, June 3, 2011
Tuesday Trigger: Classically Modern
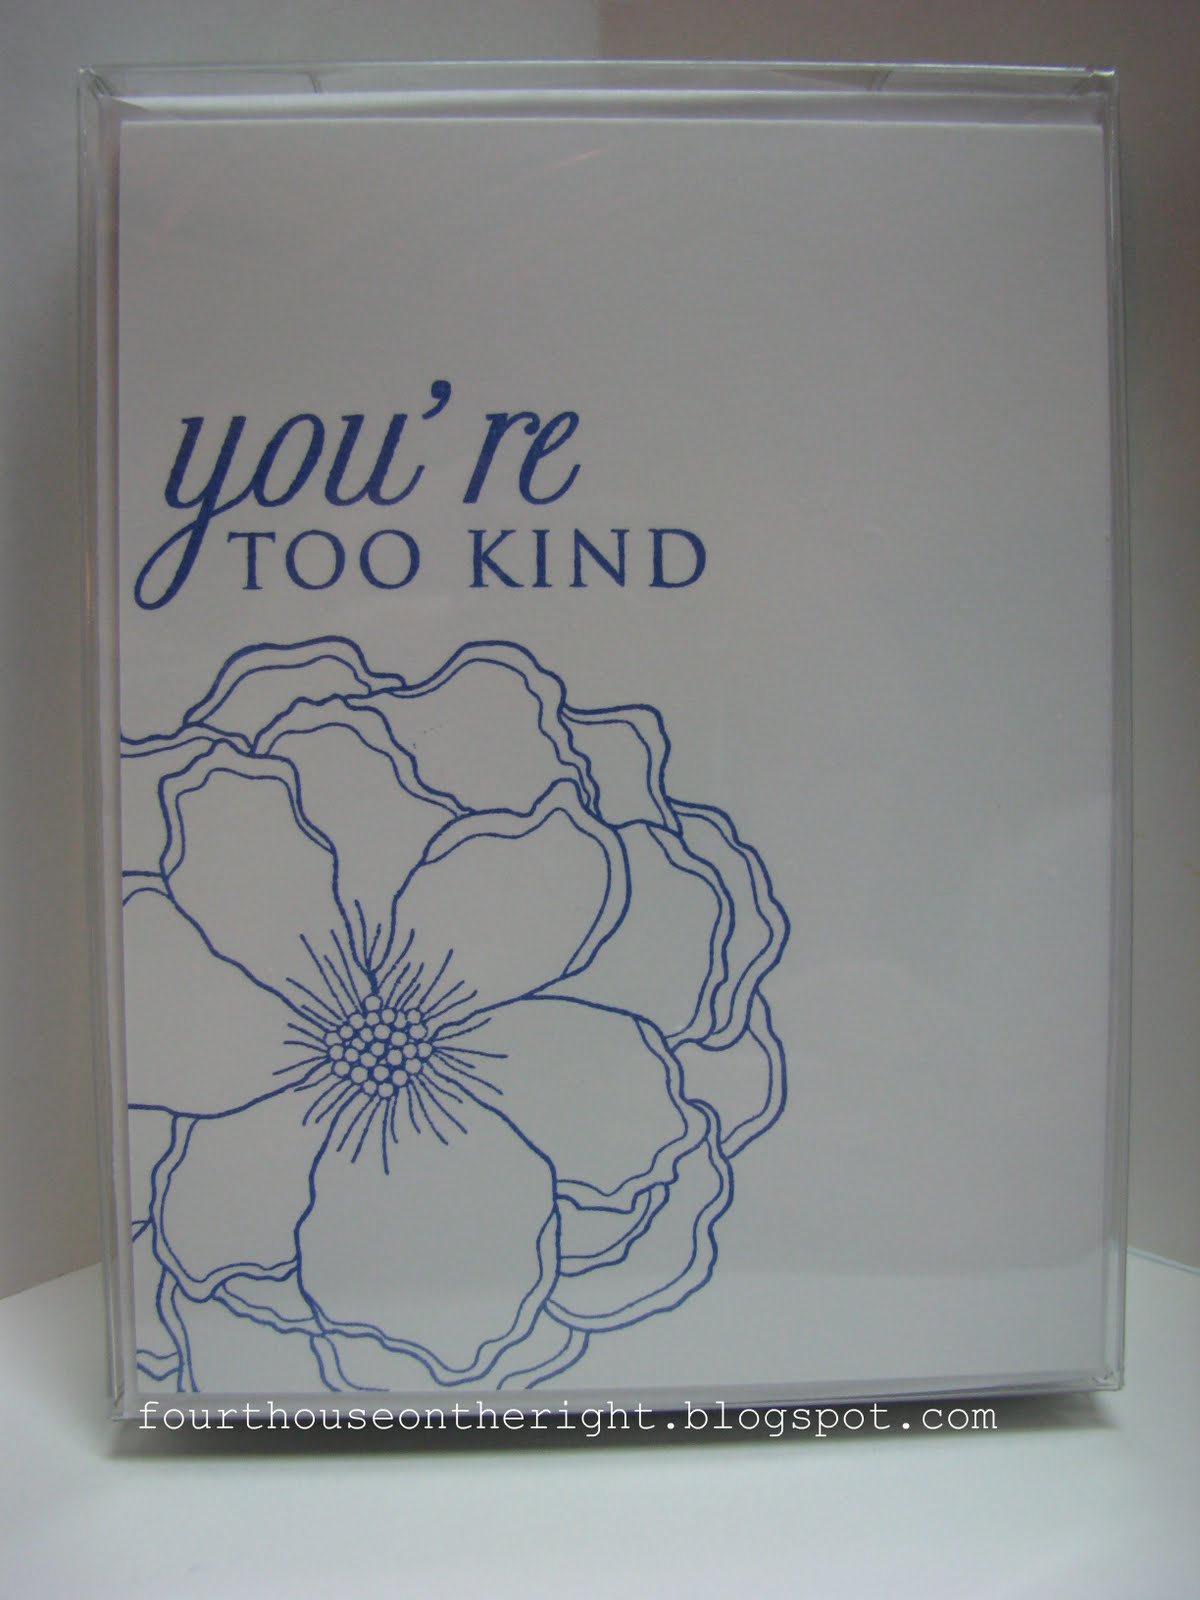
Happy Friday my friends! I'm so excited about today's post and how it turned out. When Cath posted this weeks Tuesday Trigger photo, I knew exactly what I was going to make! I love when that happens :) HERE IS THE LINK to the original post and photo. There's still time to get in on the fun!
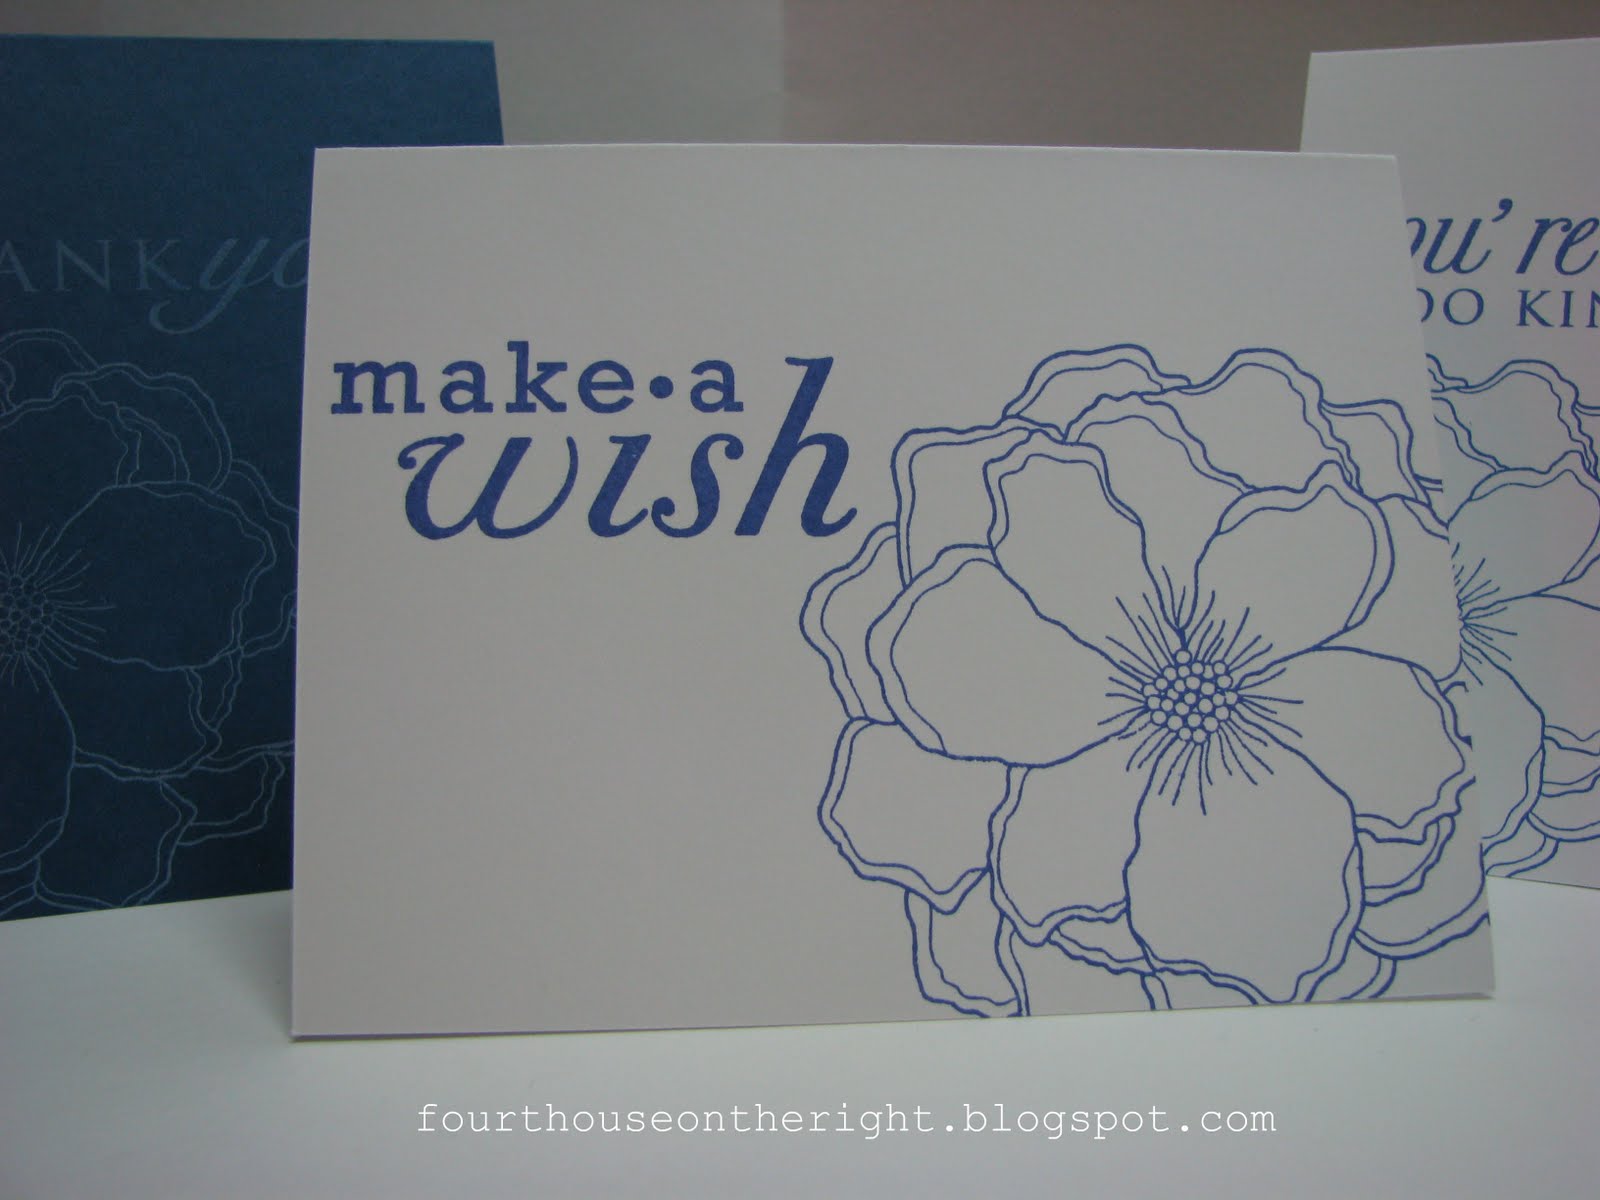
I haven't quite mastered the card group photo shot yet, so this was the best I could get. I made eight cards in all, four blue, four white.
I kept the inks the same, Momento blue on the white cardstock and CTMH White Daisy on the blue cardstock.
I varied the sentiments to give grandma several to choose from.
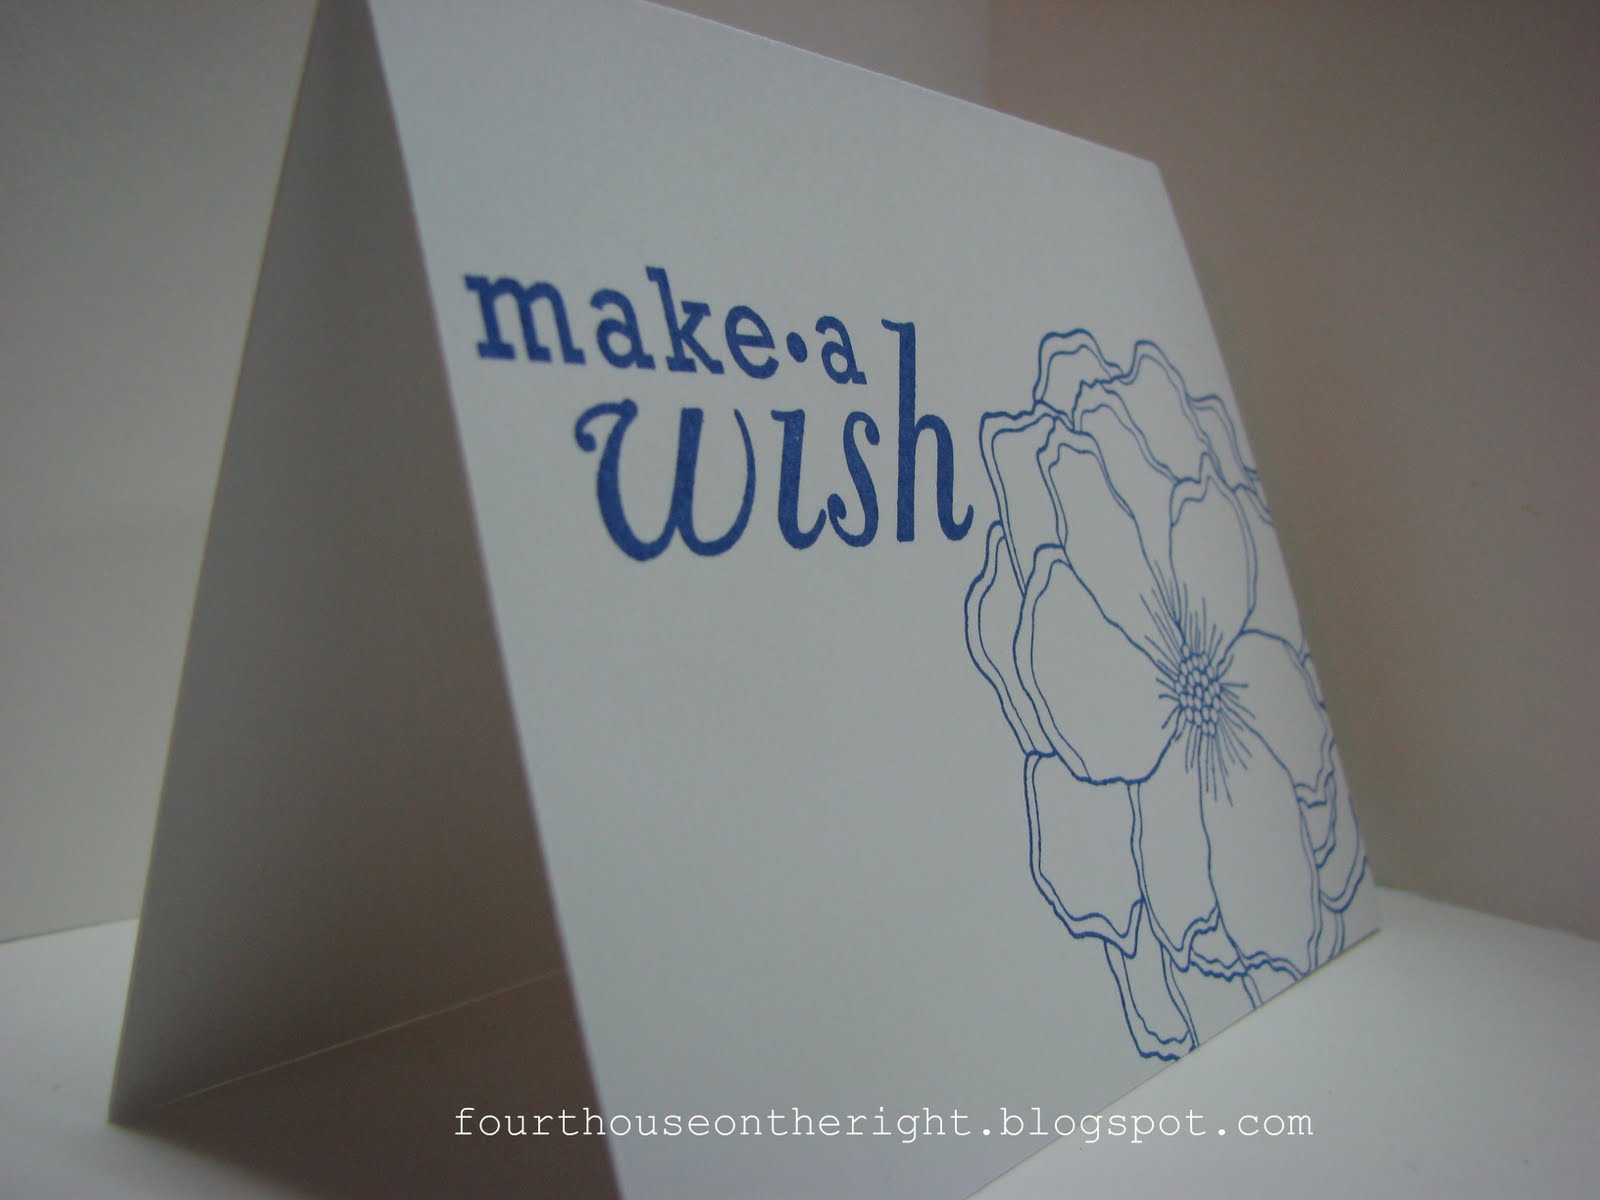
And positioned my Hero Arts flower off center :) This is similar to a card I made for my bloggy friend Mary Pat, HERE, but for this set it's all stamping. I literally made all eight cards in about 30 minutes while my sweet, wonderful husband was fixing dinner! (I really hope he's reading this) :)
I'm loving how these turned out and am loving Cath for the inspiration! Grandma will be thrilled, I'm sure!
I packaged all eight cards and their envelopes up in one of Papertrey Inks clear card boxes, LOVE these!
Stamps: Hero Arts Stencil Flower, PTI Think Big Sentiments
Ink: CTMH White Daisy and Momento
Paper: PTI Stampers Select White and Enchanted Evening
That's it for me today! We're visiting Grandma and Grandad tonight and then off to visit our friends and their new baby tomorrow. Lots of visiting this weekend :) What do you have going on this weekend? Thanks for popping in today and I'll chat with you later :)
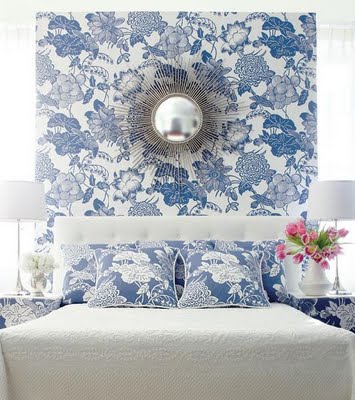
Isn't that a great picture? I was drawn to the blue and white and I love the flowers too! I thought I would make a quick and easy set of note cards for my grandma, whom we happen to be visiting this weekend as well! Win win, right?
I haven't quite mastered the card group photo shot yet, so this was the best I could get. I made eight cards in all, four blue, four white.
I kept the inks the same, Momento blue on the white cardstock and CTMH White Daisy on the blue cardstock.
I varied the sentiments to give grandma several to choose from.
I'm loving how these turned out and am loving Cath for the inspiration! Grandma will be thrilled, I'm sure!
I packaged all eight cards and their envelopes up in one of Papertrey Inks clear card boxes, LOVE these!
Stamps: Hero Arts Stencil Flower, PTI Think Big Sentiments
Ink: CTMH White Daisy and Momento
Paper: PTI Stampers Select White and Enchanted Evening
That's it for me today! We're visiting Grandma and Grandad tonight and then off to visit our friends and their new baby tomorrow. Lots of visiting this weekend :) What do you have going on this weekend? Thanks for popping in today and I'll chat with you later :)
Thursday, June 2, 2011
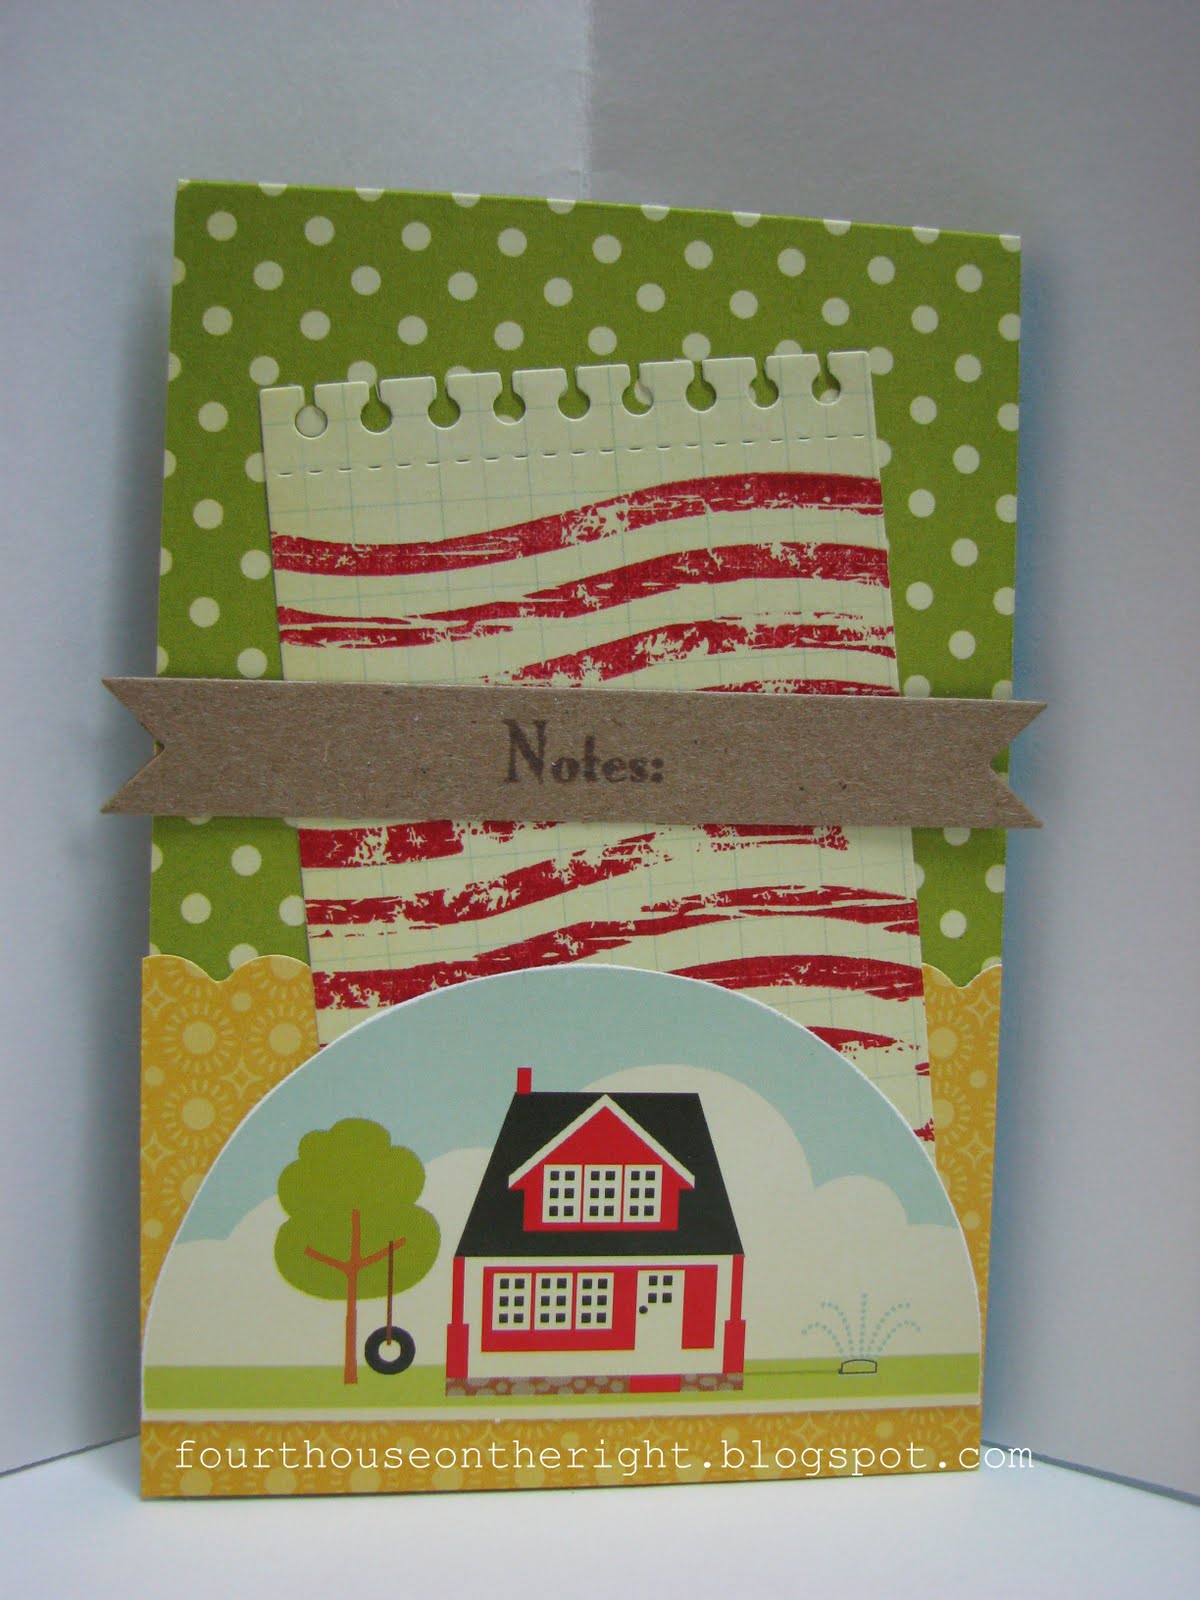
Notepads
Good morning! So happy it's already Thursday! This week has flown by, I'm sure it was the Monday holiday.
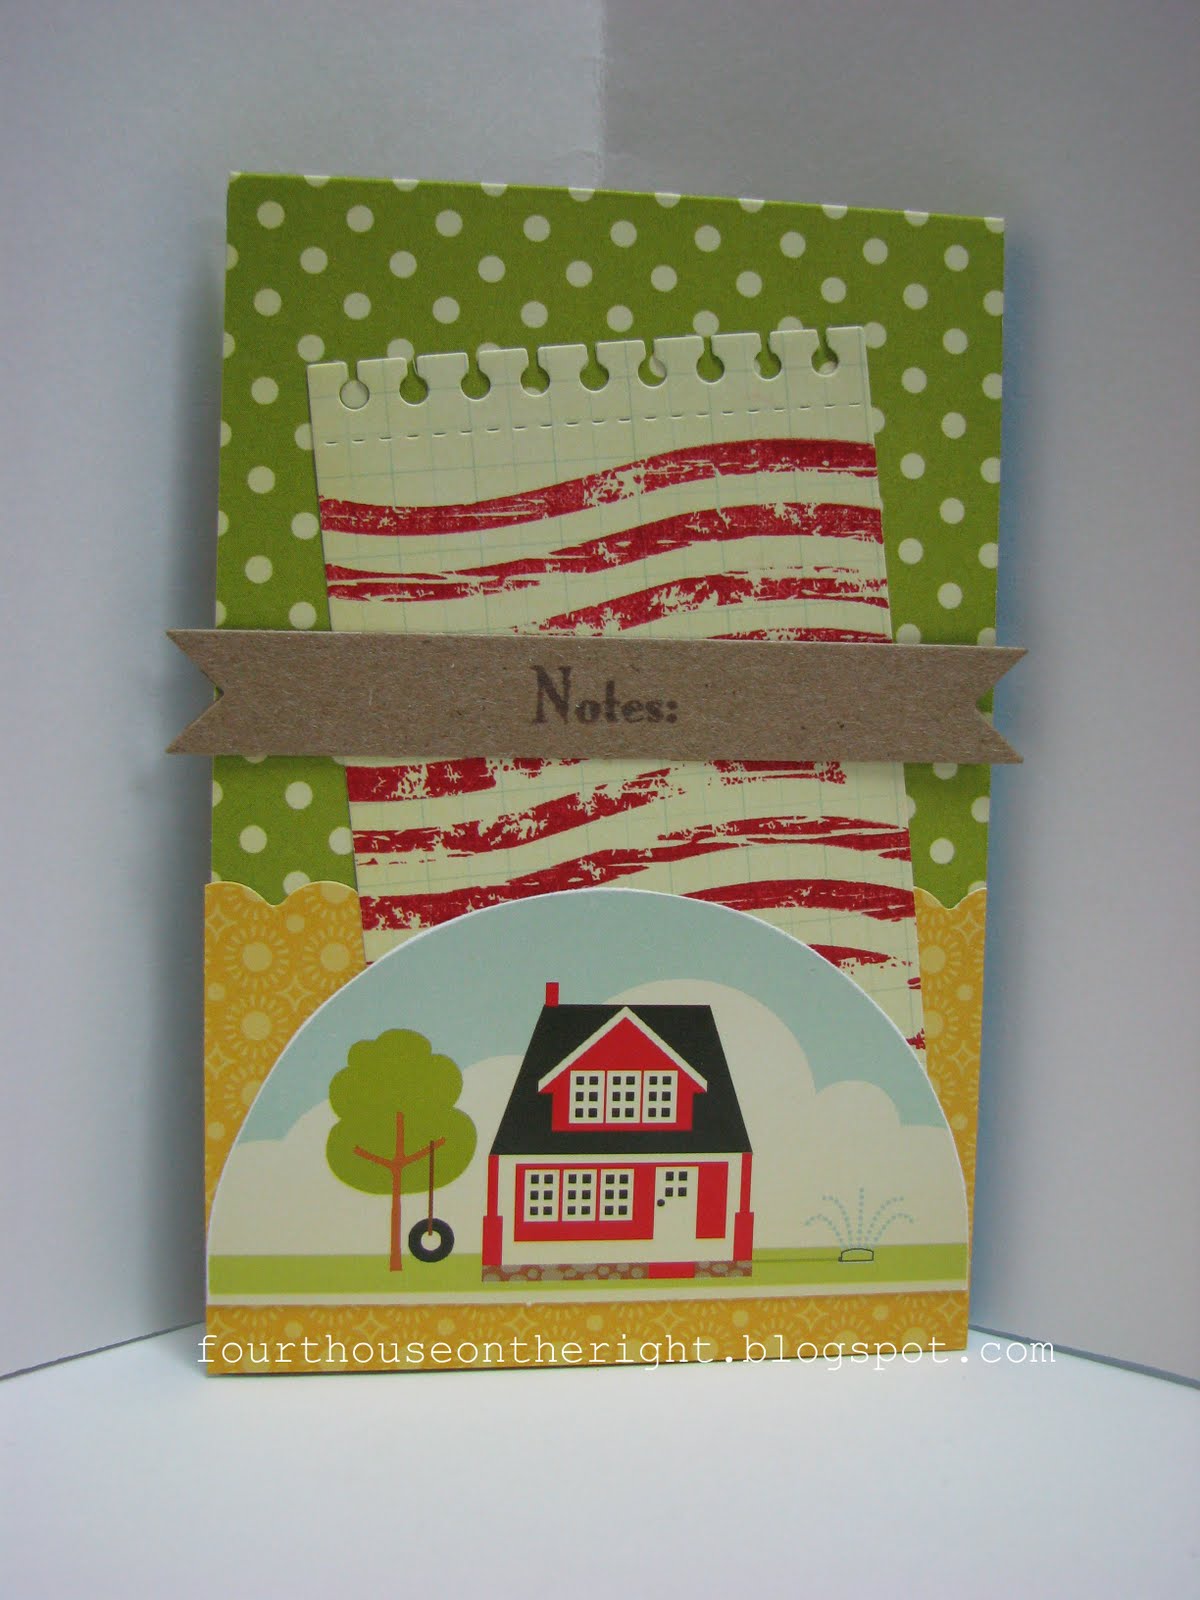
Tuesday night I came home and had several things running through my head that I needed to pick up at the store. Now if I have my phone handy, I'll just start a list on my post it note app, but honestly, sometimes it's just easier to grab an old fashioned notepad and pen! :) I grabbed a pen and looked and looked for a notepad and couldn't find one. (well, I finally found one, in the back of the drawer) I figured it was about time to make a fun, summer notepad to hang out by the phone!
I just had this notepad in my stash and I measured the front, trimmed my paper to fit and adhered it to the back. In hindsight, I should have taken a pic... I layered on a few goodies, but not too many as I didn't want it to be too lumpy when I was writing out my lists.
Stamps: PTI Est. 1776 and It's Official
Ink: PTI Pure Poppy, Momento (brown)
Paper: Pink Paislee Hometown Summer, Hobby Lobby Kraft
Other: Fiskars scallop border punch, PTI double ended banner die and spiral notebook die
Well, that's it for me today. I'll be back tomorrow! Thanks for stopping by :)
Wednesday, June 1, 2011
Sugar and Spice
I'm happy to say, I got my crafty streak back last night! It's funny, but I think being at work makes me want to be crafty. While I'm working, I sit around and think about crafting ALL DAY LONG! (shh, don't tell my boss!)
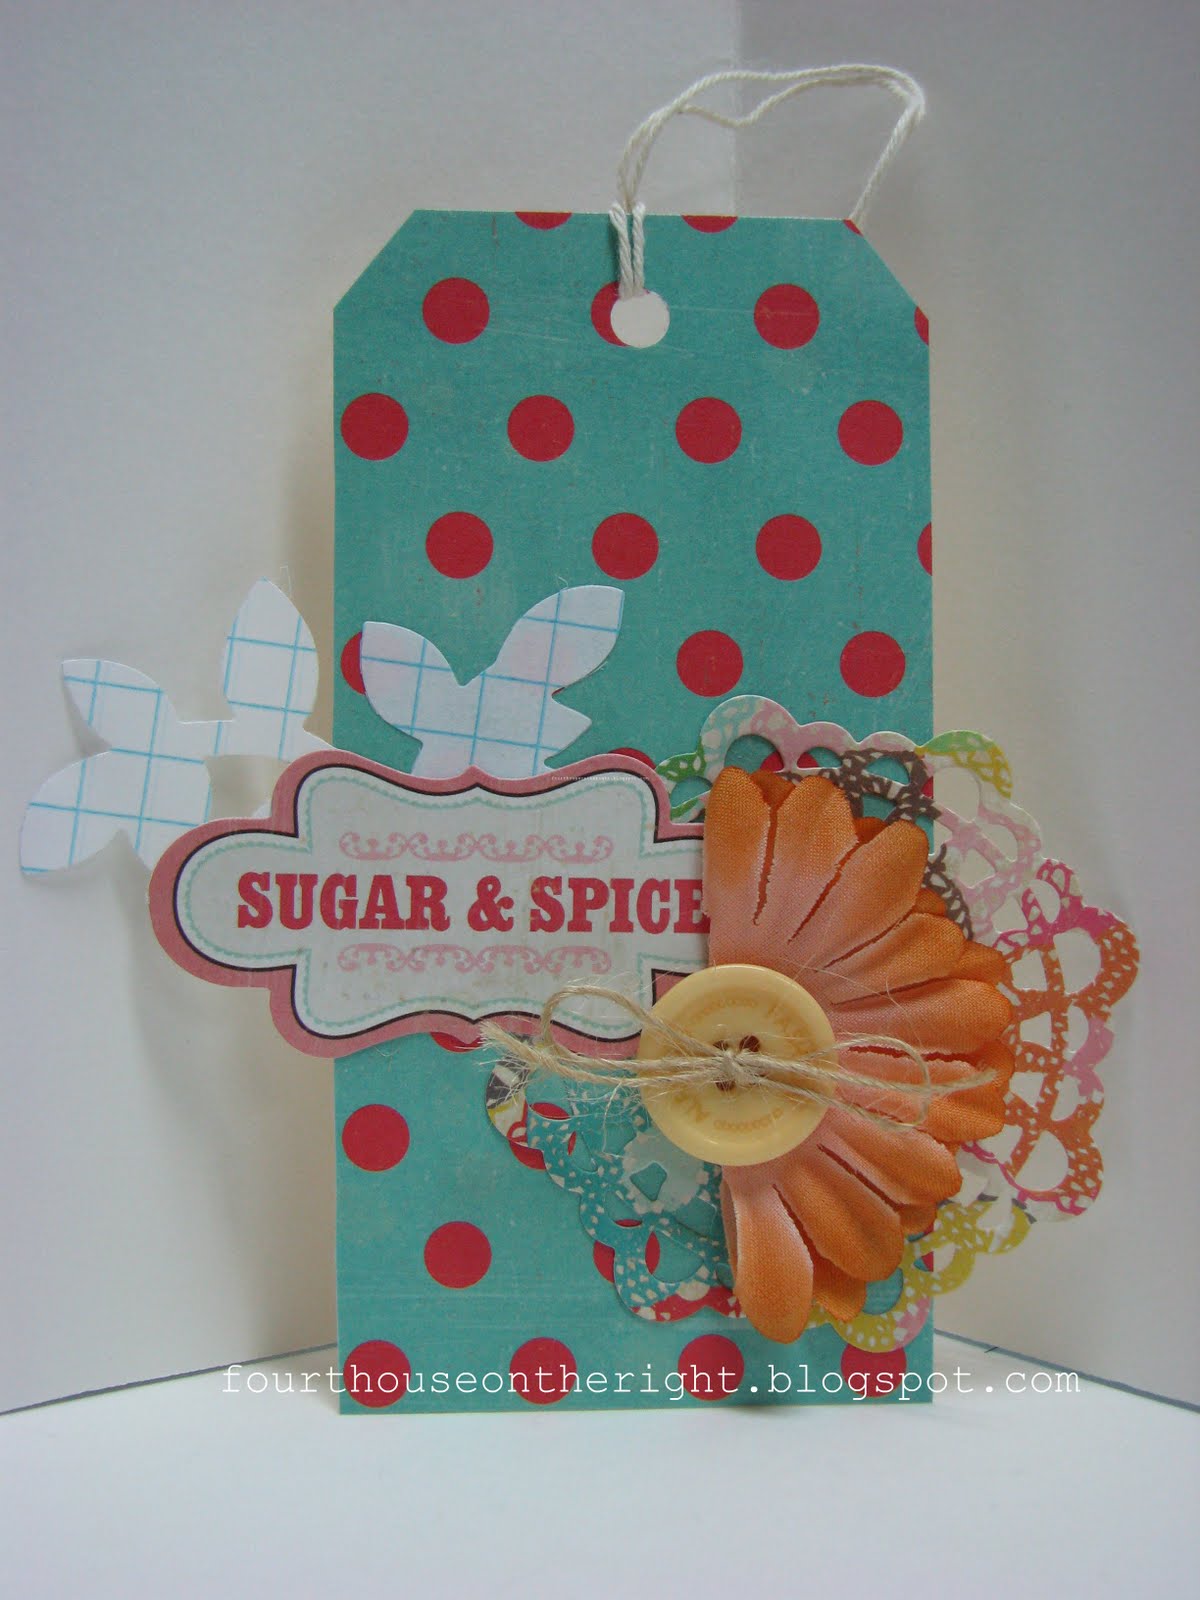
I got home from work last night and immediately got to work on a tag I needed for a baby gift. Some friends of ours had a baby last November, I made THIS card for her baby shower. They live out of town and we're going to visit them this weekend! Here's the tag for this sweet baby girl!
I used lots of Crate Paper goodies on this, a big flower and button, a bit of twine and some fun graph paper! Luuuuuuving how this turned out! :)
Hope you have a great Wednesday my friends! Thanks so much for stopping by today! :)
Subscribe to:
Posts (Atom)