Monday, January 31, 2011

Look who's crafty!

My better half!  Mike finished the beds up and on Saturday we moved them up from the basement and got them all situated in the girls' rooms.  Oh man, were they excited!

Here is Abie's bed :)

A better view of the foot board...

Landry's bed, complete with the pink and purple bedding she requested!


Here's a better view of the headboard.  I know Landry's walls are lime green, but her crib bedding was pink with lime green leaves.  I'm not sure what I'm going to do about that yet.  :)

We found the plans for the beds here.  From what Mike said, they went together pretty easy and the plans were easy to follow.  The beds looked really good unpainted too and I think they would have looked awesome if they would have been distressed, I really had to resist the urge to bust out my ink pad and run it around the edges!  All of the girls other furniture is enamel white though, so the distressed thing would have looked out of place I think.

We had a very productive Saturday and when Sunday rolled around I was pooped out.  I got the laundry done and the second floor vacuumed and that was about it.  I did get a chance to work on some of the stuff for goodie baskets for Abie's birthday, so I did feel somewhat accomplished :)  Did you guys have a nice weekend?  Are you looking forward to the week ahead?  Thanks for stopping by today and thanks so much for all of your comments.  I really appreciate them (and you guys) so, so much!!

Friday, January 28, 2011

Got tissue flowers?

Hello Friday, I think I love you.  It's supposed to be 50 today and I'm going to enjoy every minute of it because we're back to the cold weather tomorrow.  It's been a nice break, that's for sure!

On to my craftiness for today.  Got tissue flowers?  Make a card!  Ha!  When I posted those tissue paper flowers the other day, it didn't take me long to come up with an idea for a card.
This card came together so quick because I had that pile of flowers to choose from.  I love how bright and springy this looks!  Really gets me in the mood for some sunshine :)

BED UPDATE:  Mike has finished the enamel top coats on the beds and picked up Landry's box spring and mattress yesterday.  He's going to pick up the rails for both beds today.  We had a twin frame for Abie's bed and this particular bed he made calls for rails instead of a frame, so looks like we'll be selling the frame and her old headboard in the garage sale this spring!  The plan is to get the beds put together and get the rooms situated on Saturday and the girls can hardly contain their excitement!

Do you have big plans for your weekend?  I'm hoping to get crackin' on some stuff for Abie's party.  I have a banner to make and I need to work on the goodie baskets too.  I hope you have a wonderful Friday!  Thanks for coming by today!!

Thursday, January 27, 2011

Mini Post It Holders

Morning friends!  How are you on this fine Thursday?  Things are going really well here.  Abie and I went to Target last night and picked out a new comforter for her bed.  Landry and I had been online the night before, her only requirement was that her bedding was pink and purple!  She's easy!  Abie is a bit more difficult...  After much deliberation, Abie found one she was happy with .  Whew!  I'm super excited to show you guys the beds, I'm just amazed at the job Mike has done on these, they look fabulous!  We're hoping to get them in the girls rooms this weekend and I'll be sure to take pictures for a post next week.

Now, I'm sure by now you all know how I love little notebooks and bits and pieces of things.  So the perfect marriage of these two are mini post it pads.  I whipped up a simple little tri fold cover for these.

And then wrapped them up with a bit of ribbon.
So simple and easy, but freaking adorable if you ask me!  The mini post its measure about 2x2 which making covering them a cinch!

We're in for another hot day here, 40 degrees today!  I'm so grateful for the warm weather.  I'll take these mini warm ups, I know they won't last long.  Hope you have a fab day wherever you are.  Thanks for popping in!

Wednesday, January 26, 2011

Twice in one week!

Yes, another layout.  Can you believe it?  I must be on a roll here.  These are some really old pictures from Abie's first day of first grade.  (She's now in third grade!!!)  I have had this paper forever and I just loved it and didn't want to use it.  I'm so bad about that...
Abie looks so young in these pictures and she was missing a couple of teeth too!  Makes me a little weepy, she's getting so big now.

Well, I don't have much going on today.  Our mild temps turned into 40 freaking degrees yesterday!  I was so happy.  Crazy thing is hardly anything has melted. 

BED UPDATE:  Mike got two coats of primer on the beds and he's hoping to get the first top coat on tomorrow.  Do any of you guys know where to buy a twin bed frame?

Thanks for coming by today!  Have a fabulous day!!

Tuesday, January 25, 2011

Tissue Flowers and Hearts

A happy Tuesday to you all!  Over the weekend, I was feeling a bit uninspired and wasn't really sure what to make.  I happened to turn around and see a stack of tissue paper that I had saved from Landry's birthday party and thought I'd make up a stack of flowers and hearts for embellishing cards, tags, layouts and such later on.

All I did was layer several sheets of tissue onto my die and then after they were cut I layered several together and attached a brad.  I did the same thing with the hearts, but I held them together with a bit of adhesive and topped them off with a button.
There is some really pretty tissue paper out there and I just hate to get rid of it!  I love the way these turned out and now I have a bunch of fun little embellishments all pre-made for when I'm in a rush.  I already have a card in mind for one of those flower too!

Do you have anything fun up your sleeve for this Tuesday?  We're experiencing rather mild temperatures here in Missouri today.  A high of 34 expected for today.  Come on snow, melt baby melt!  Mike is on vacation this week, he's building beds for the girls.  He tore it up yesterday, got both headboards AND both foot boards done.  Tomorrow he's hoping to get them sanded and maybe a coat of paint on them.  I don't know who's more excited, me or the girls!

Have a great day and thanks for stopping in!

Monday, January 24, 2011

Boo!

Well, I know it may be January and we might have tons of snow on the ground here, but I felt inspired to create a Halloween layout this weekend.  Crazy?  Maybe yes, maybe no. 
These pics are from Halloween 2009!  I'm a bit behind, huh?  This just took me a bit to whip out, not too much detail on this page, which is kind of my scrapbooking style.  I tend to put more junk on my cards and other projects, I think because they're on a smaller scale.    Do you find that your style is the same with your layouts as it is with your other projects or are you like me and your style differs from layouts to your other projects?

So, I wanted to let you know Mike and I had a great time Saturday night.  The food was fabulous and so was the company.  His boss does not read my blog, so I'm not sucking up here :)  Haha!
Here's a picture of us right before we walked in for dinner.  Thanks for stopping by today.  I hope you have a great Monday and I'll chat with you tomorrow!

Friday, January 21, 2011

Filling the Last Space

Dang, another week down the drain.  Maybe it's been all the snow days, but this month is going by crazy fast!  This morning is Muffins with Mom at Abie's school but after that, I'm headed in to work.  We're supposed to get a small amount of snow this afternoon and maybe another big one on Sunday.  We shall see.  We have an exciting weekend ahead of us.  Saturday night is the Missouri Restaurant Association Inaugural Ball at The Meulbach Hotel.  I'm super excited because it's a black tie optional affair and the only meat I have to cut up that night is MINE!  :)  I'm hoping to get some pictures taken of us to post next week!!

Okay, on to the crafty stuff.  Earlier in the week, I posted my three Gs which then created an empty space in my Pepsi crate.  Well, you'll be happy to know, the space has now been filled!

This is a little mini chalkboard I picked up at Hobby Lobby for $2.47.  I painted the edges, stamped on the board with Staz On ink and then embellished the bottom corner!

A close up...  I'm loving those Prima Pearls...
And the stick pin with the buttons!

Here's a picture of the chalkboard in the Pepsi crate....
And one of the whole wall.  I tried to use colors from our living room.  You can't see it, but our two arm chairs are that barn red and then our walls are the deep gold color.  I'm loving how this all turned out!  Best part about this project, besides the fact that it only cost $2.47, it only took 30 minutes to make.


What plans do you have for your weekend?  Anything fun up your sleeve or are staying in and scrapbooking the weekend away?  Have a fantastic Friday my friends!  Thanks for stopping by today!

Thursday, January 20, 2011

Birthday Invites

 ETA:  8" and it's started to snow again.  Lightly, but still snowing....

Well, we got some more snow...  I started about noon yesterday and snowed all afternoon, through the night and stopped sometime this morning.  I'm not sure how much we got, but it's a lot people.  It sure is pretty, but I'm ready for spring!

Abie's birthday is next month and she is having her first slumber party, much to her dad's chagrin.  She's only inviting three other girls, cuz my momma always said you should have an even number so someone doesn't get left out.  I have a whole bunch of stuff planned for them but it all starts with the invites, right?  So here they are!
Stamps: PTI Round and Round
Ink:  Versamagic
Paper:  Hobby Lobby black, Core'dinations aqua and lime green
Other:  Feathers, Tulle, Embossing Folder, Rhinestones and MS Glitter


I've got some other stuff I'm making for the par-tay so there will be more projects to come on the blog in the near future!  :)  Hope you have a great Thursday and that you're all safe and warm!

Wednesday, January 19, 2011

Why does everything look better in acrylic?

You know, you could put a rock in an acrylic box and it would suddenly look freaking adorable.  Why is that?  Every time I see a project on the Internet that involves some type of acrylic vessel I am drawn to it's crazy cuteness.  I needed something quick and easy for Landry's valentines and I found these boxes at the Dollar Tree.
They were in the aisle with all the baby shower stuff and yep, they were $1.  I cut the ribbons off, stuffed a snack size M&M bag inside and embellished the outside just a bit.
Poof!  Instant Valentine and instant cuteness!  The boxes measure about 2x2 and were really much sturdier than I thought.  A few of them had a bit of glue residue from the pink ribbon, but it scraped right off.
Here's a side view.  The paper I wrapped around the box measures 1" x 6 3/4".

That's it for me today!  Hope you have a fantabulous Wednesday!  Thanks for popping in.  I really REALLY am so grateful to all of you who stop by and leave comments.  It means so much to me.  :-)

Tuesday, January 18, 2011

The Three Gs

ETA:  I bought the third G at Joann's in the unfinished wood section and painted it with Delta Red Bard acrylic paint.  I was a bit distracted when typing my post up!  Whoops!

Morning friends!  Do you ever have an area in your house that you know you want to decorate with something, but you're just not sure with what.  However, you know when you see it you'll know that you'll know that's IT?  I have a few areas around my house like that and this was one of them...
It's the middle of our living room wall.  We have stuff hanging on the wall, all around it mind you.  Just not in the middle.  It looks really funky and odd.  Totally weird.  See that black g sitting in the Pepsi crate to the right?  It's 'bout to get moved...

In our kitchen we had a set of letters that spelled out BUGS.  They were painted off white and had green ivy painted on them with ladybugs.  I use to have a thing for ladybugs.  I've disliked these letters for some time now and we took them down awhile ago.  Well I was sitting in the living room a couple of weeks ago and saw that black letter g and it hit me like a ton of bricks!  I would take the G from the BUGS, the g from the Pepsi crate and then find a third G and have a totally awesome G threesome to hang on our wall in the living room!!!!

What do you think?  Excuse the crummy pics, it was dark and gloomy and I had to use my flash...

Now I just need to find something to replace the lower case g that I moved from the Pepsi crate.  Don't worry, I've already got an idea!

Hope you have a FANTASTIC Tuesday!!!!  Thanks for coming by today!

Monday, January 17, 2011

And....The After!

Good morning my dears and a happy Martin Luther King Jr. day to you as well, for those of you celebrating.  The girls and I are home today because of it and for that I am very grateful.  I spent all day Saturday running around getting errands taken care of and spent all day Sunday sick as a dog. Not exactly what I had planned for either day.  I wanted to get TONS of crafting done on both days.  I'm happy to report though, I'm feeling 100% better today and I will get TONS of crafting done today!  :)

So Friday I posted my before pictures of my crafty space and today I have a very lengthy and picture heavy post of my after pictures.  Everything is clean and organized and beeeeautiful, in my opinion!  Join me on my tour, won't you?
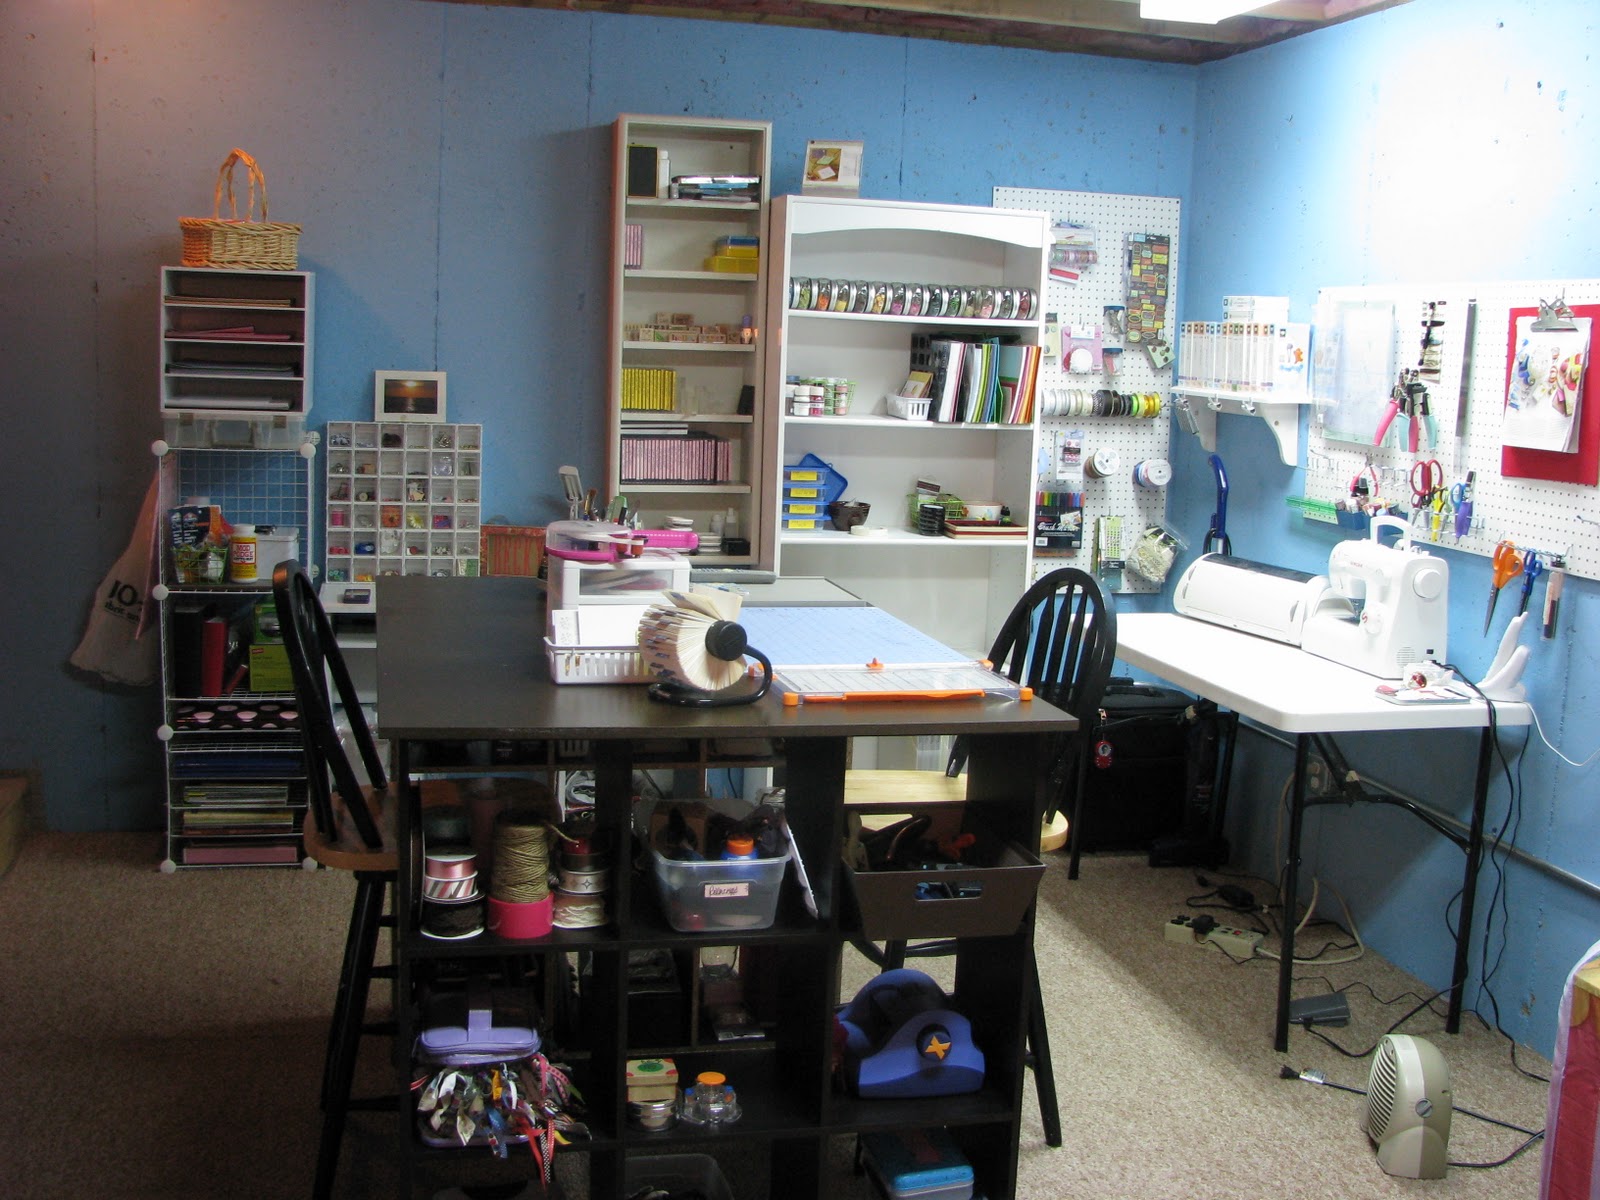
This is a picture of my whole space...

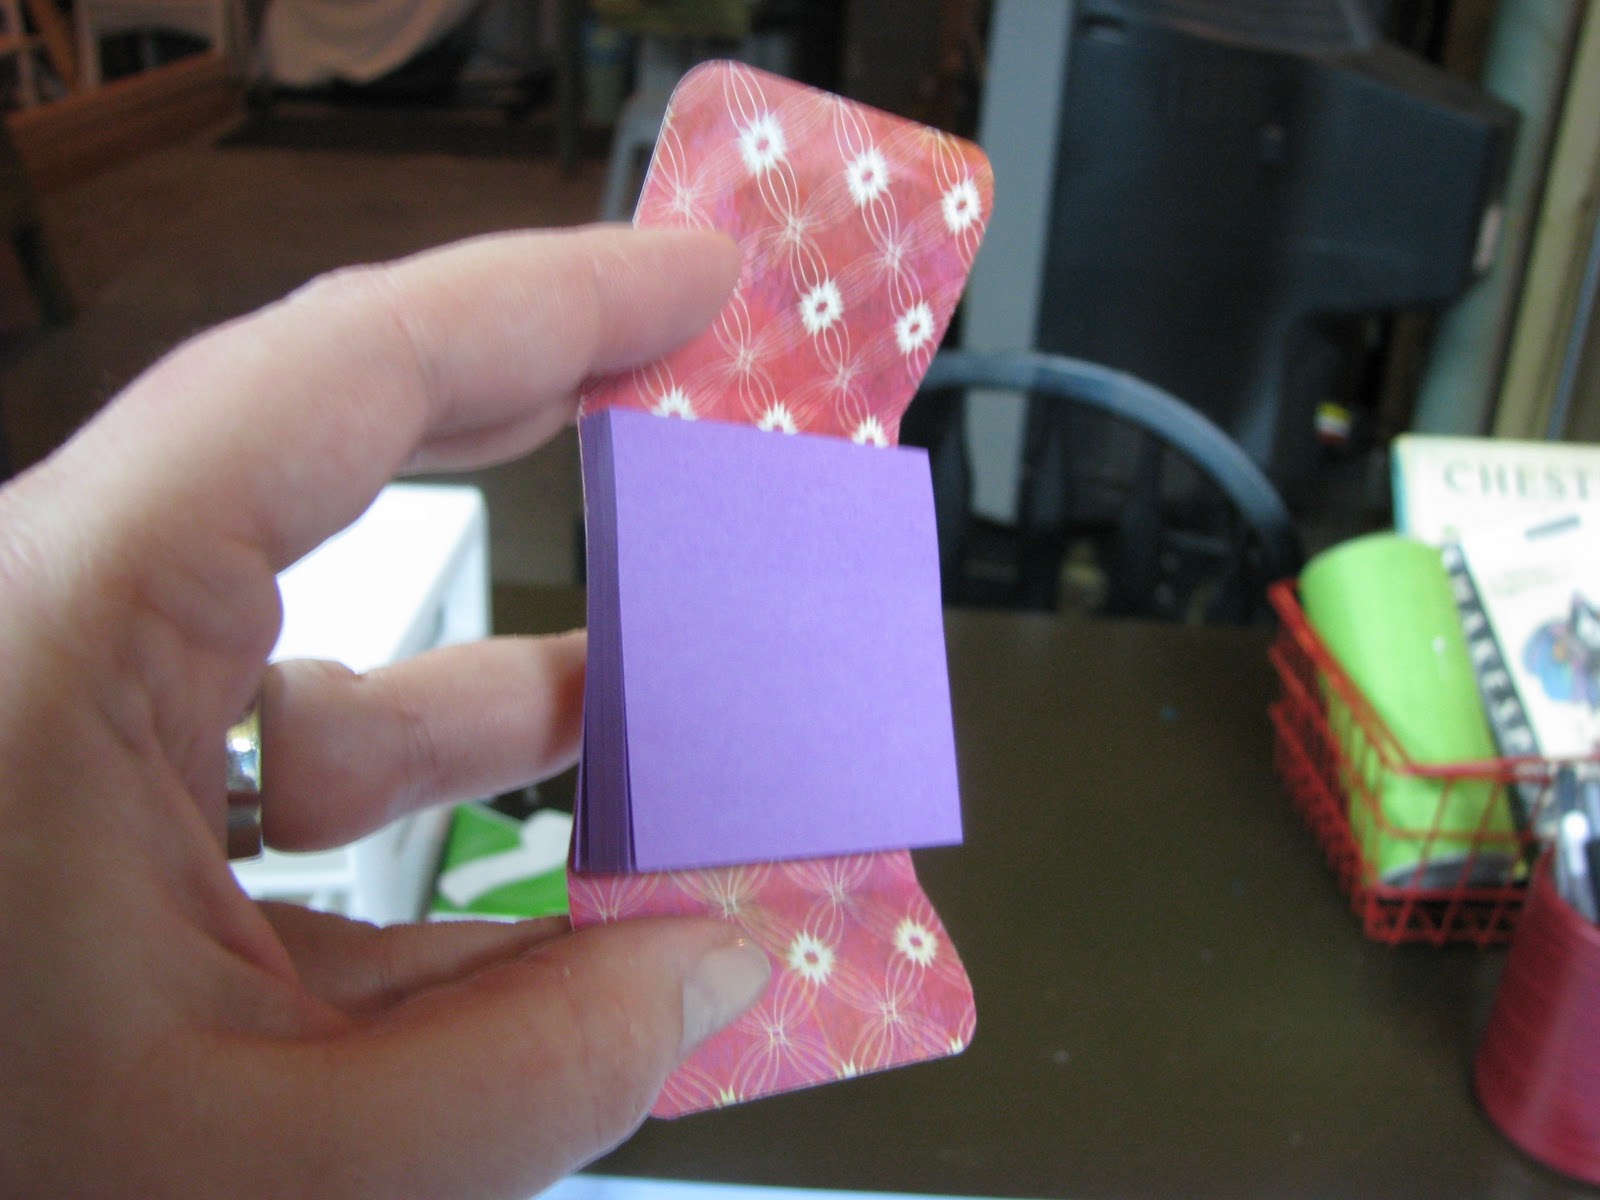
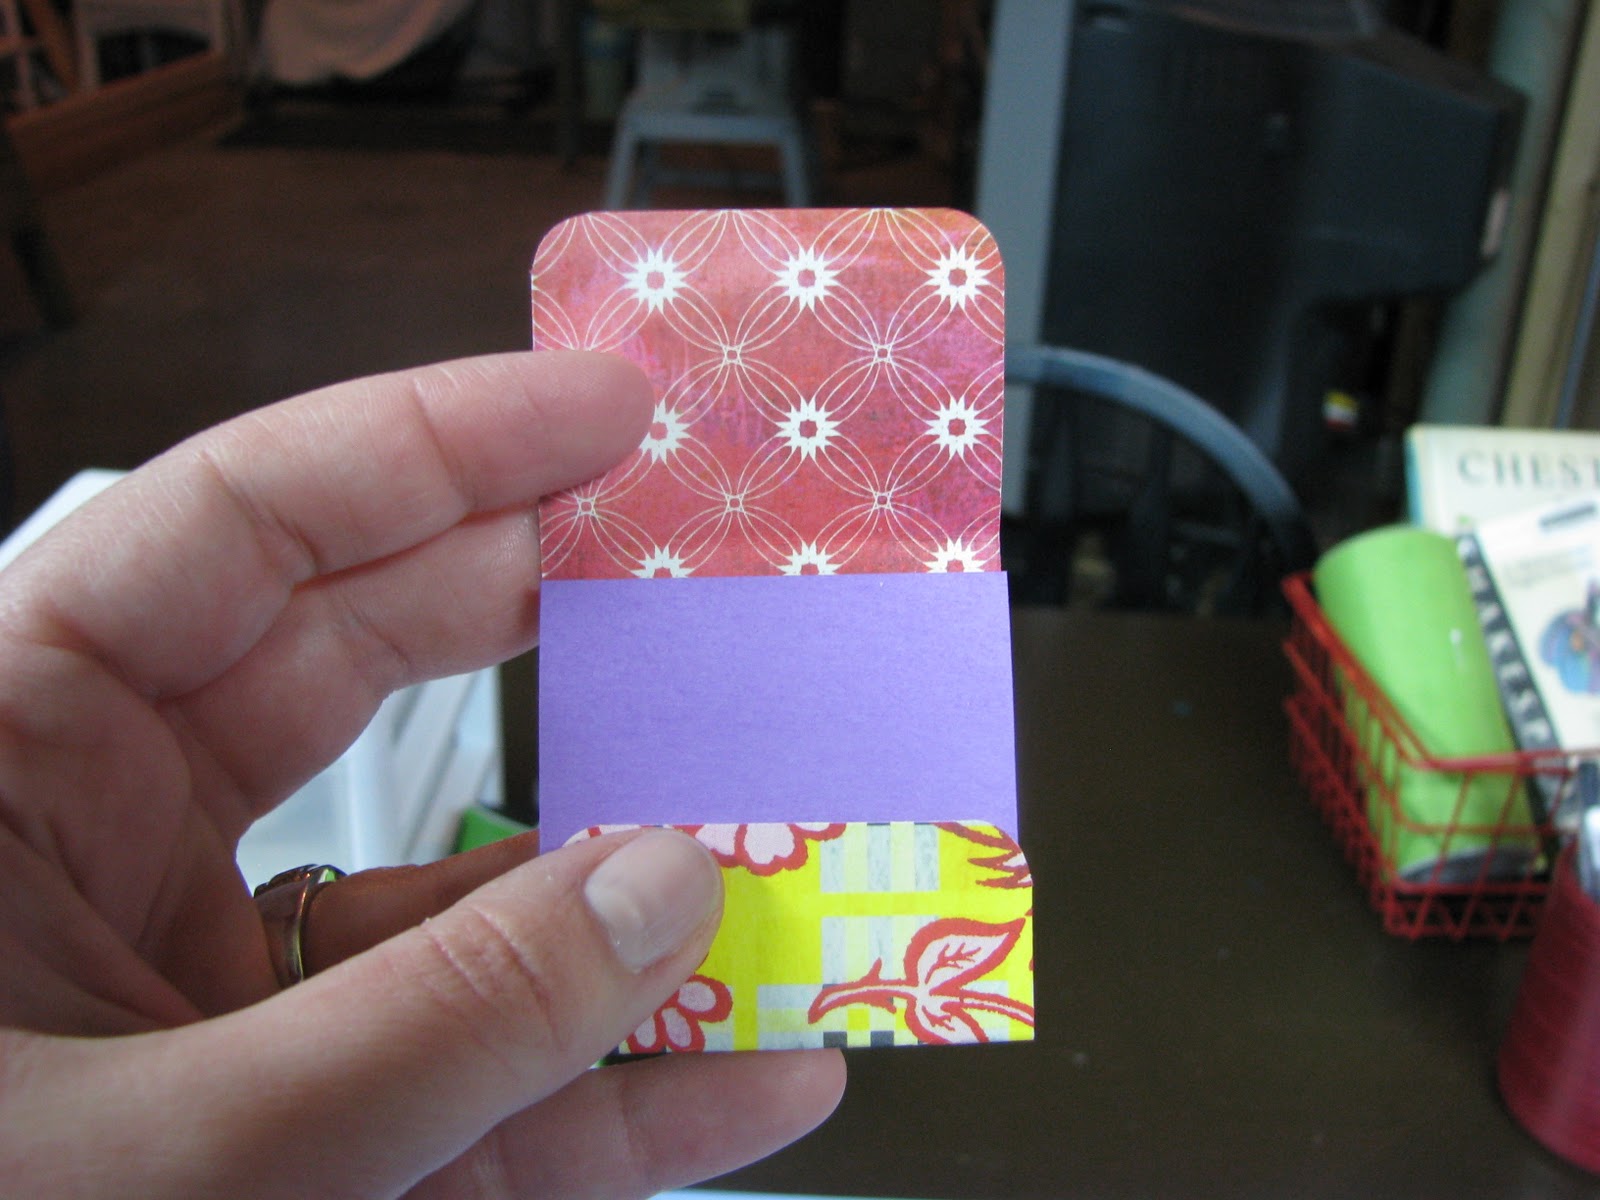
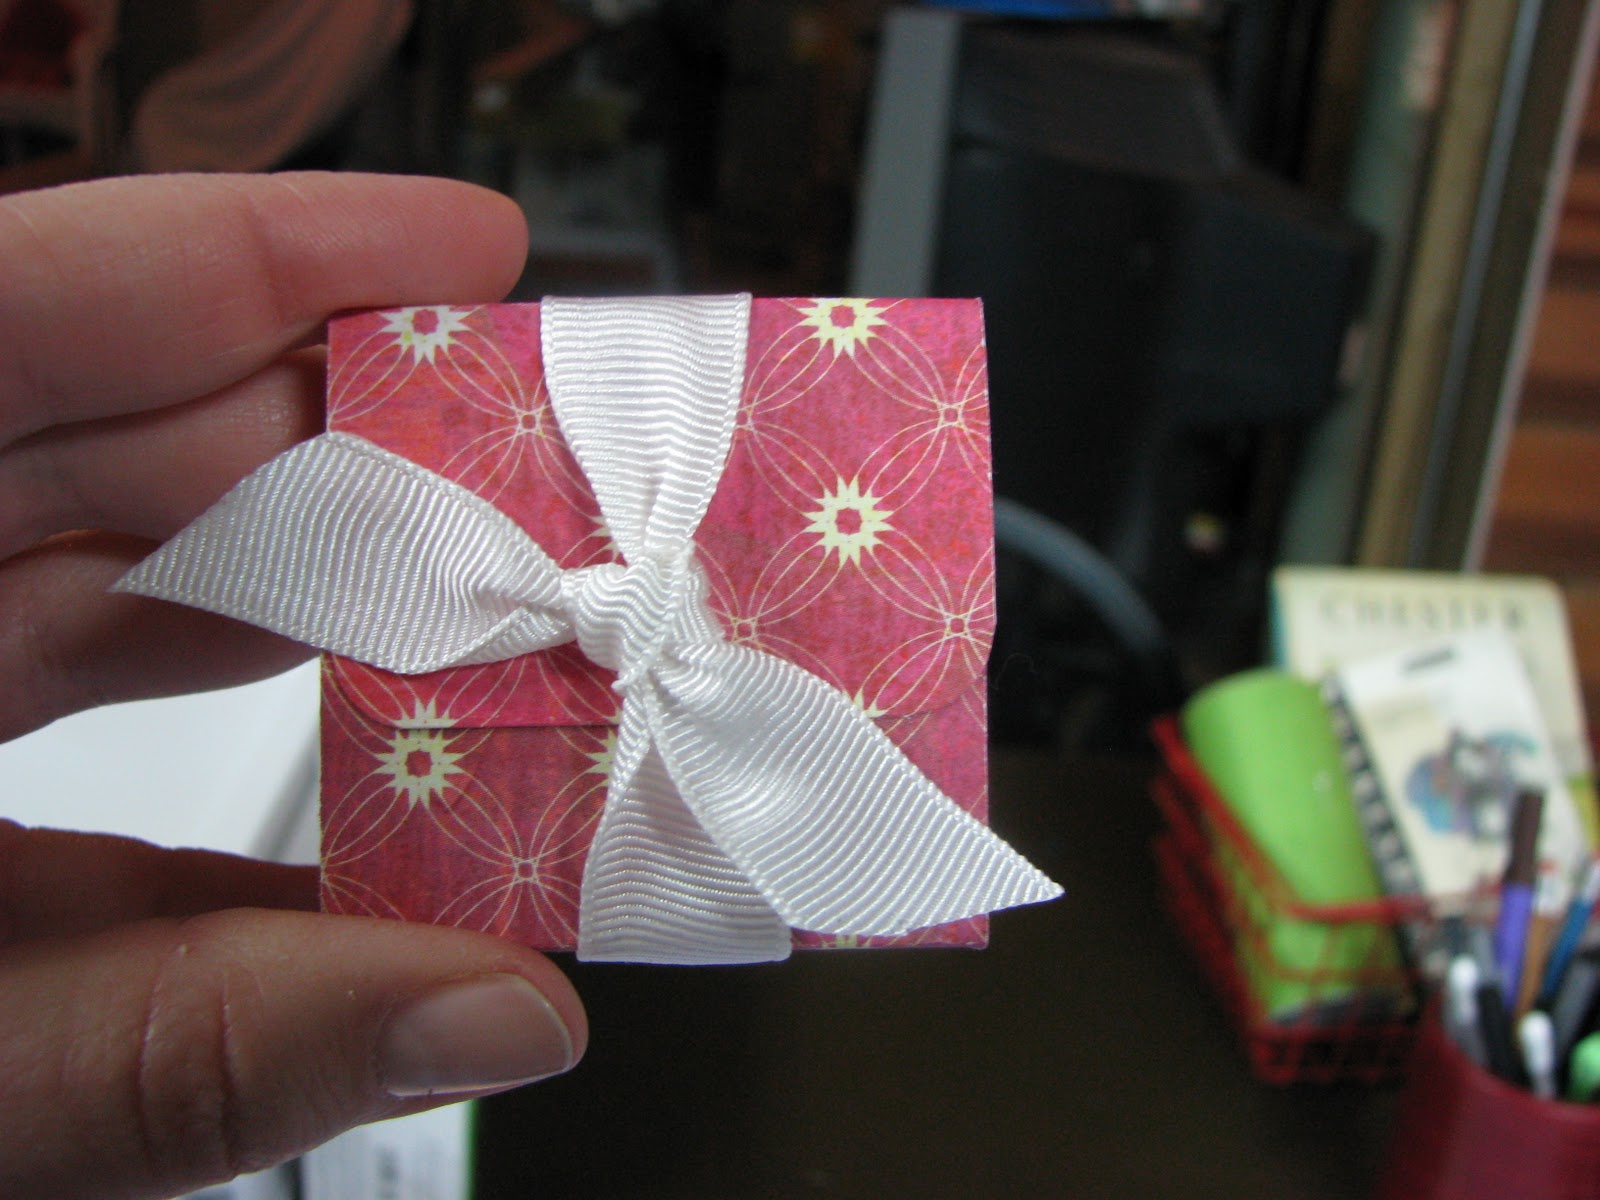
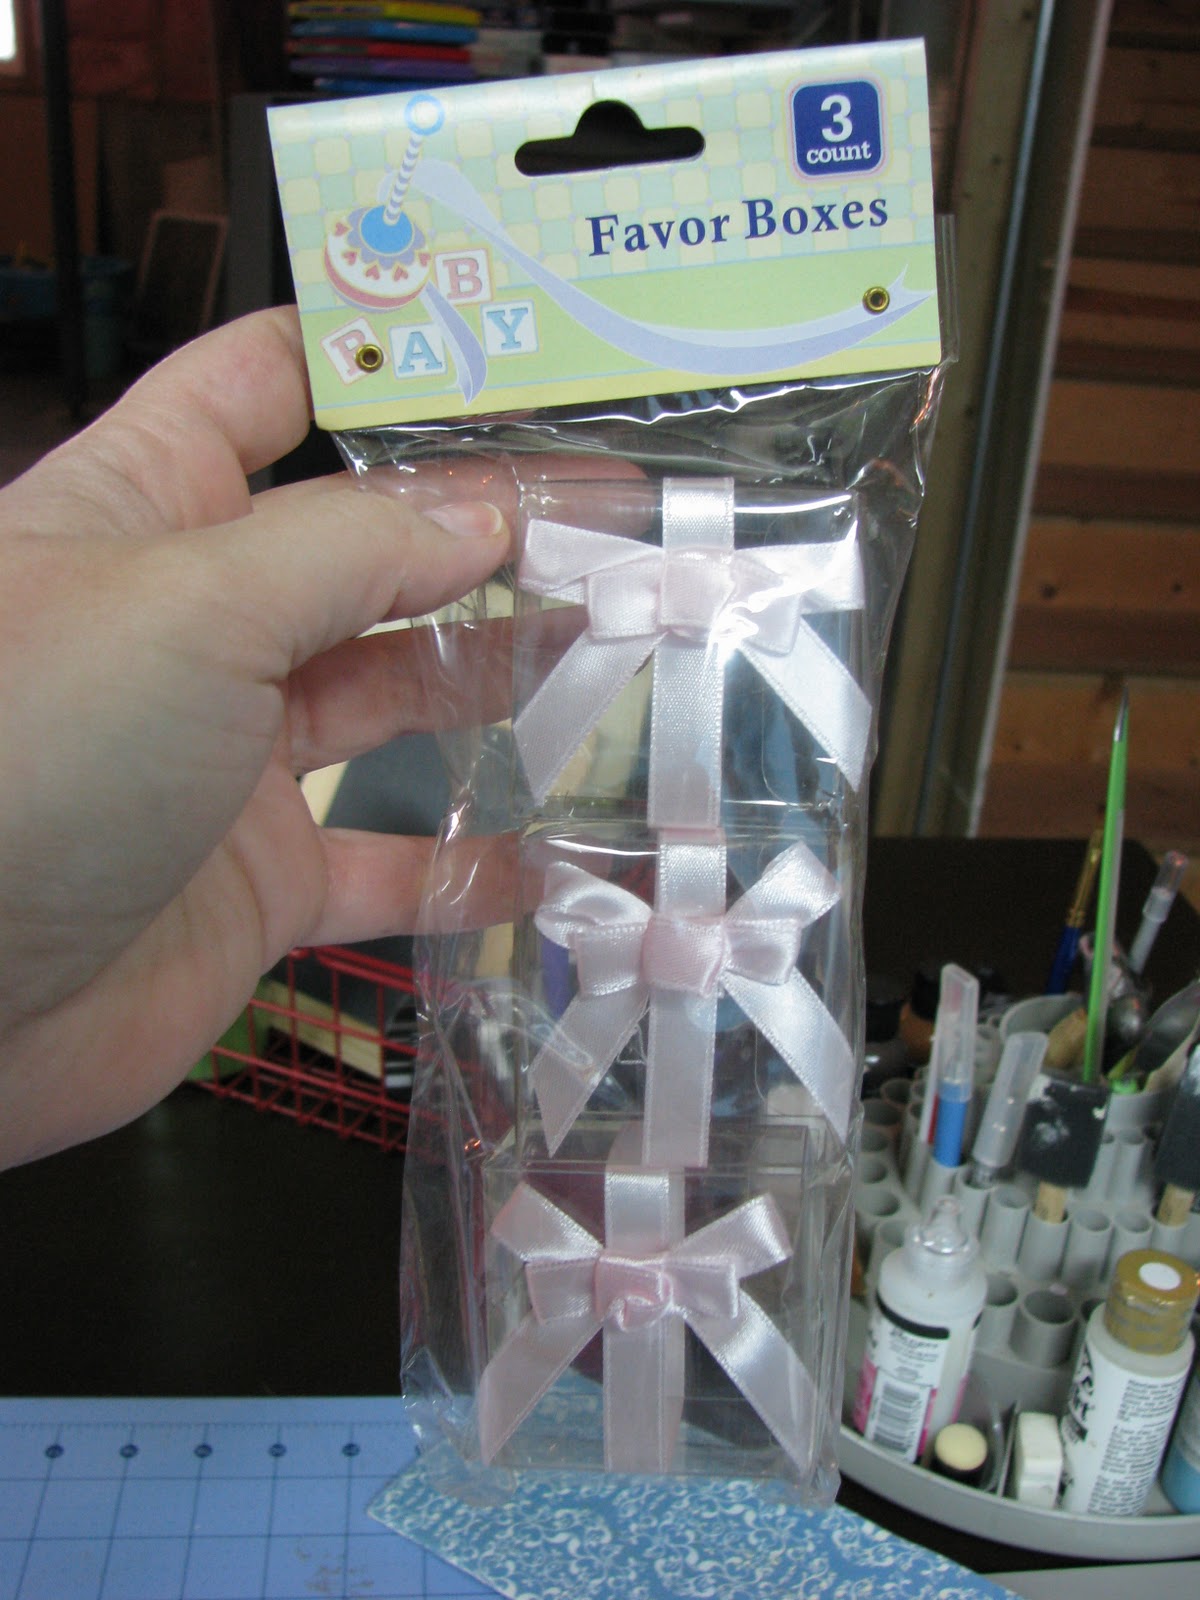
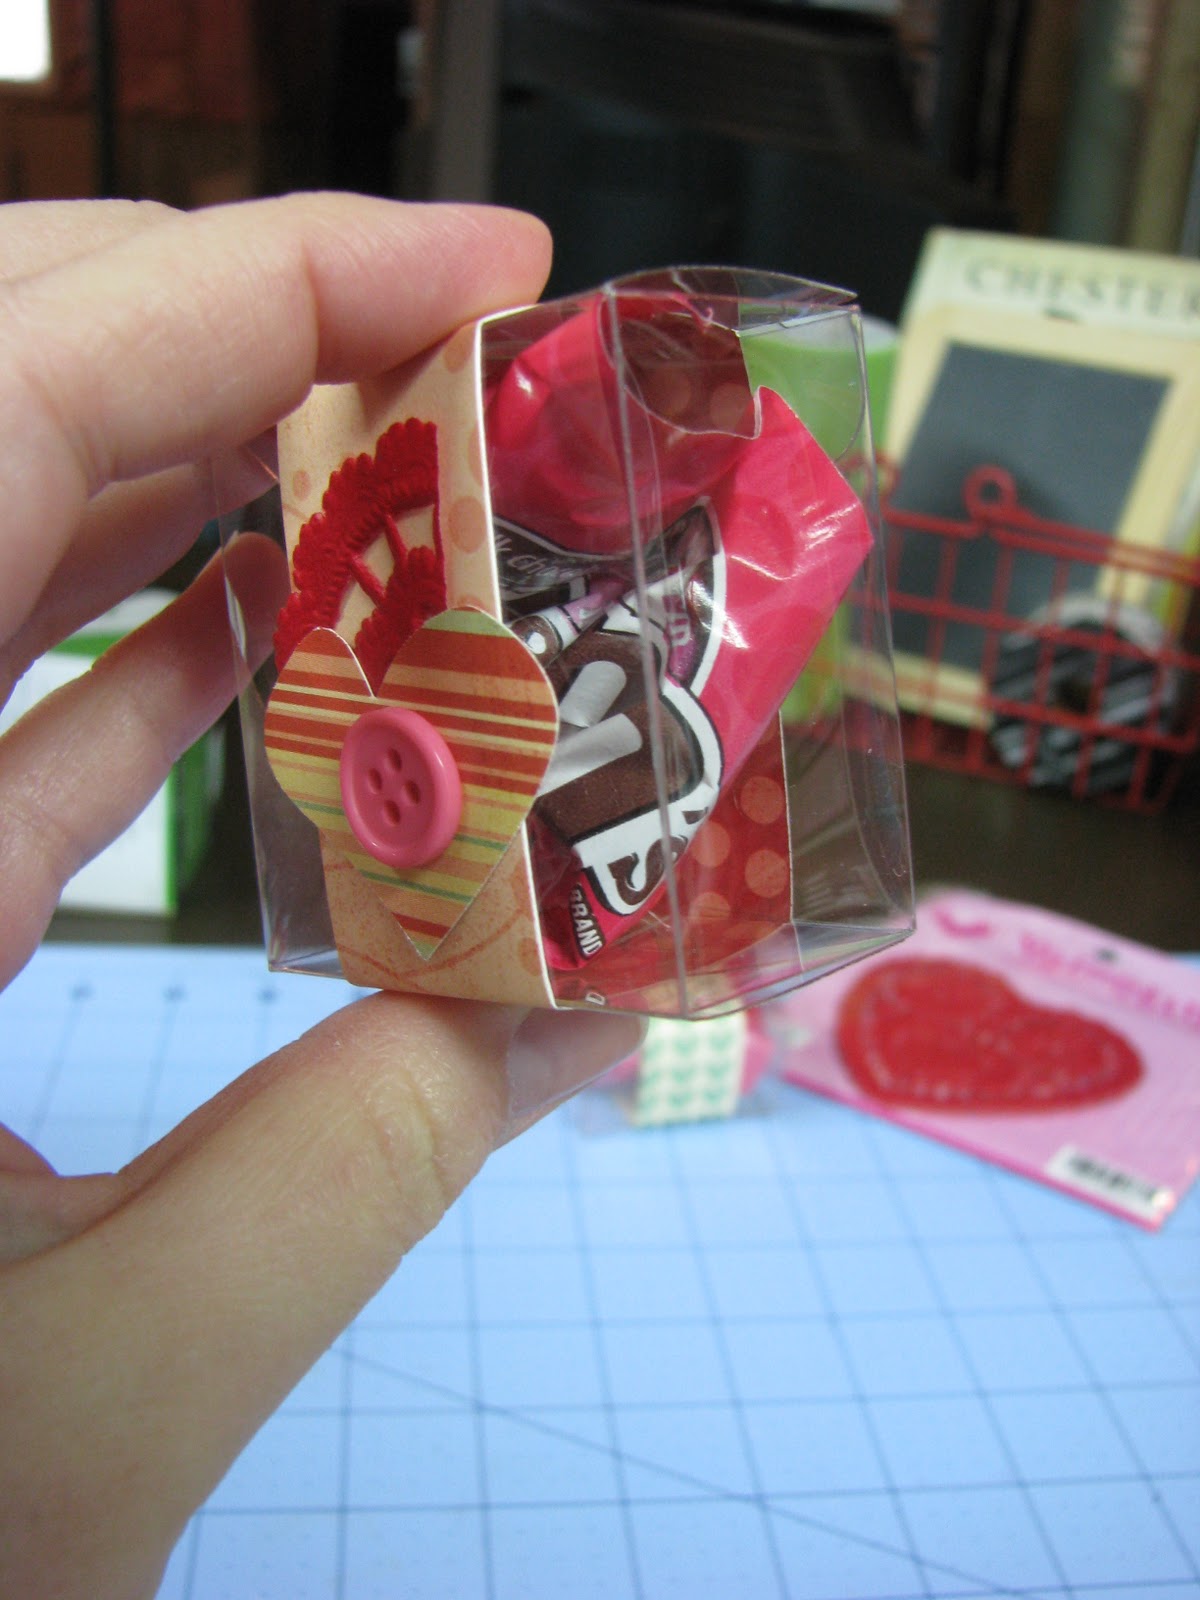
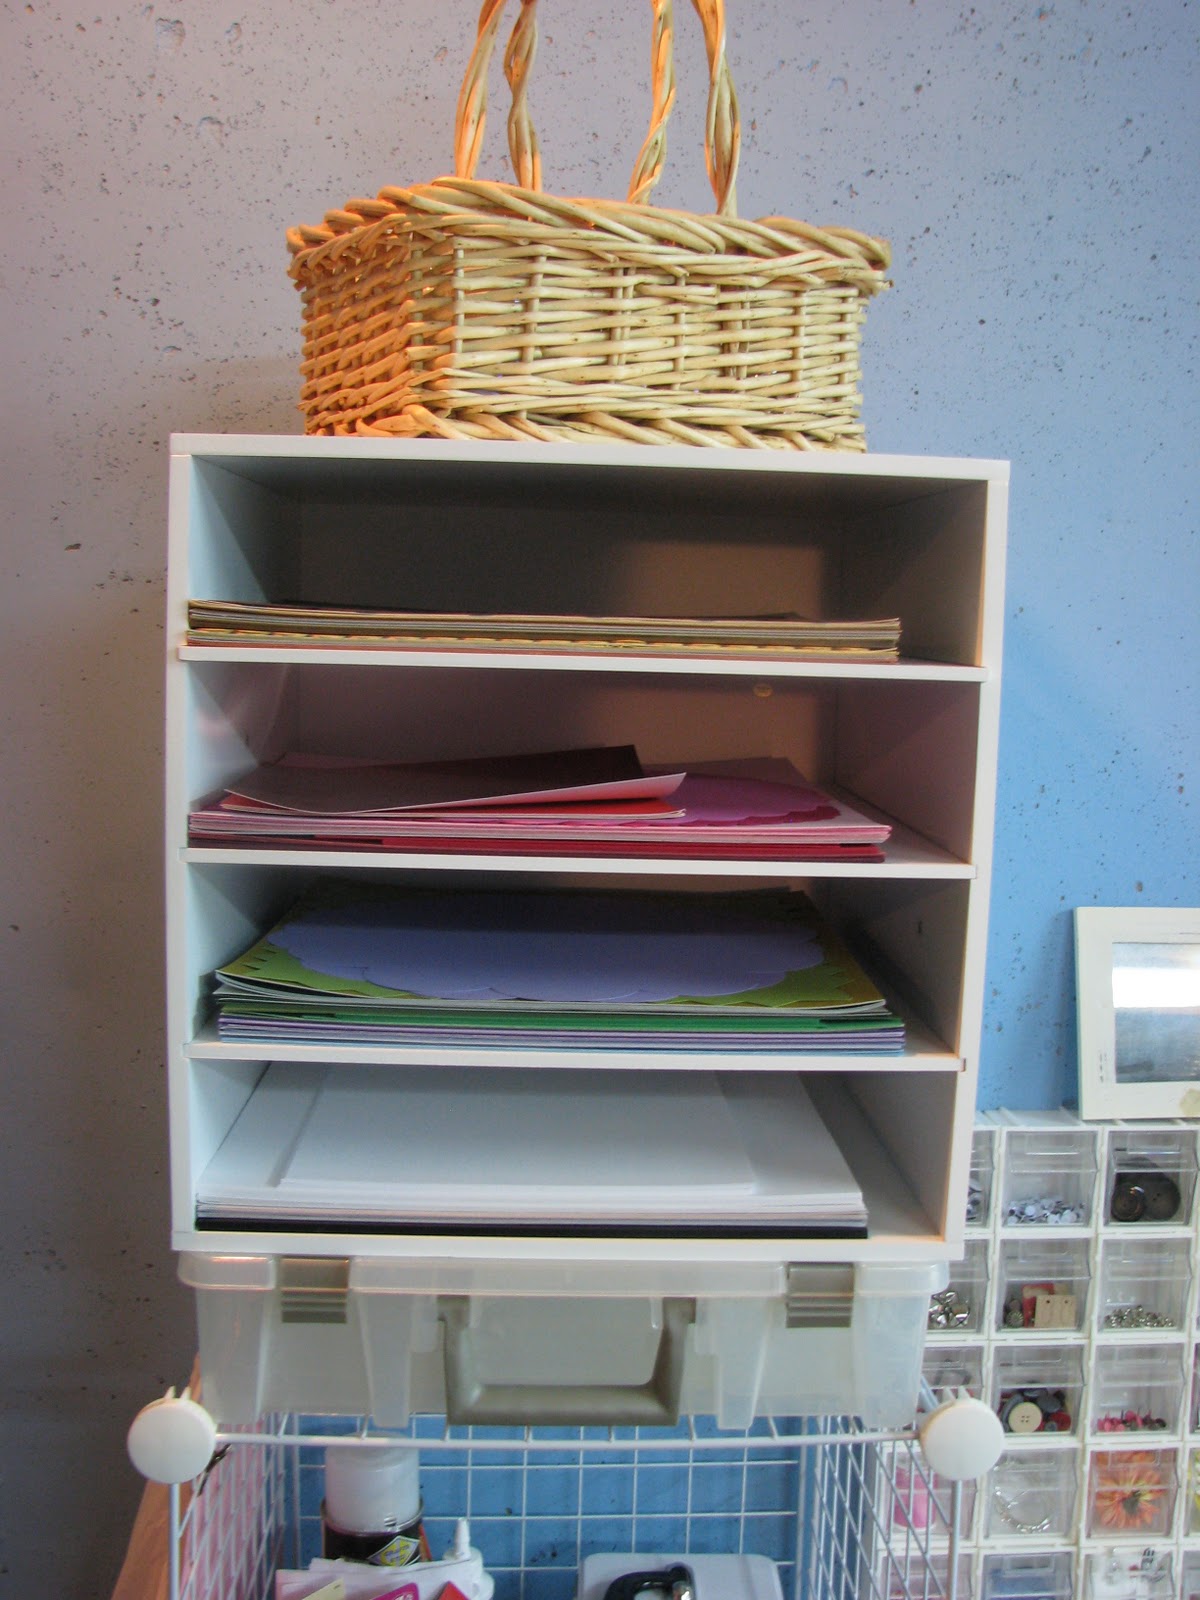
This is where I store my unused card stock, by color.  The card stock is stored in one of those Jet Max cubes from Michaels.  On top I have finished projects that are on their way out the door.  The basket is currently holding the little heart boxes I made for Abie's class.
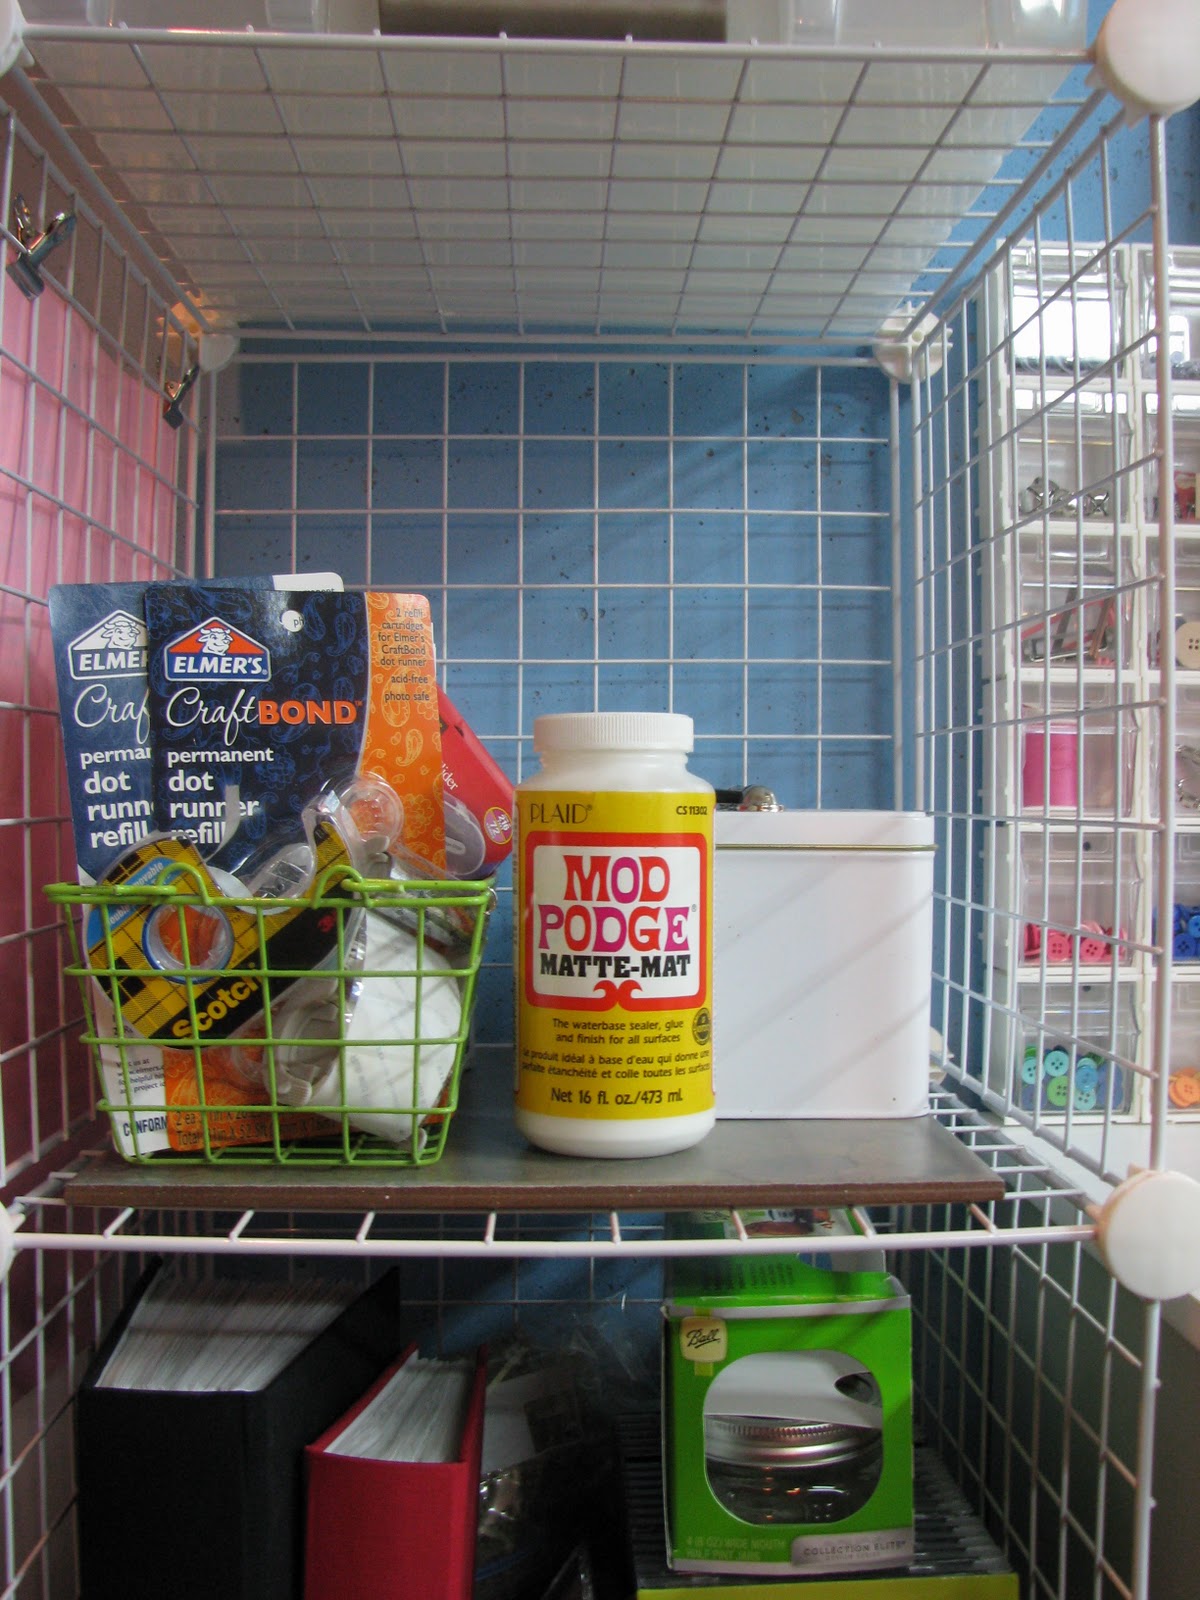
The Jet Max cube sits on top of some wire shelving that I picked up at Target a few years ago.  What I love about it is you can configure it to whatever shape you need.  I have the shelves held in with zip ties.  On this shelf I have back up adhesives, craft glue, fabric glue and inside that little lunch box is a stash of cards I have made in the past.
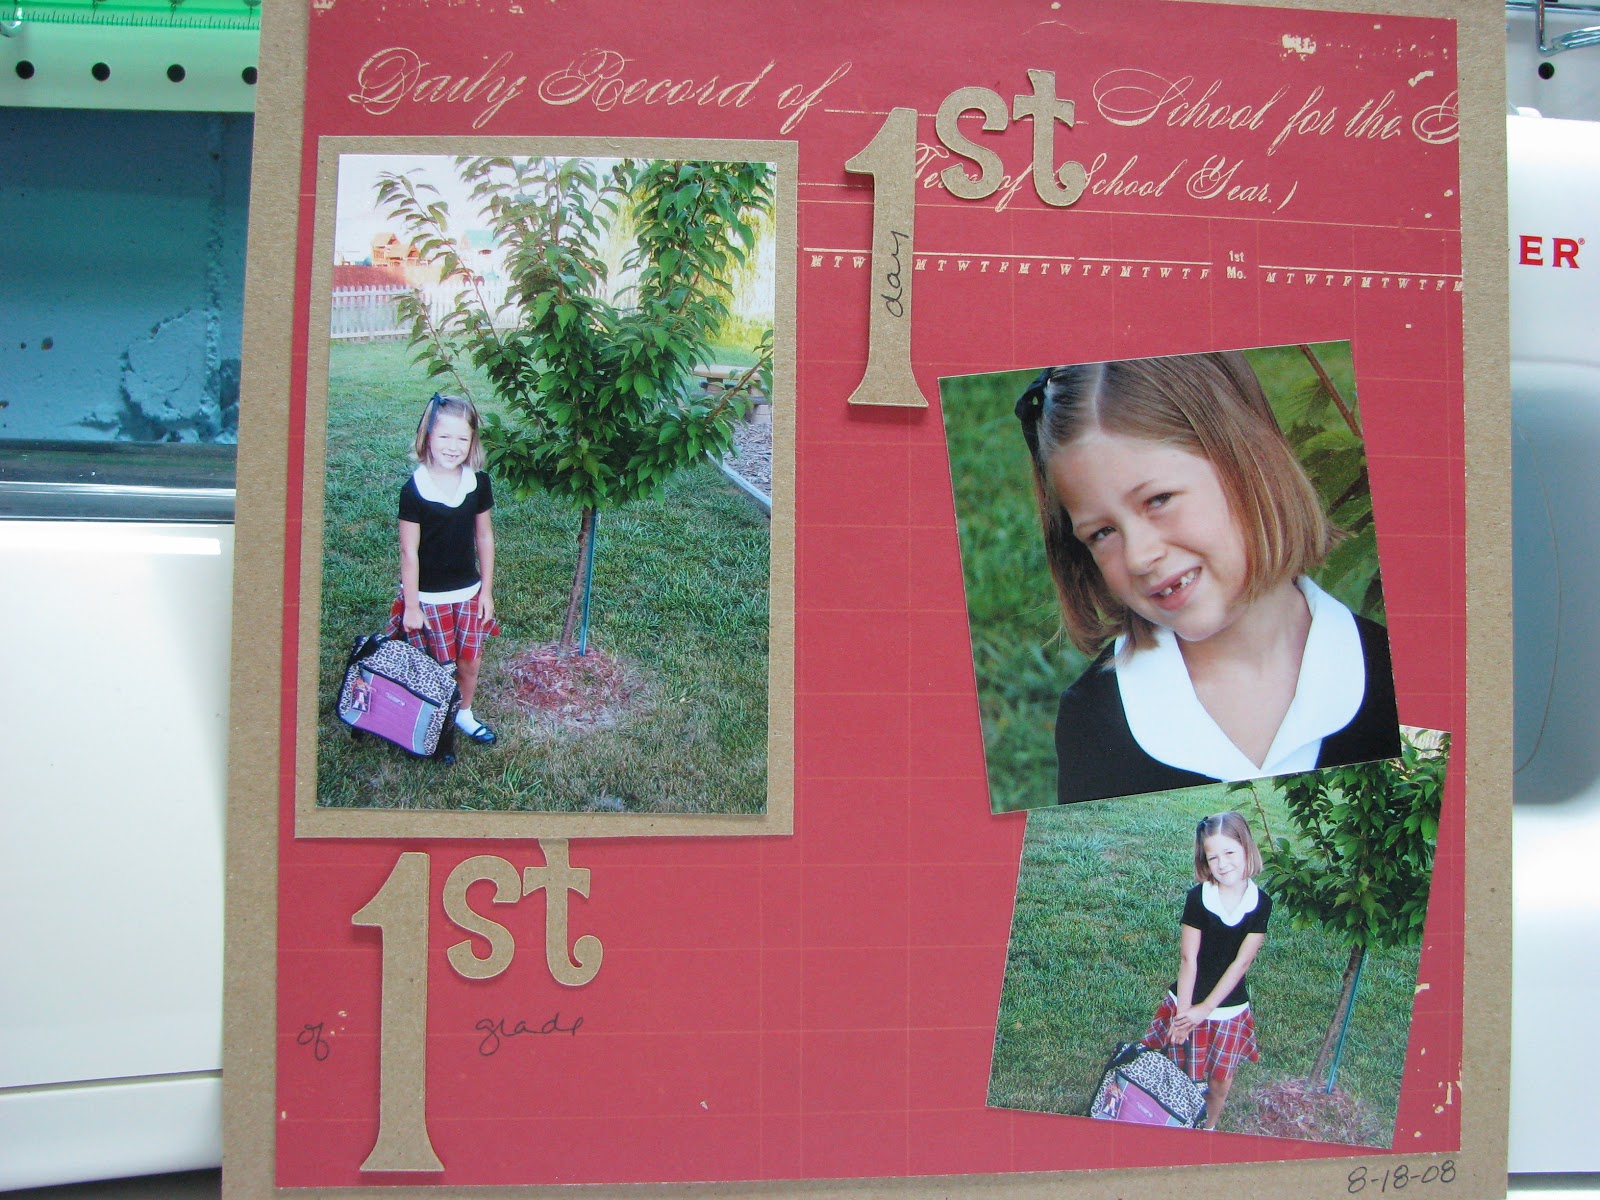
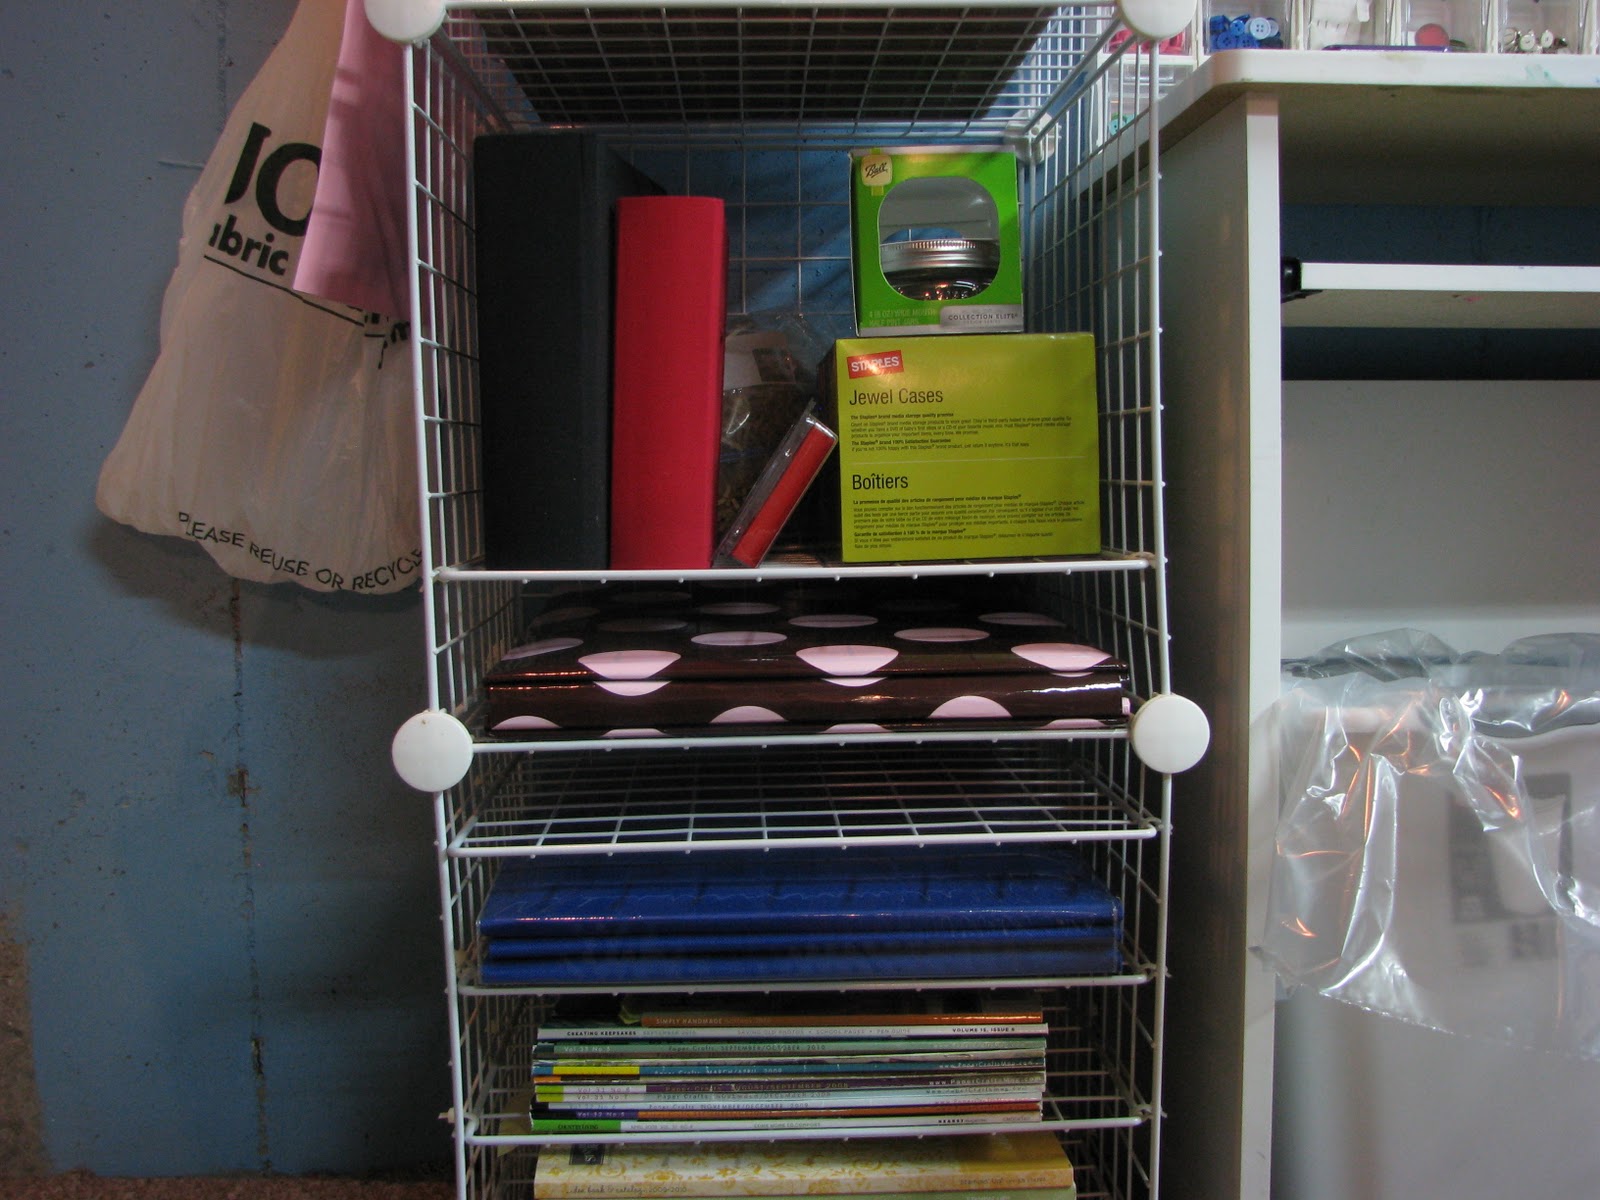
On the next couple of shelves sit albums I'm currently working on, followed by some magazines and old Stampin' Up! catalogues that I can't seem to cut up or get rid of just yet.  :)
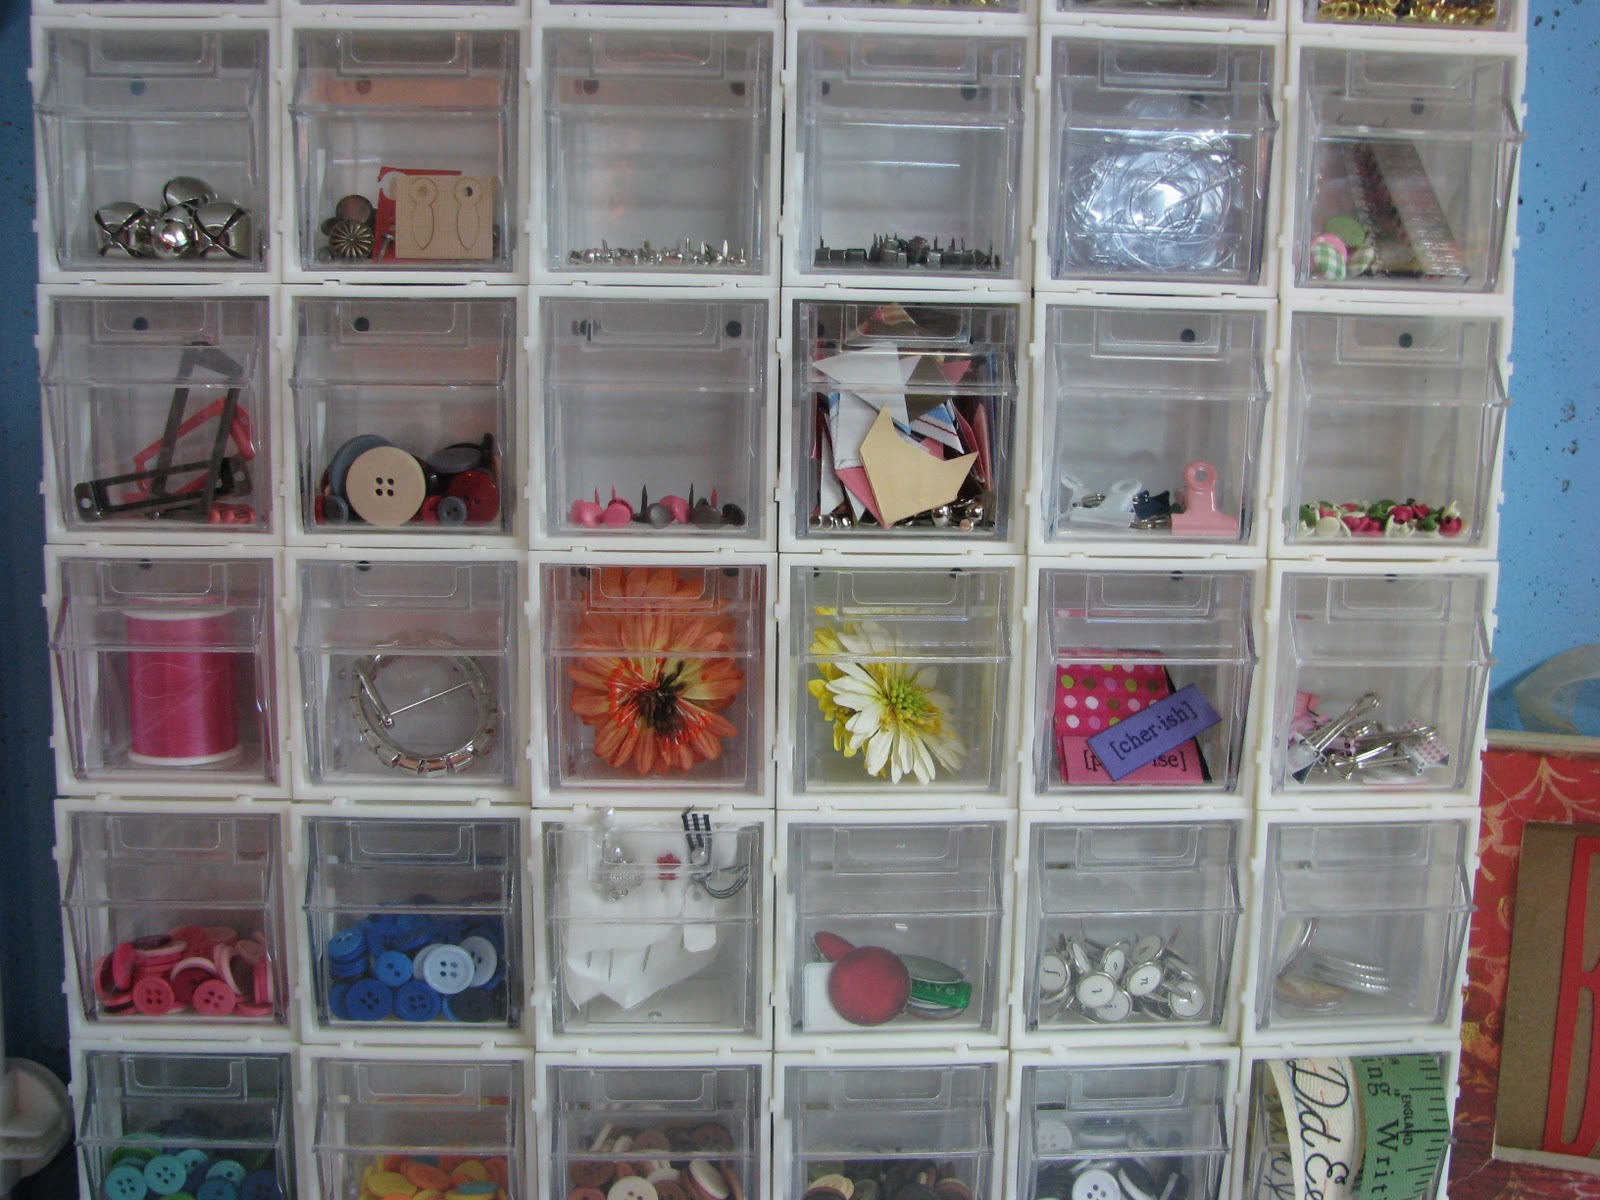
This little diddy sits on the white desk, next to the wire storage.  It is my one and only QVC purchase EVER.  It holds all sorts of little baubles and embellishments.
It's cool because the little doors tilt open.  You can configure these little drawers too.  I'm going to see how many times I can use the word configure in this post. Haha!
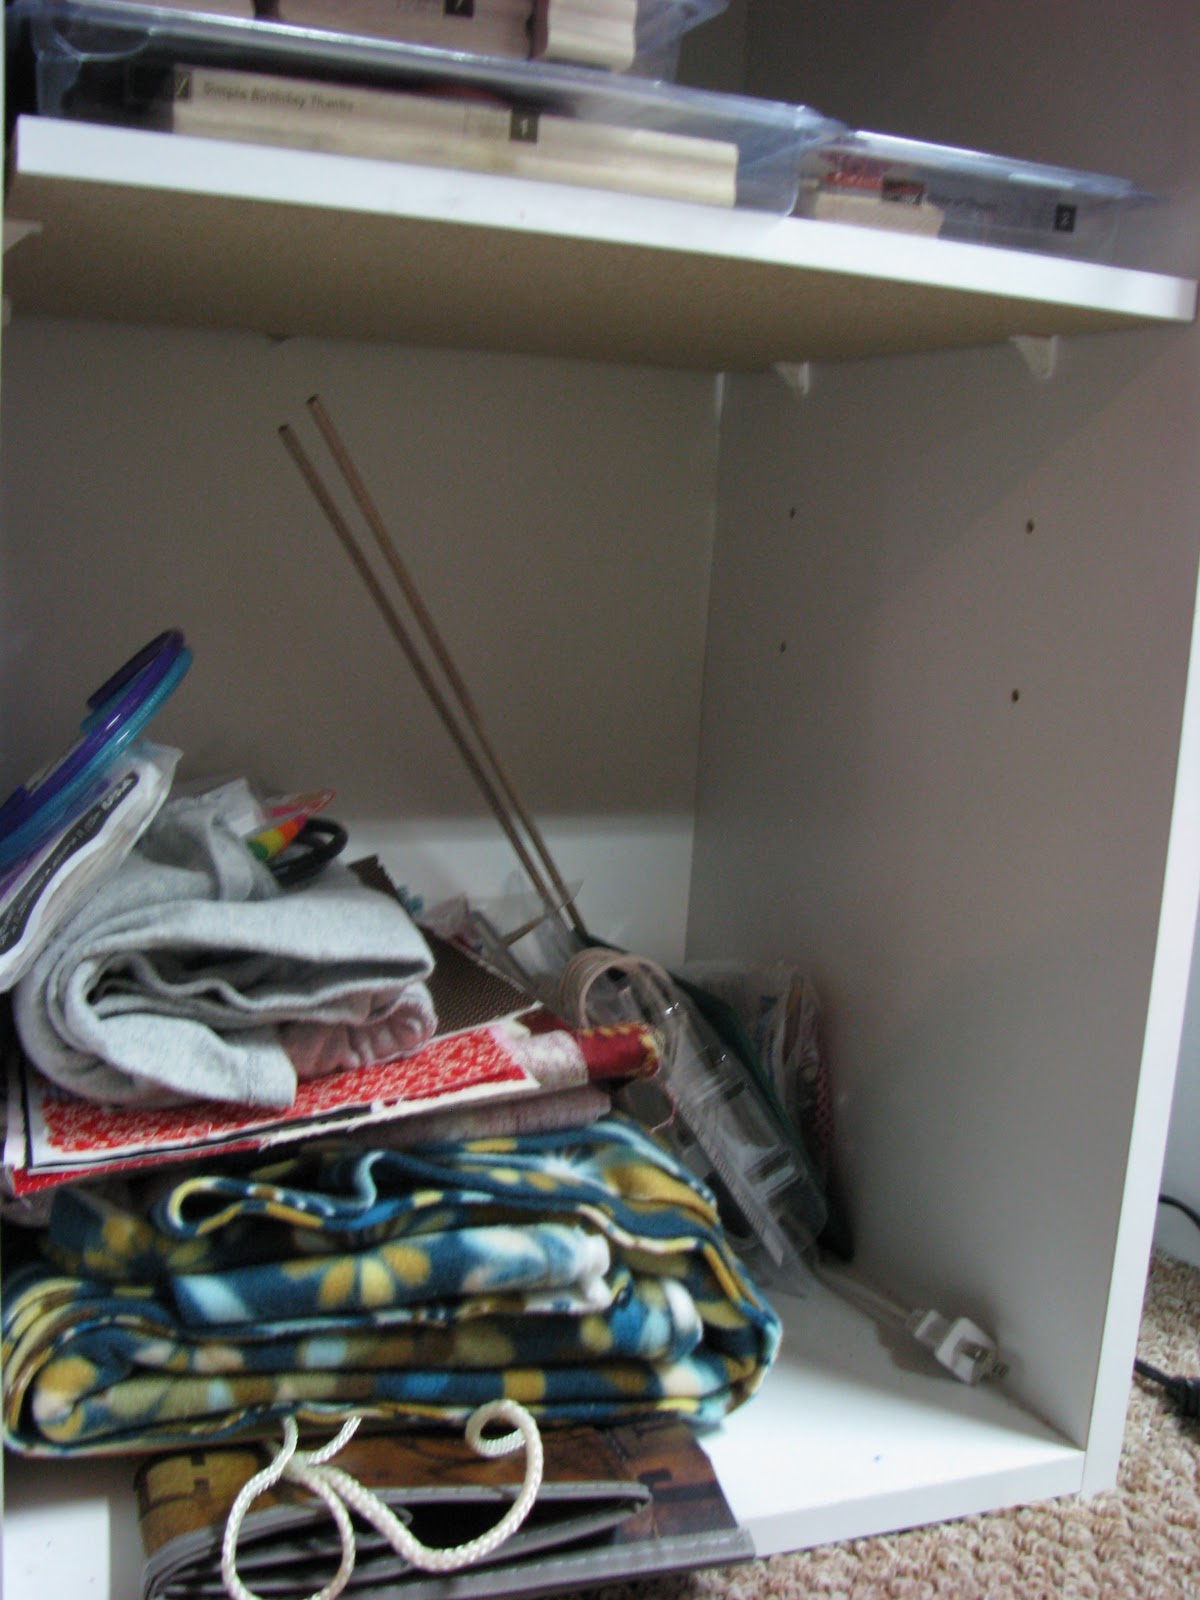
This desk of mine use to be in our bedroom and then I gave it to Abie and now it's mine again.  :)  On the bottom shelf, I store the little bit of fabric I own and my hot glue gun.  Above this, I store my Stampin' Up! stamps, I took a picture, but it was super blurry and I'm too lazy to go back and take another one.  They're just stacked up on one another on the shelf.  Nothing fancy.  :)


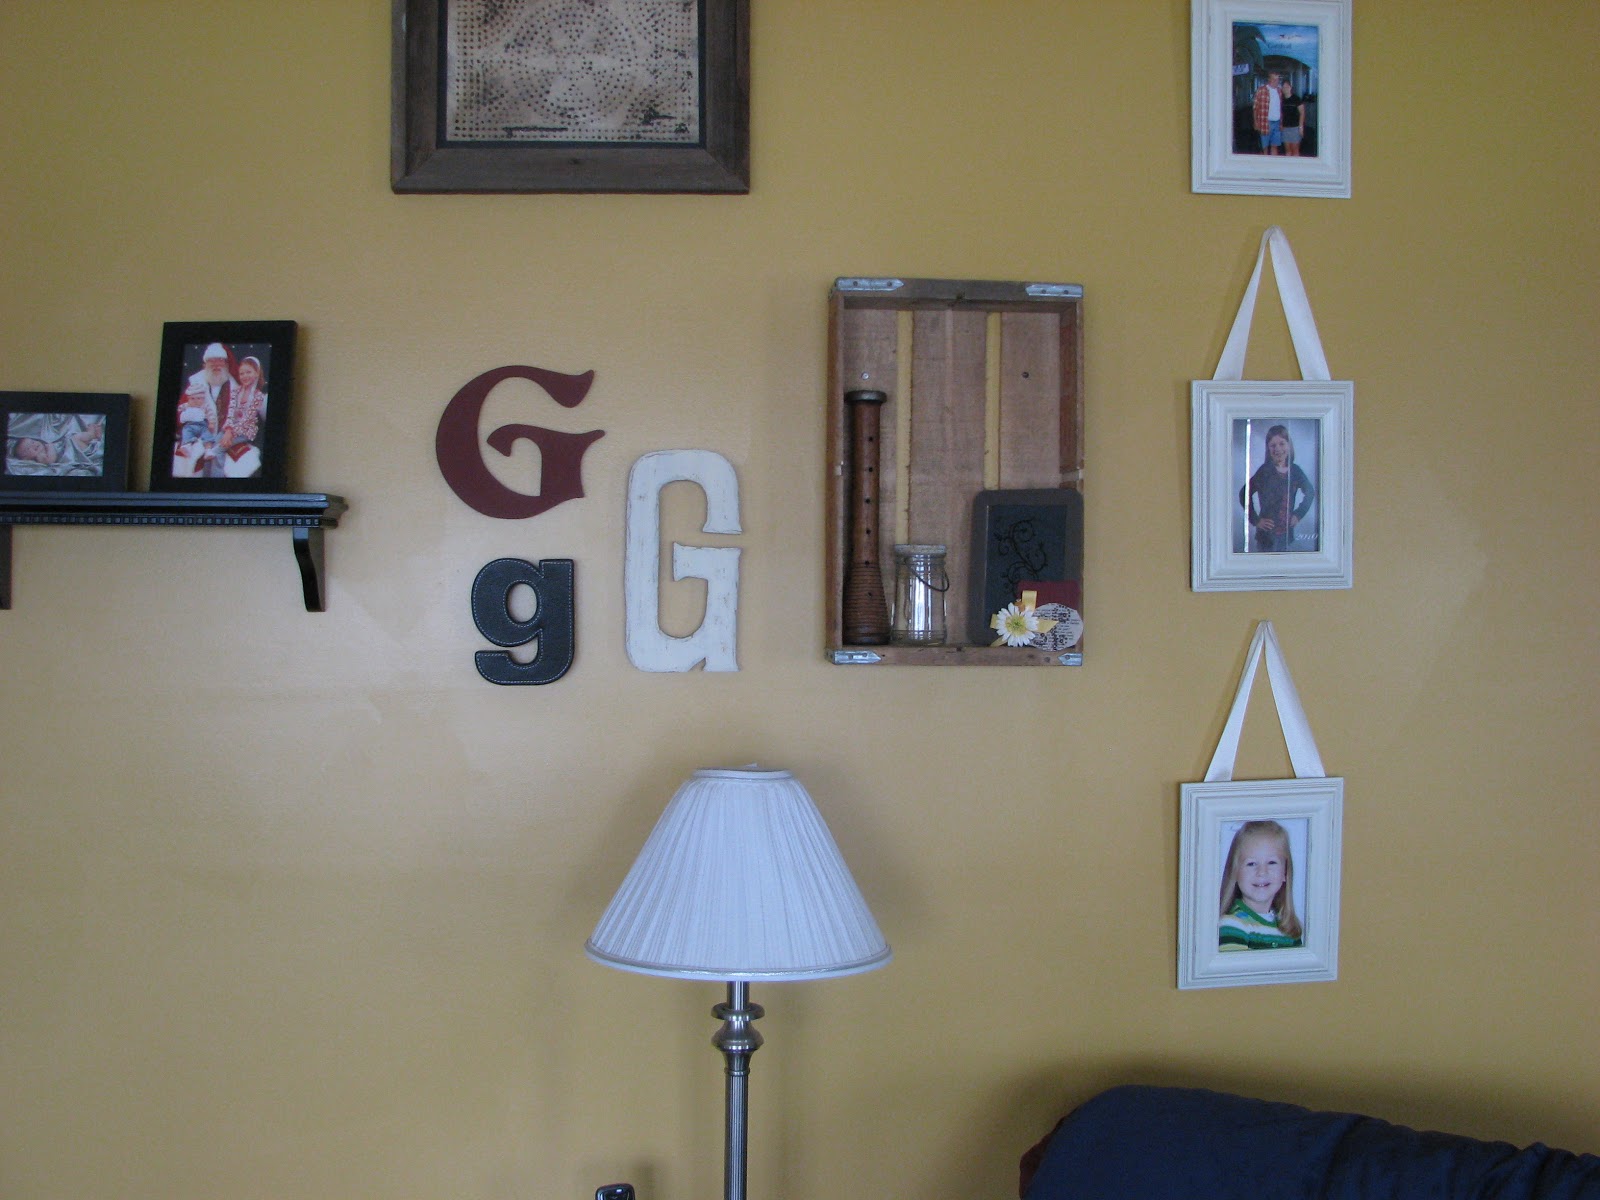
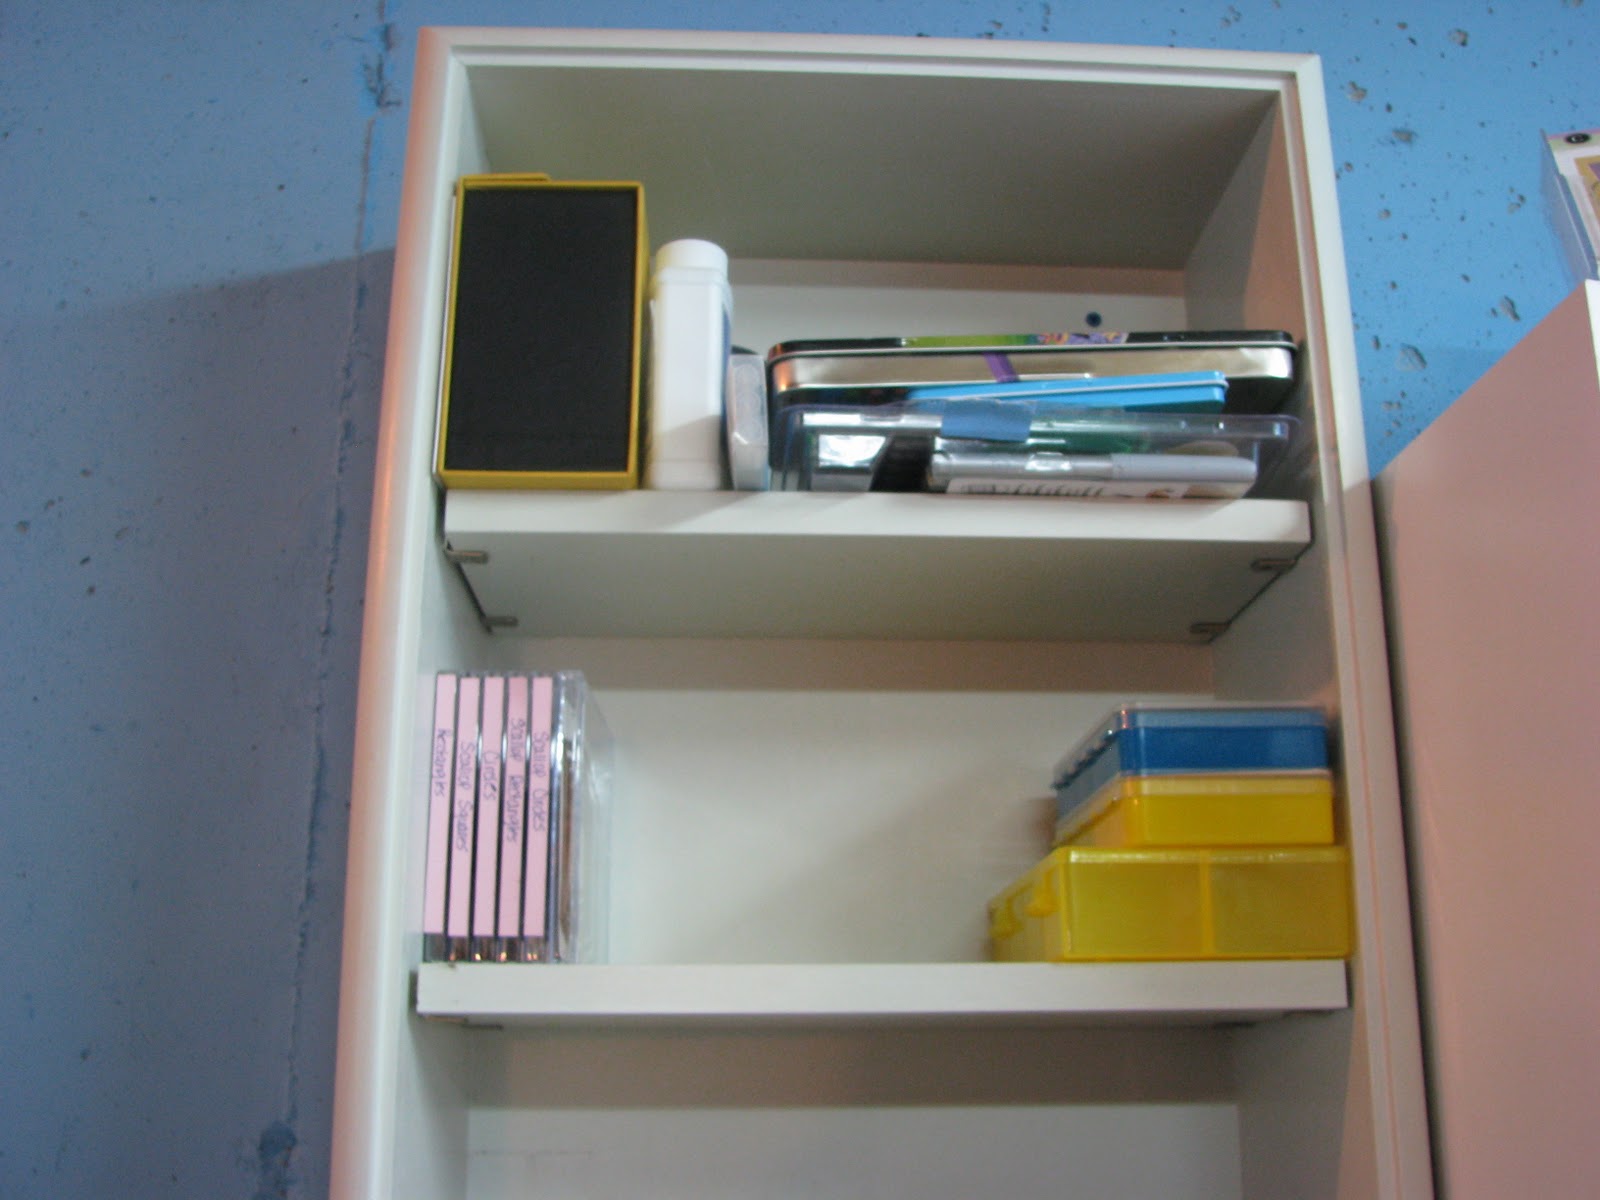
This is a wall shelf that hangs on the wall next to my desk.  It was a built in at my mom and dad's and they were getting rid of it and asked if I could use it.  Don't have to ask me twice!  I jumped on that sucker!  On the top shelf is my Just Rite Monogram stamper, Prisma Color Pencils, Stampin' Up! Crayons, Mineral Spirits and Bic Mark Its.  The shelf below it is where I keep my Nestabilities.  I have them stored in CD cases on magnetic strips.  Those plastic boxes on the shelf next to the Nesties are empty....hmmm maybe I need to go shopping.  :)


On the next shelf I store my loose rubber stamps. I looked for a spice rack this weekend to keep them on, but these shelves are only about 7" deep and the spice rack I found was 8.5" deep.  Bah!  I'll keep looking!

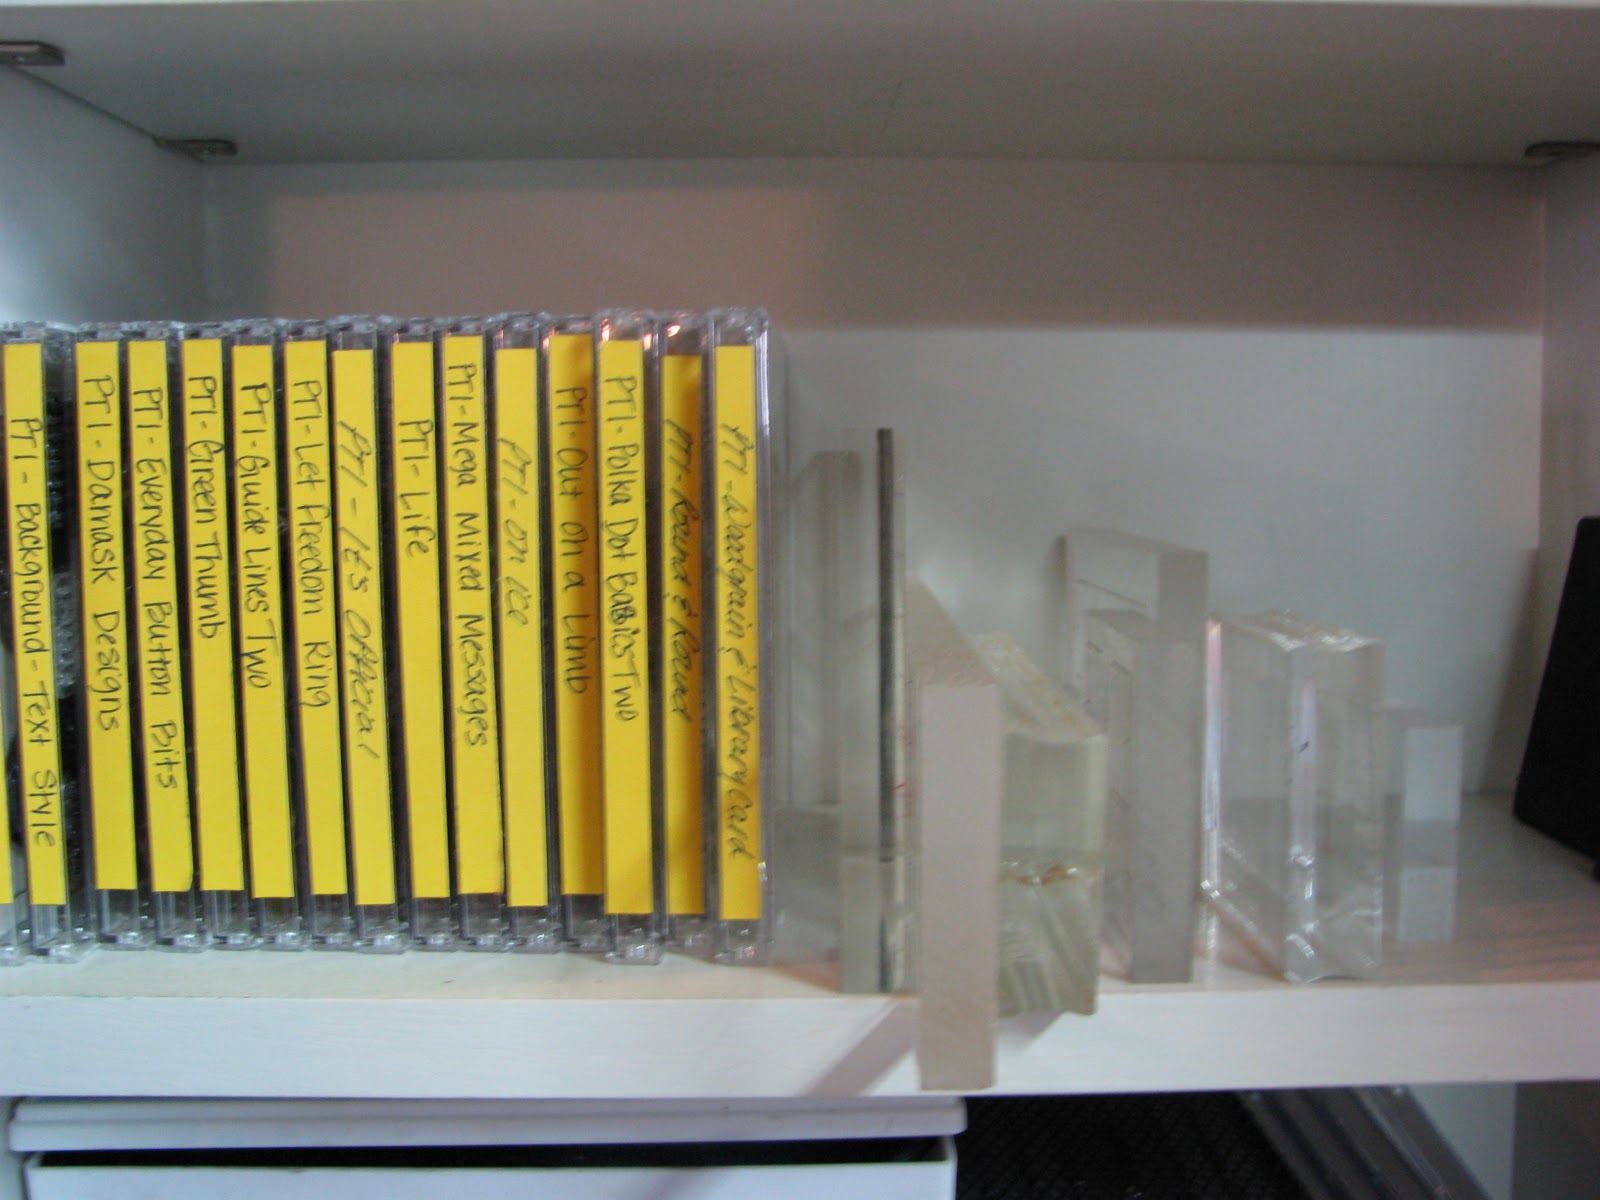
Next shelf down is where I store my Papertrey Ink stamps.  When you buy them, they come in CD cases.  I color code the labels with gold card stock so at a glance, I know those are my PTI stamps.  My acrylic blocks are also on this shelf.
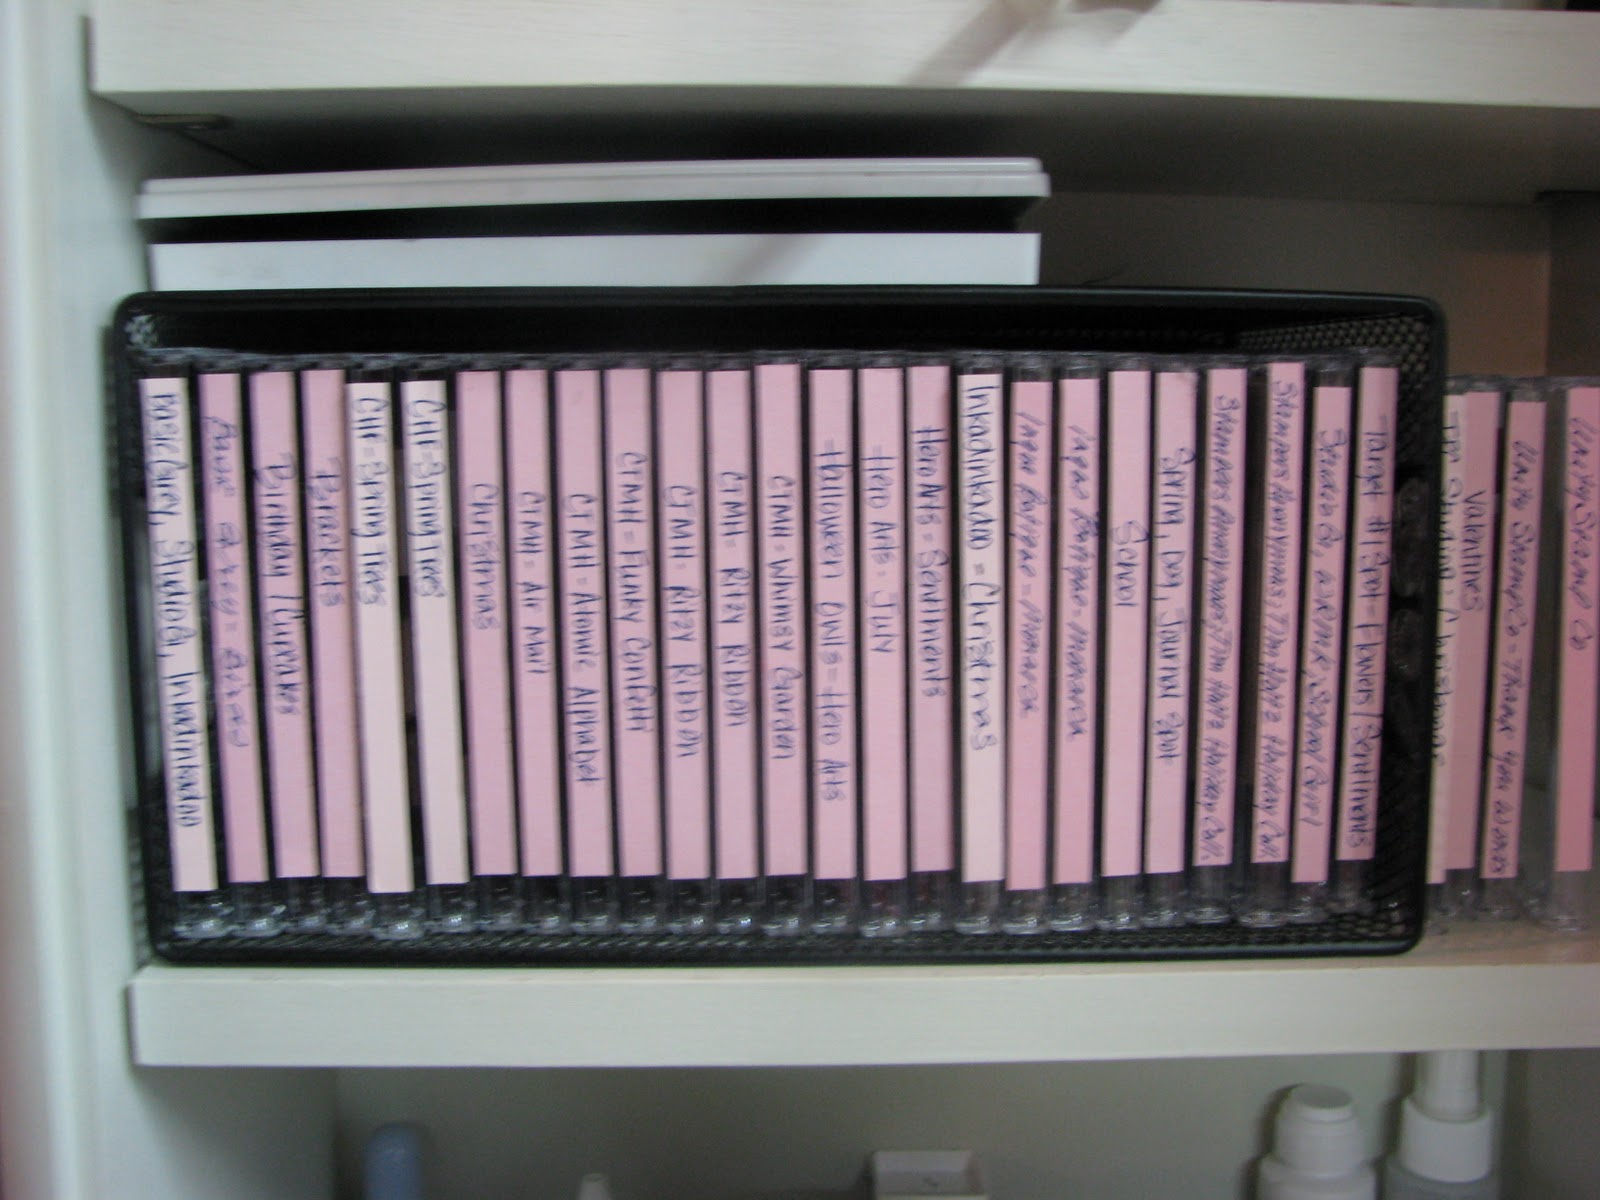
On the next shelf down, I store all of my other acrylic stamps.  Those are labeled with pink labels.  Above them is my stamp cleaner scrubby thing.  I don't really use it anymore.  I just clean my stamps with a baby wipe.

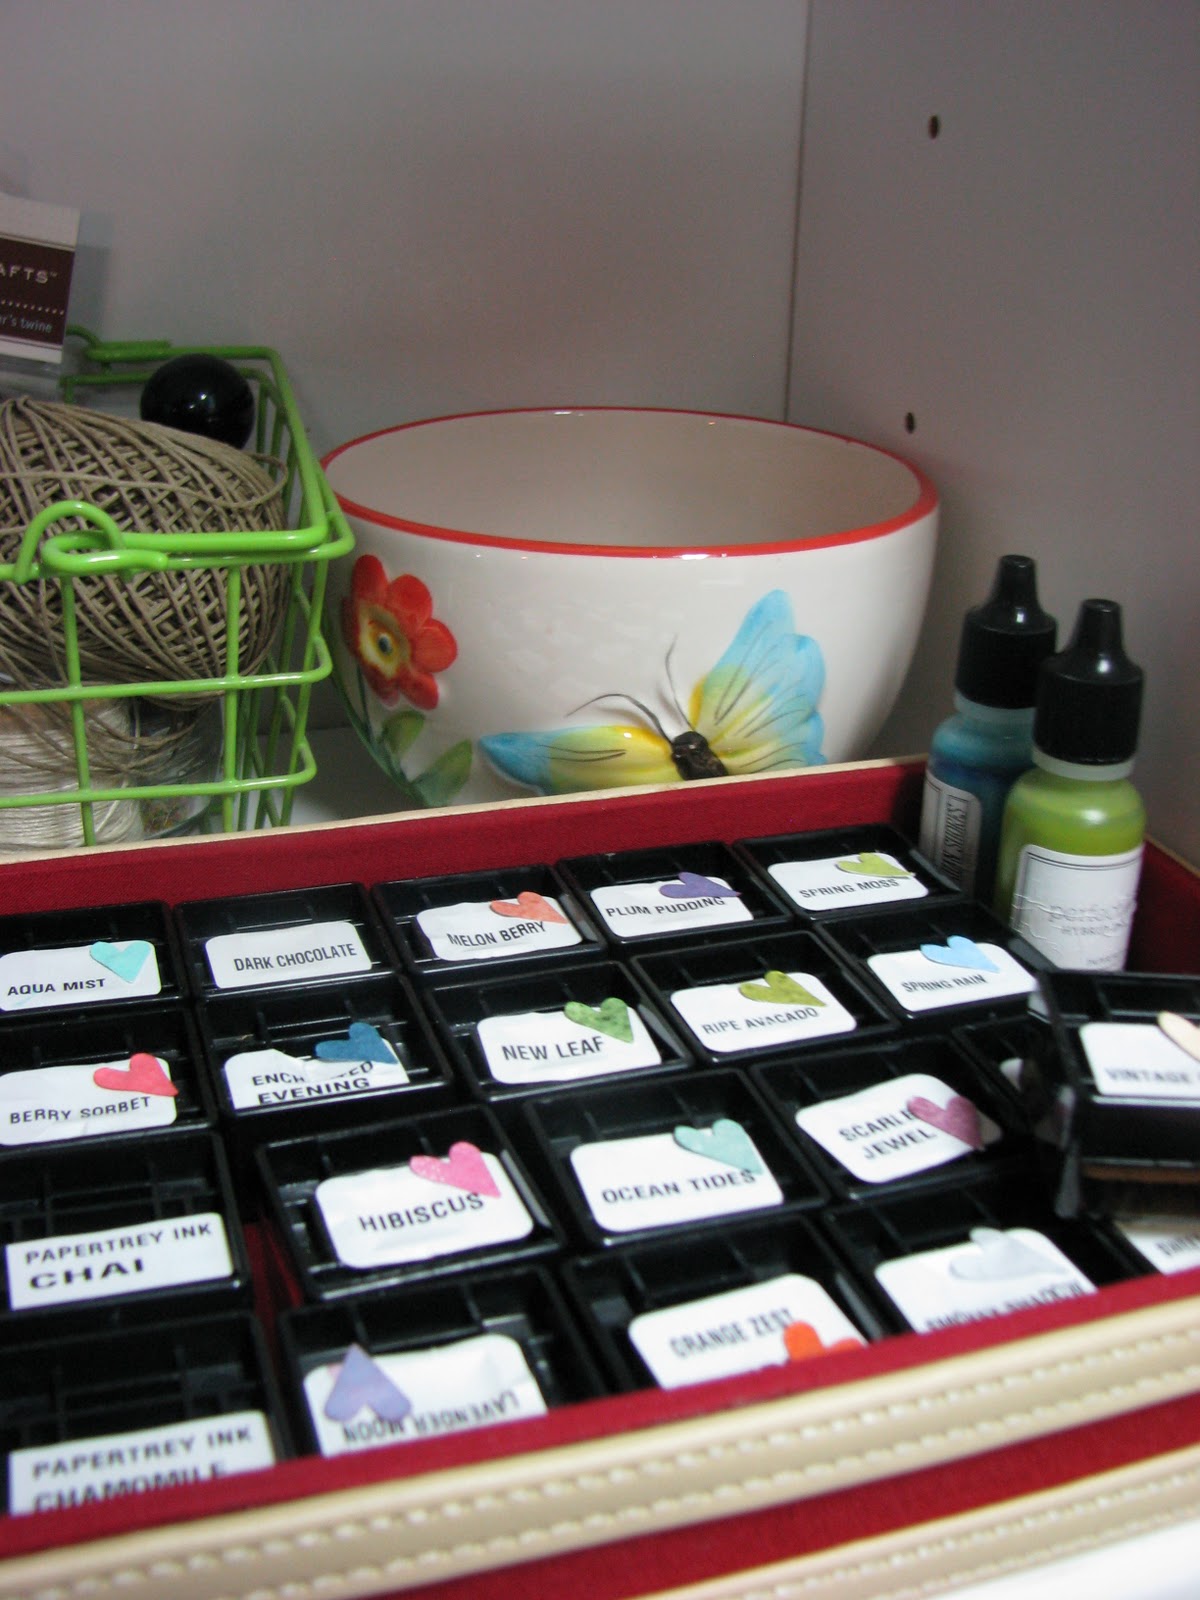
On the bottom shelf are some of my inks.  I haven't figured out the best way to organize them.  I'm not entirely happy with this, but it works for now!  :)
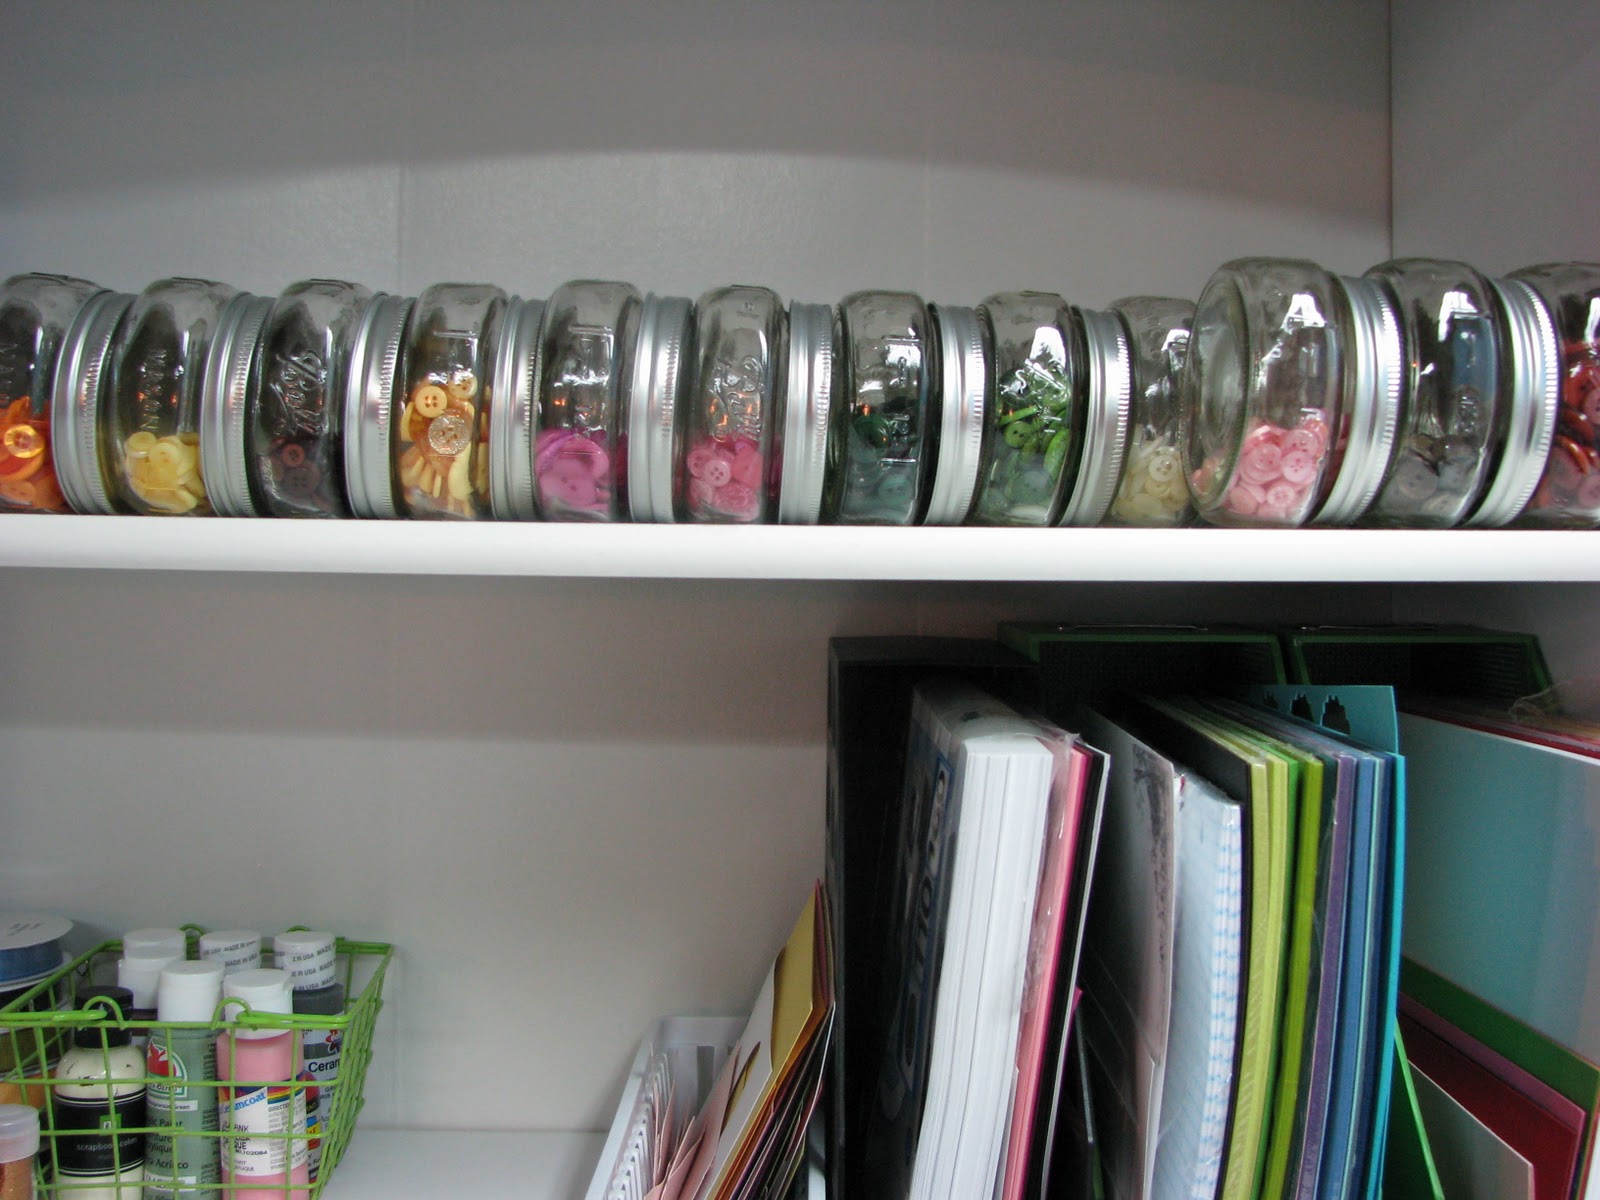
Next up is the large shelf unit.  Funny story about this, we were at the pool one day and one of our neighbors was having a garage sale.  I spied this totally awesome shelf from the kiddie end of the pool and had to have it!  Once Mike got to the pool to supervise the girls, I ran over to the garage sale and bought this puppy for $20!  I was so excited, couldn't wait to get in my crafty room!  On the top shelf, I have all of my PTI buttons.  there are two full rows and the start of a third row.  I got this idea from Dawn McVey's blog and thought it was adorable, but only problem with this is I can't see all of my buttons.  Hmmm.  Ideas?

On the next shelf I have my PTI ribbons, MS glitter and some of my acrylic paints.

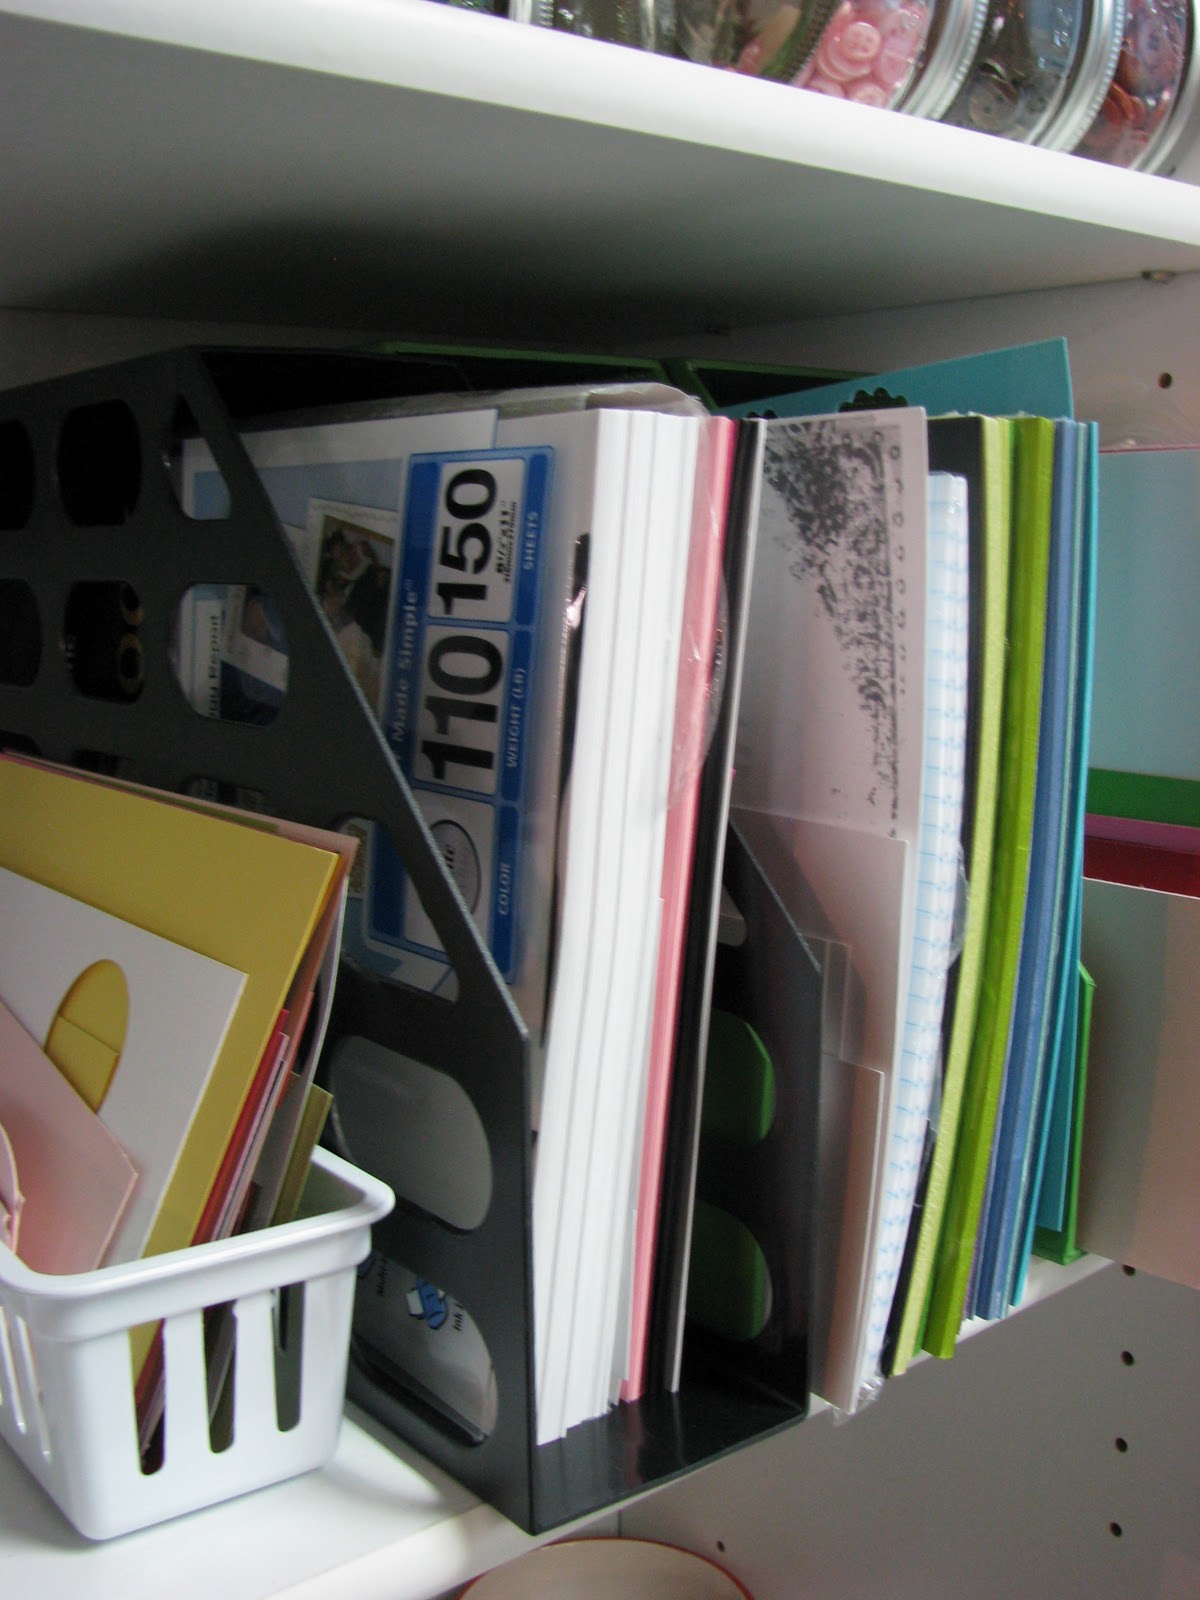
On the same shelf, I have my PTI card stock and PTI scraps.  I keep it separate from my other card stock because I use it for cards and not scrapbooking.  I also have a large package of card stock I bought a Walmart that I use for various things, when I don't want to use the heavier,  more expensive PTI card stock.
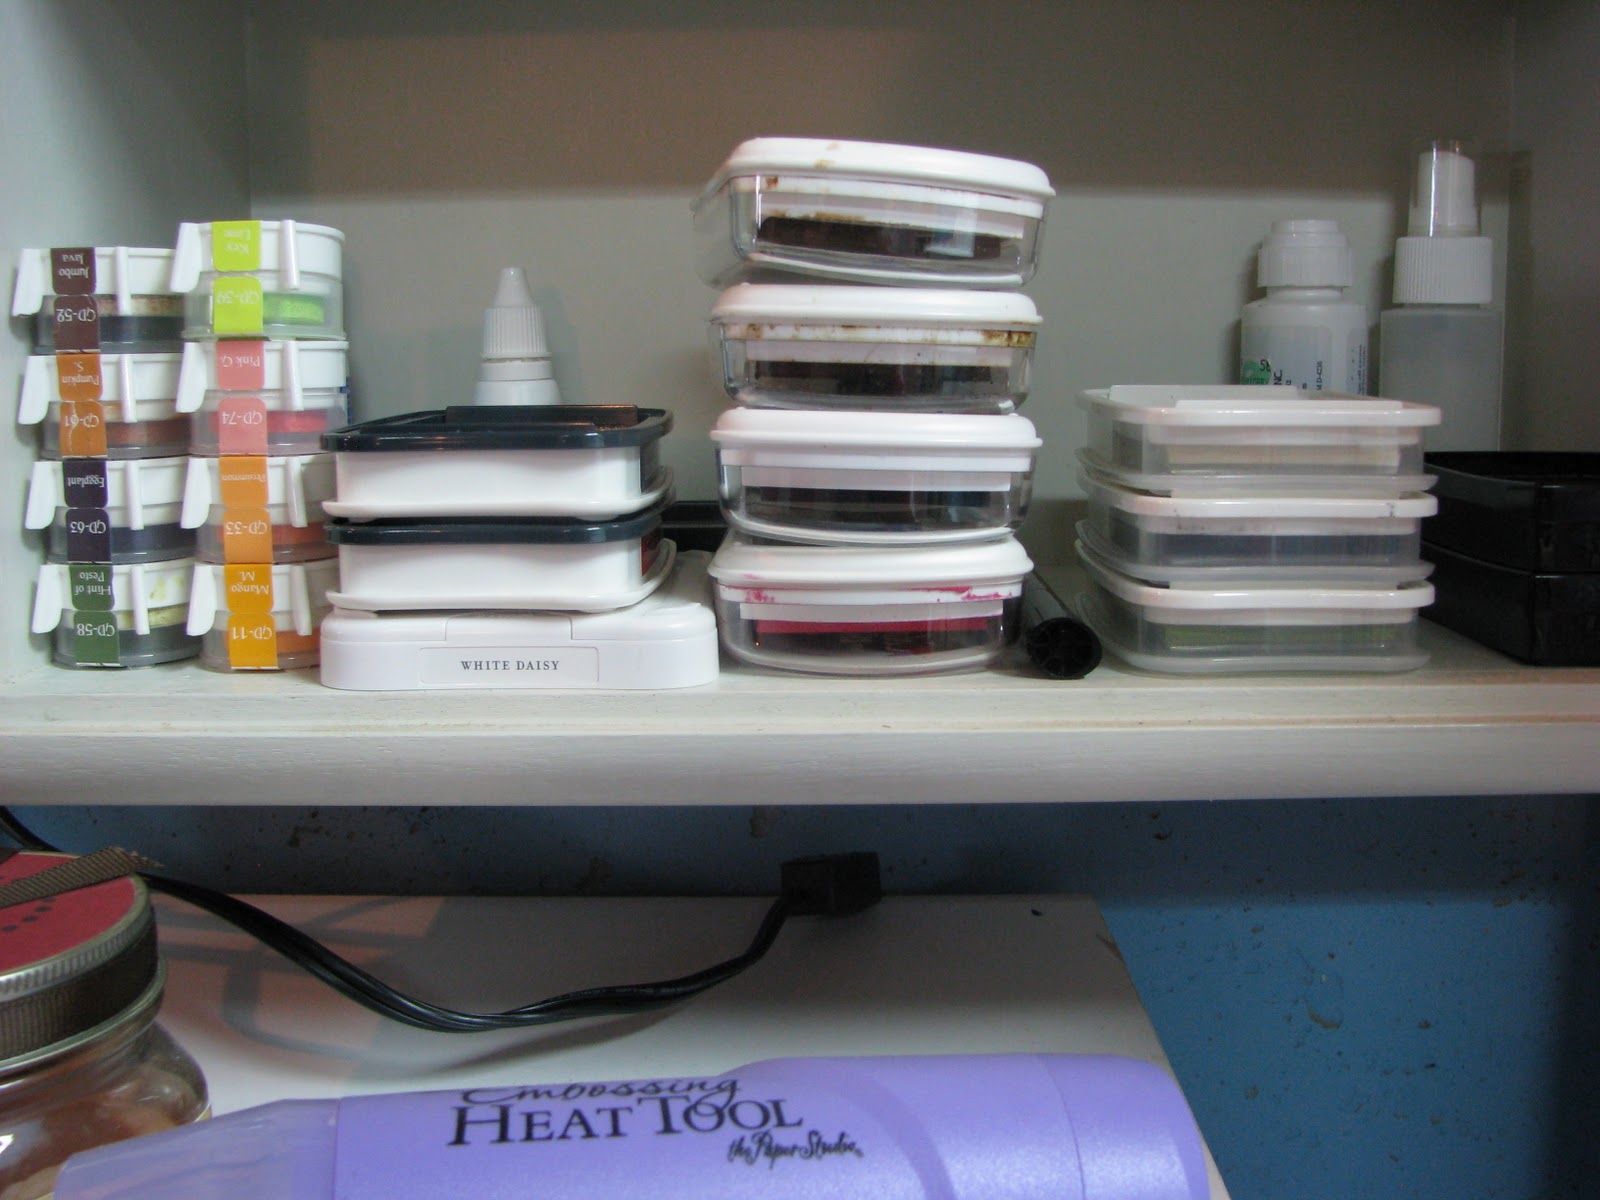
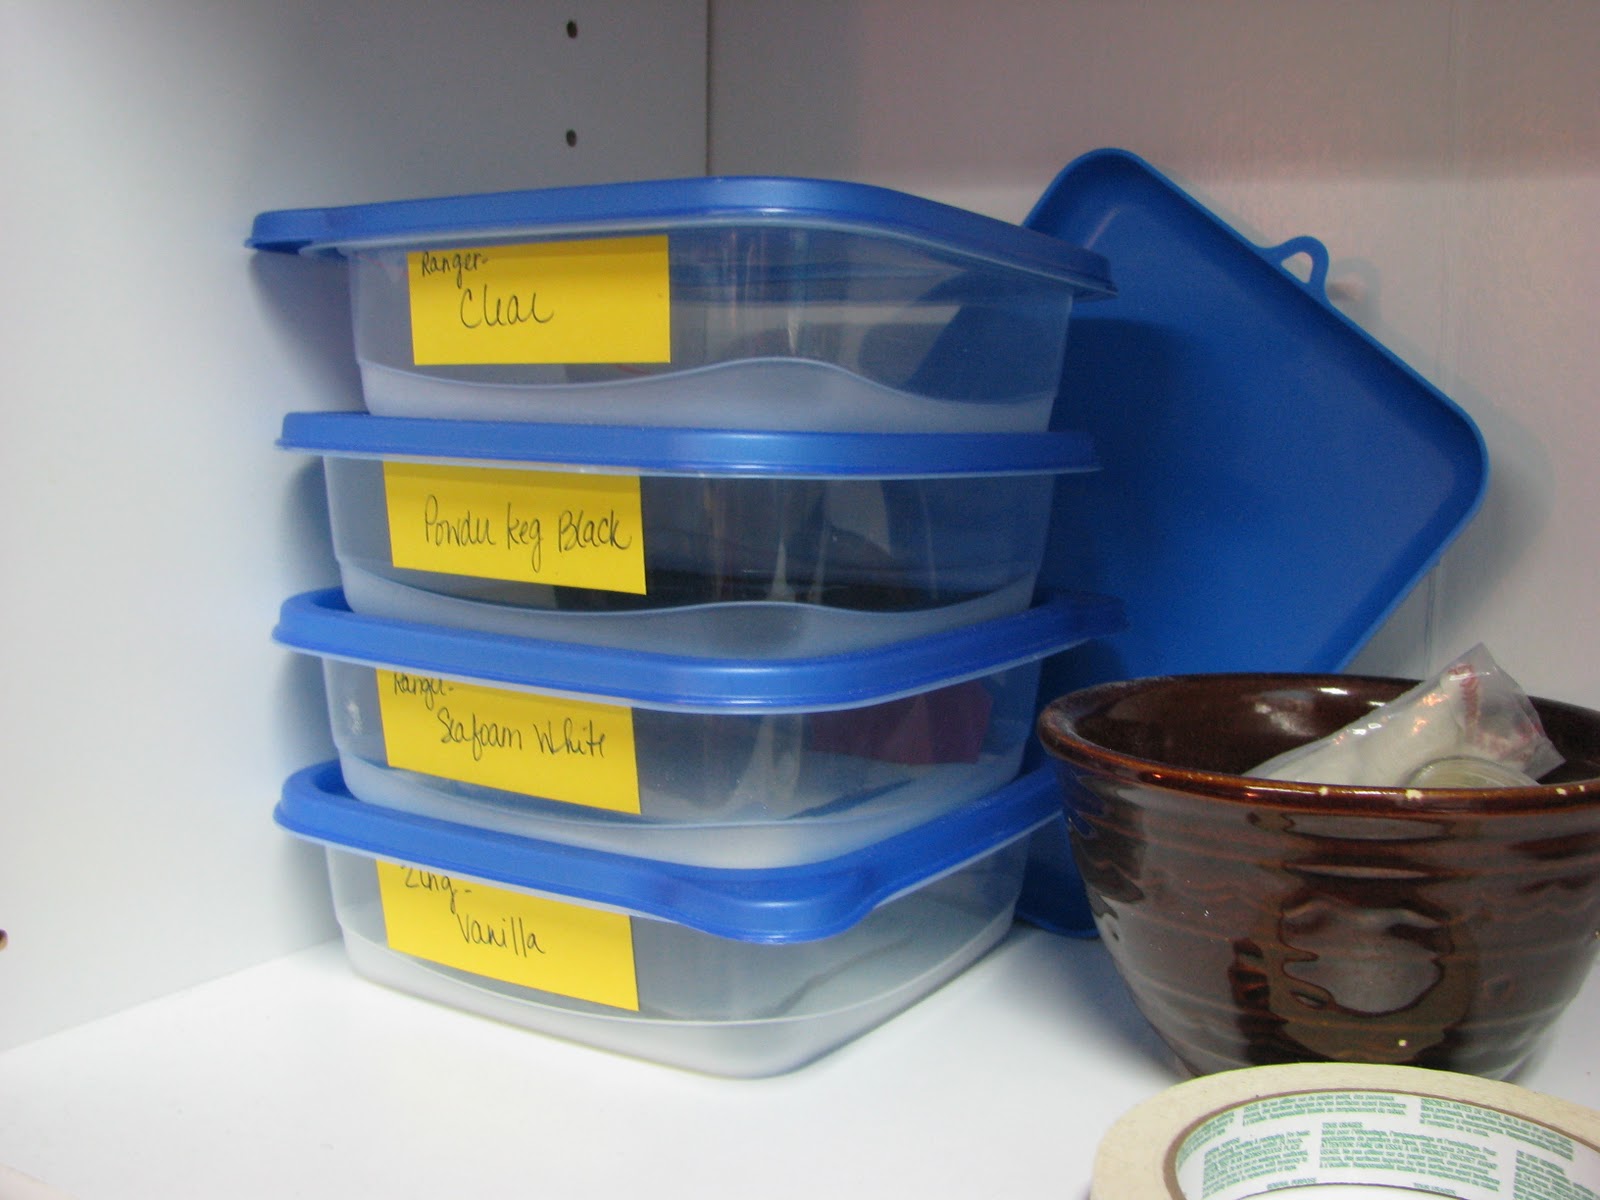
On the next shelf is my stuff for embossing.  I got this storage idea from Jennifer McGuire.  I dumped my powder into these storage containers and it makes it super easy when I'm embossing.  In the brown bowl is my embossing buddy and a couple of powders that I very rarely use.


On the other side of this shelf is my PTI inks, twine and in that bowl are Autumn Leaves buttons.
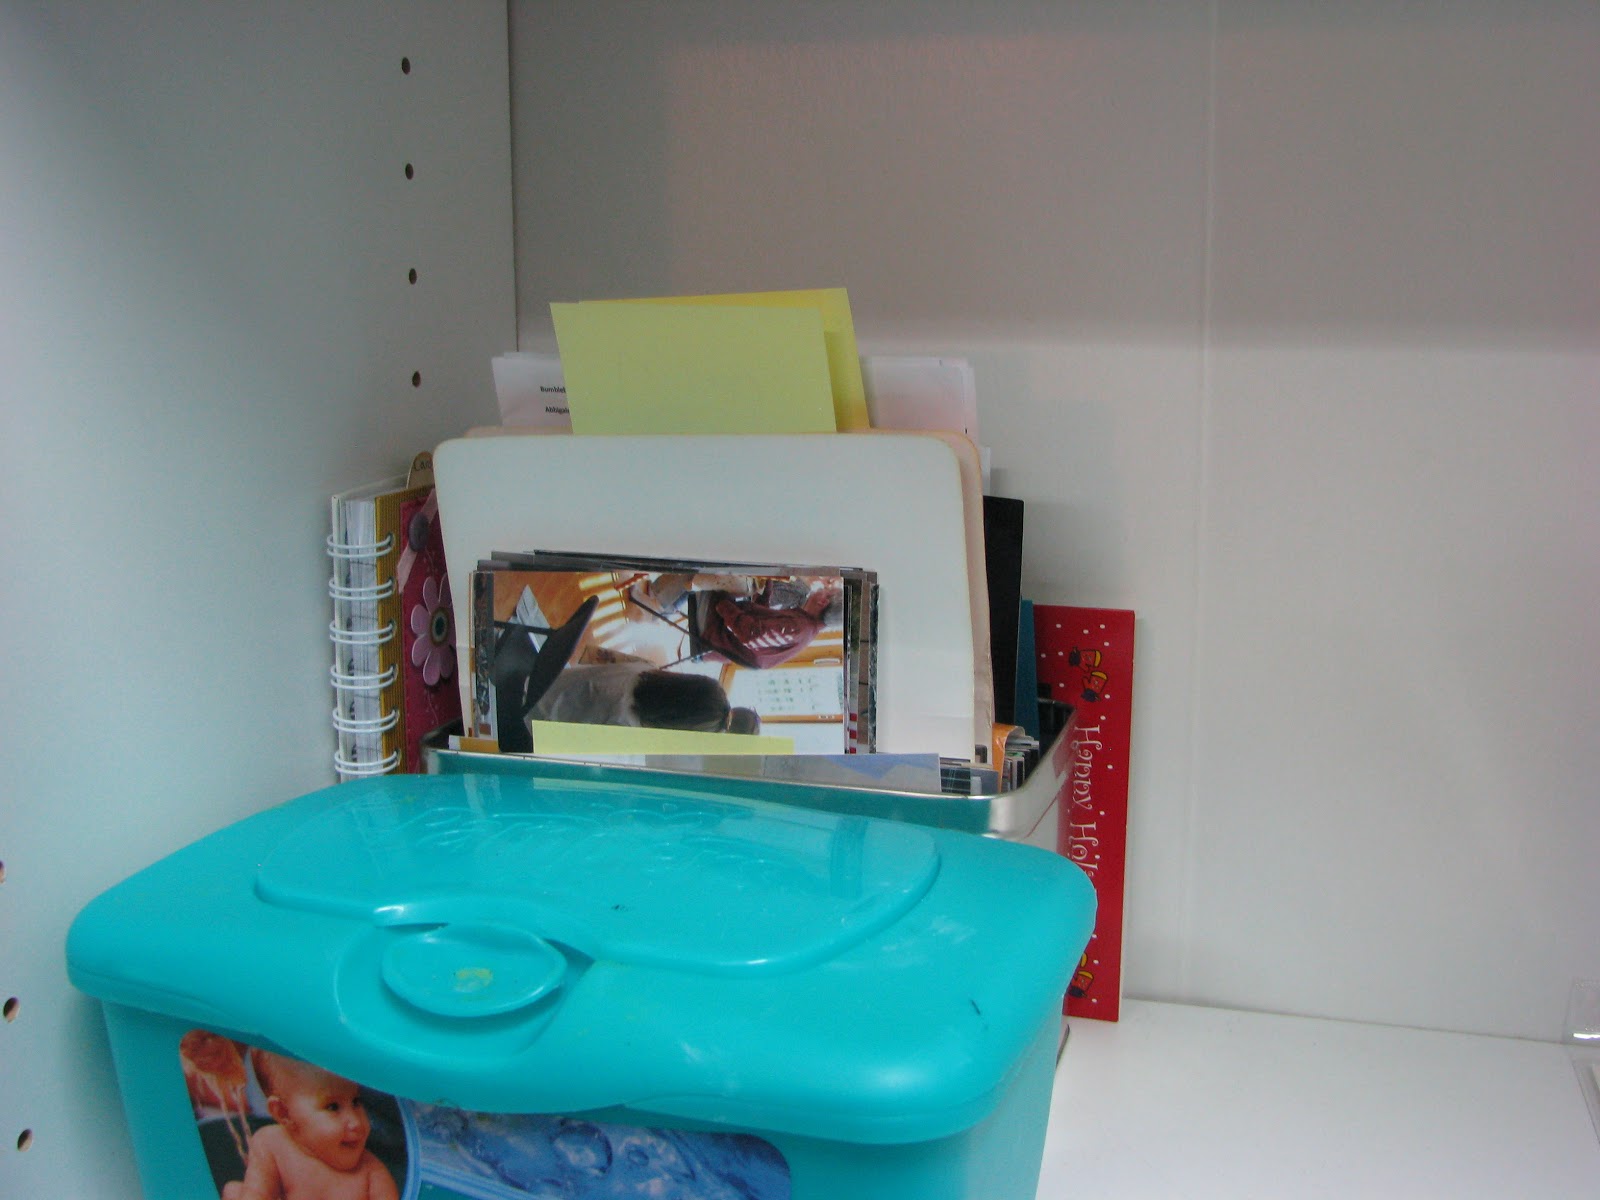
On the next shelf down, I have a box that has my pictures I need to scrap and my tub of baby wipes.
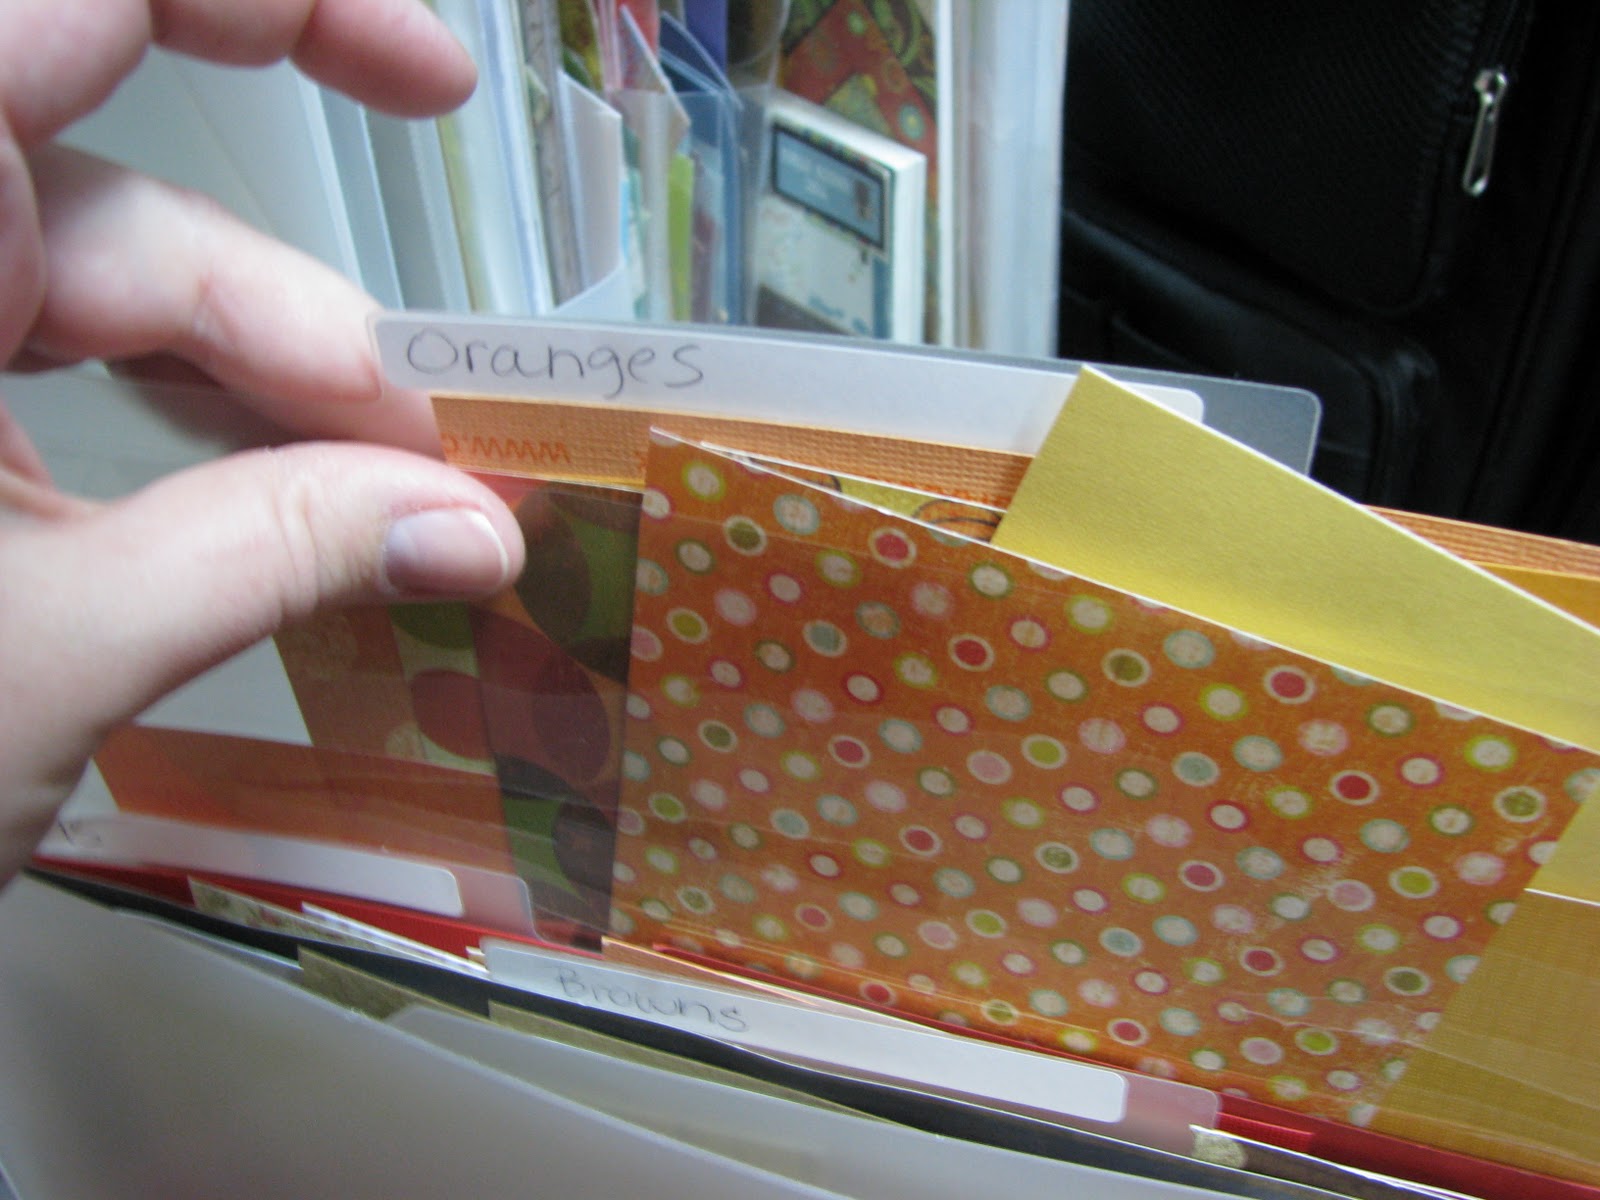
On the bottom shelf, I have all of my patterned paper, full sheets and scraps.  I store my 12" scraps by color, in a page protector and then in a Cropper Hopper.  My page kits, rub ons, stickers, paper pads etc. are all on this bottom shelf.
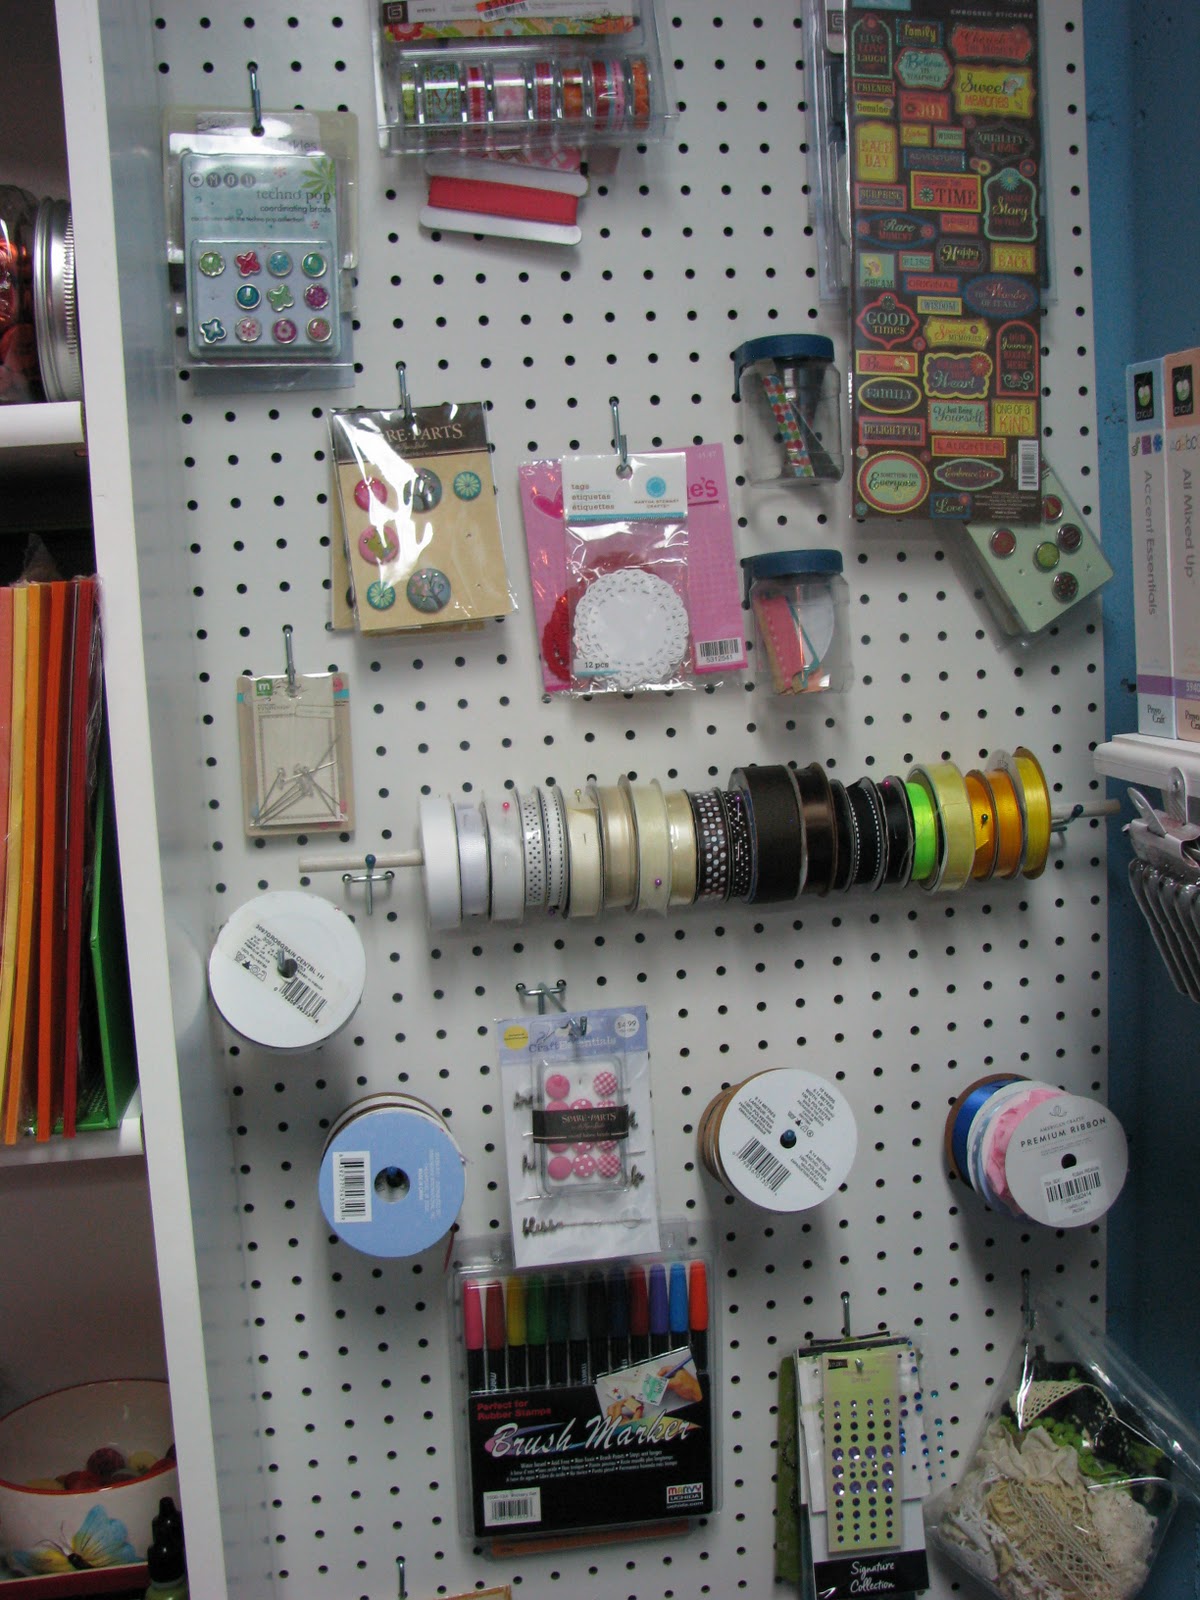
Next to the big shelf is a big piece of peg board.  It has packages of brads, rhinestones, ribbons, doilies, vintage trims, stick pins and all other sorts of goodies stored here.
Here's where we turn the wall.  I have a small shelf where I store my Cricut cartridges.  Below that, on the floor is where I keep my rolling totes, for off site crafting.

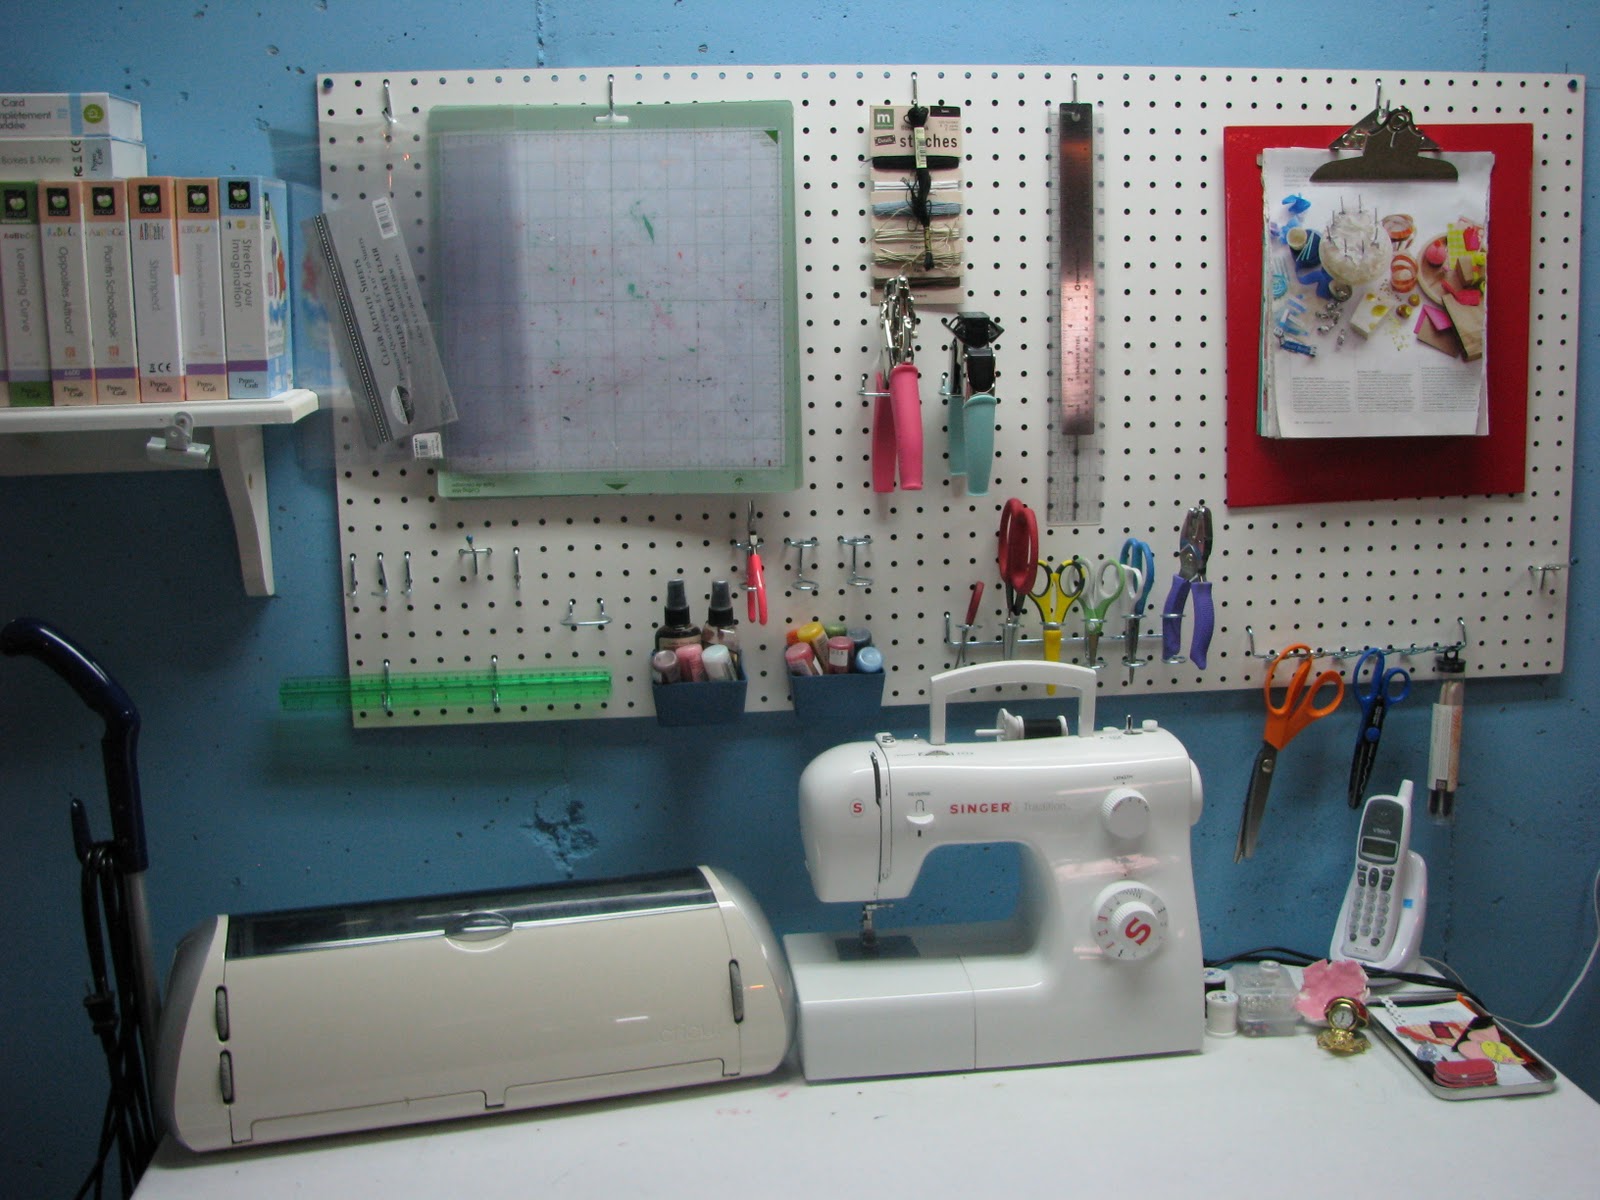
Here is my Cricut, sewing machine and there's a small silver tray that holds little bits and pieces of ribbon or stamped images that I haven't used but that are too good to throw away.  On the peg board are my acrylic sheets, Cricut mats, embroidery thread, stickles, glimmer mists, scissors, crop-a-dile, corner chomper, rulers and a few other tools.  On that clipboard are various magazine pages that have given me inspiration!
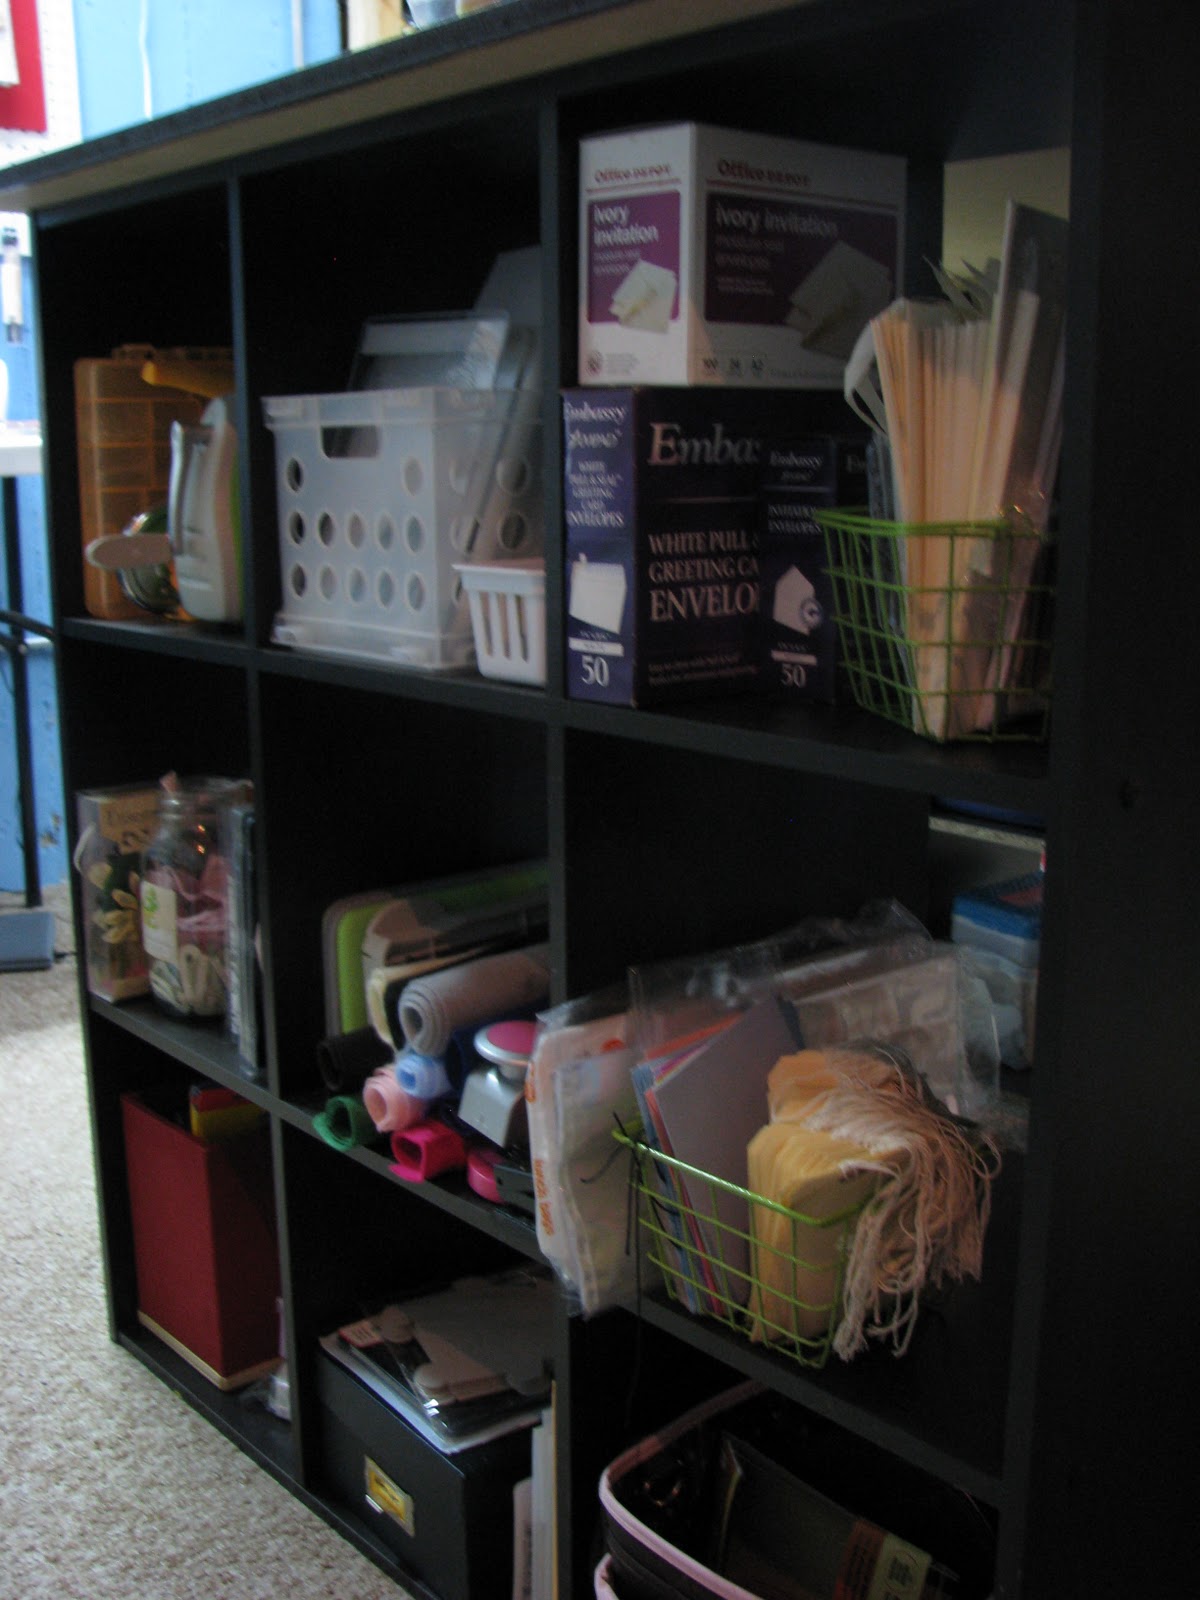
My desk is another story.  After doing some research on Two Peas, I came across this idea.  Several Peas have made this desk and I am grateful to them for the idea!  I bought two Closet Maid cubbies at Target and then bought a top at Home Depot.  Painted it and Mike screwed the top on for me.  Voila, instant desk.  I have two bar stools, so I can sit if I want, but I find that I stand most of the time.  On this side, I have my Cuttlebug, Cuttlebug dies and embossing folders, envelopes, flowers, felt, bags and tags, and on the bottom row things to be altered.
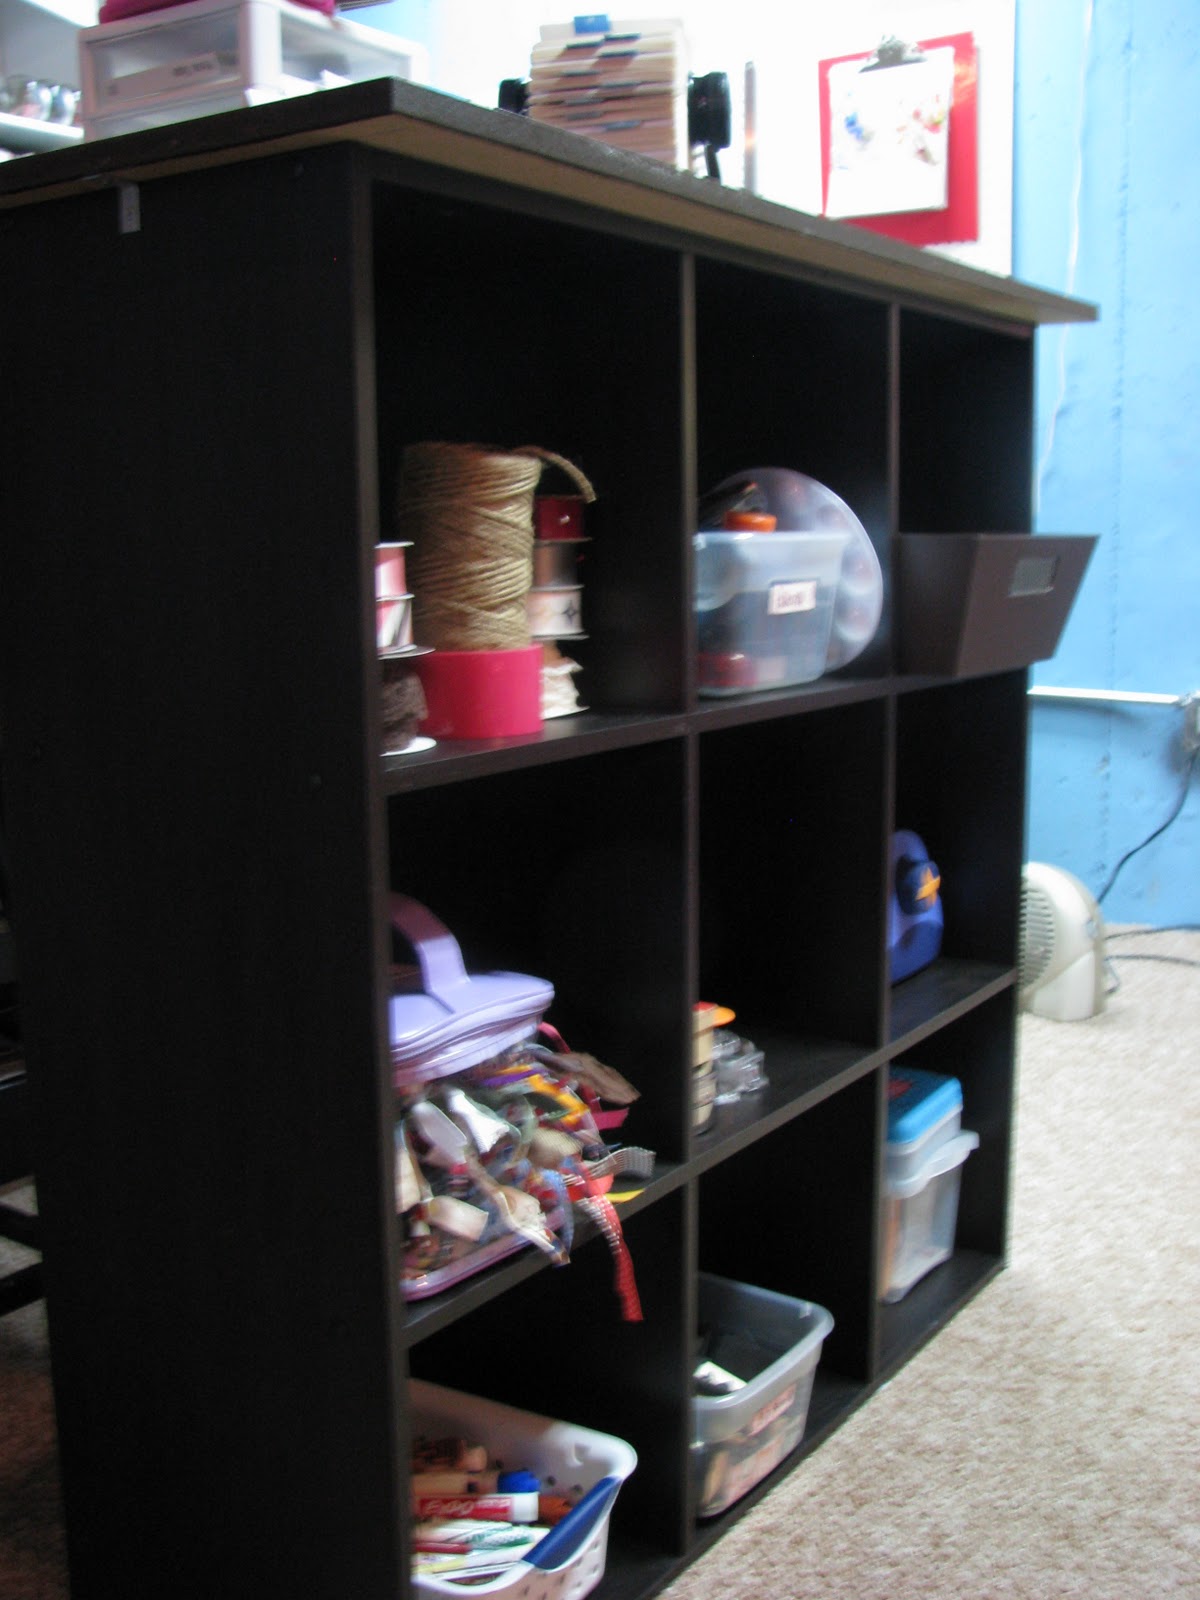
On the other side, I have more ribbon, my punches, more ribbon, my Xyron and the bottom row is the girls stuff to craft with.

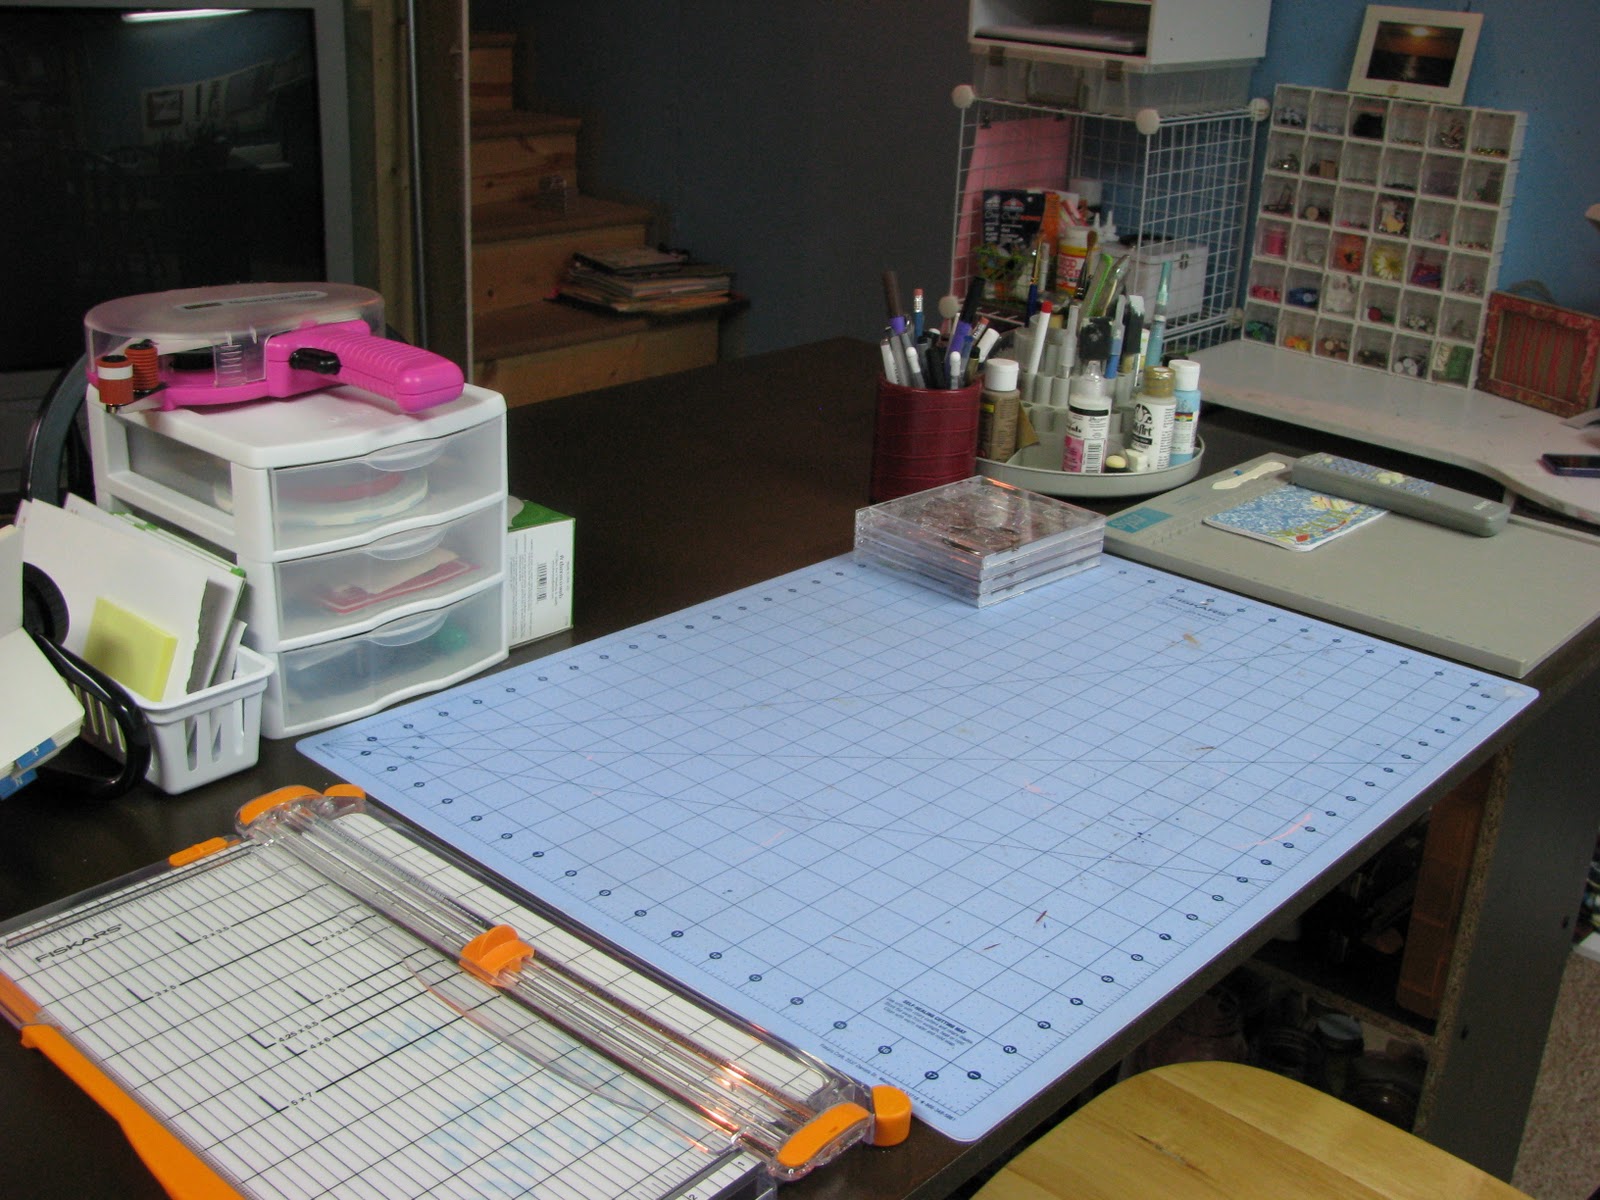
The top of my desk has a big cutting mat I bought at Joann's in the sewing department, my trimmer, scor pal, a spinner thing that I got at Hobby Lobby and inside that three drawer cubby I have my most used adhesives; score tape, red liner tape, glue dots, pop dots etc.

Now this is on the other side of the room.  It was requested by Abie that I put pictures of her and Landry's area in this post :)  This is Abie's crafty area.  Very clean and organized right?
Here's an inside shot of Abie's area...

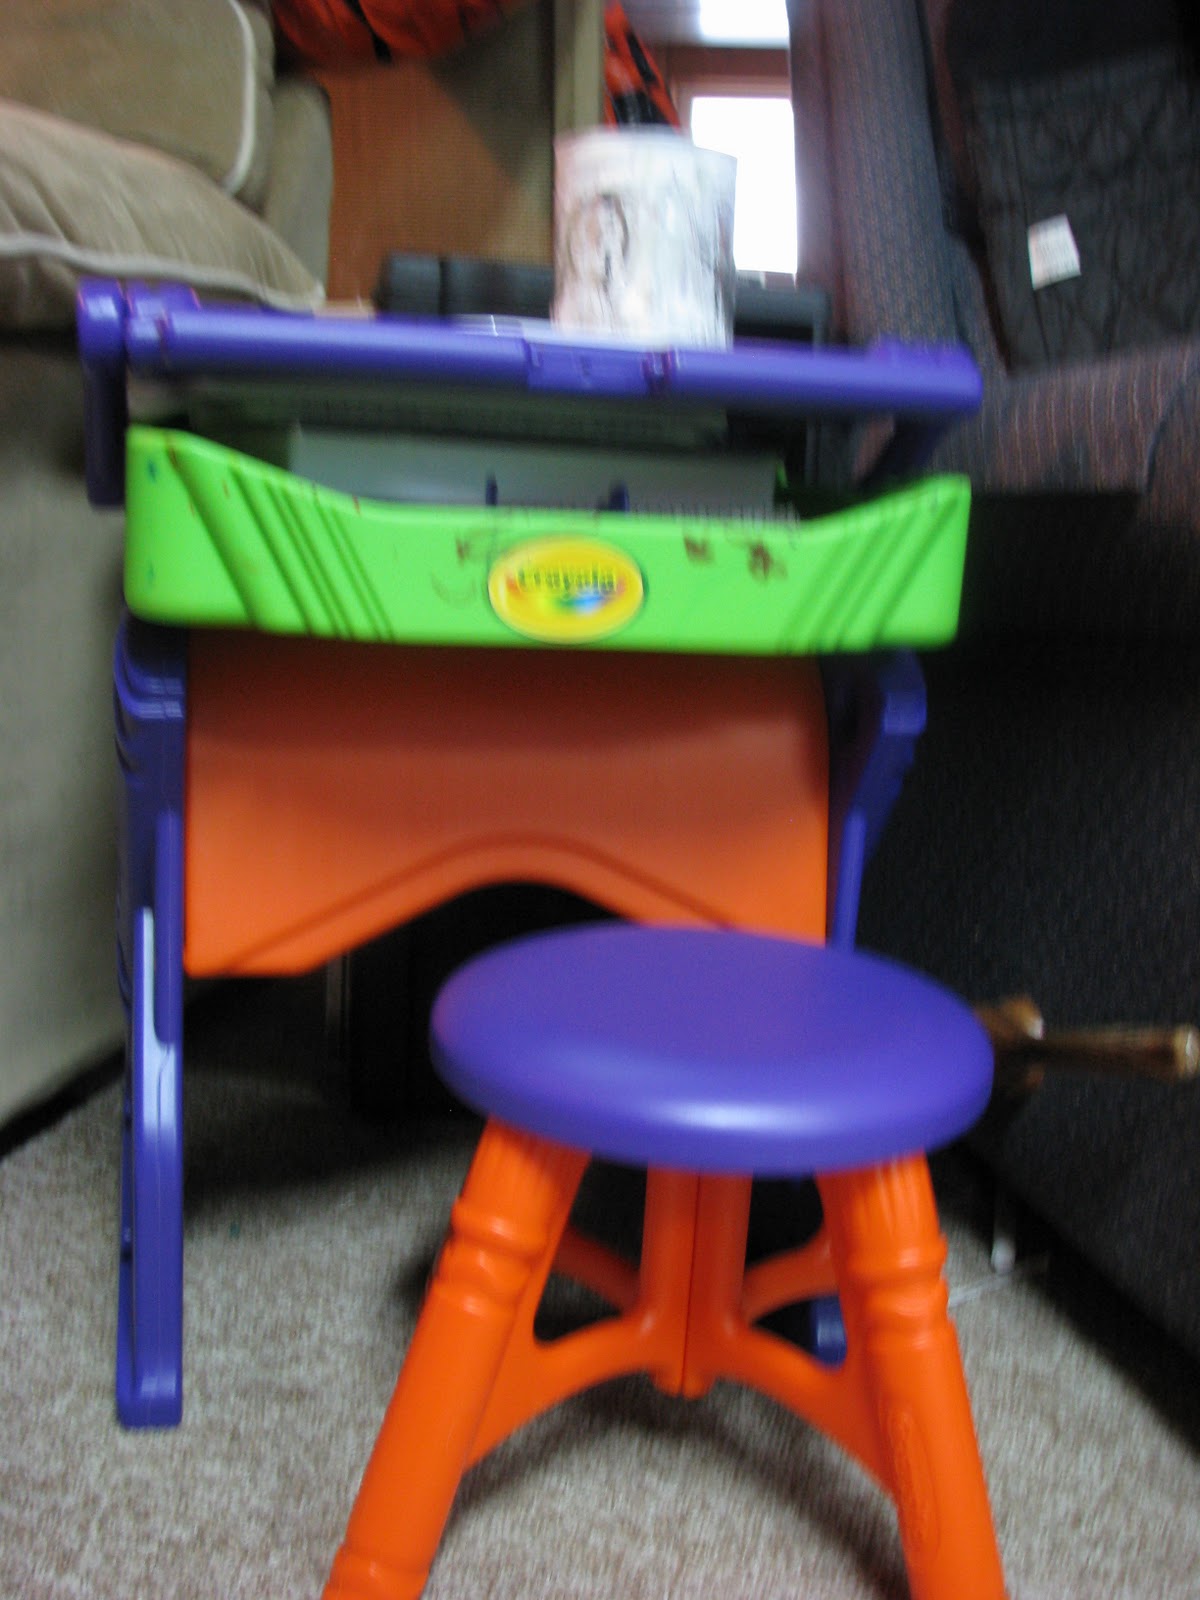
Here's Landry's crafty area.  It doubles as an easel.  Not sure what I'm going to do as she's about outgrown this...
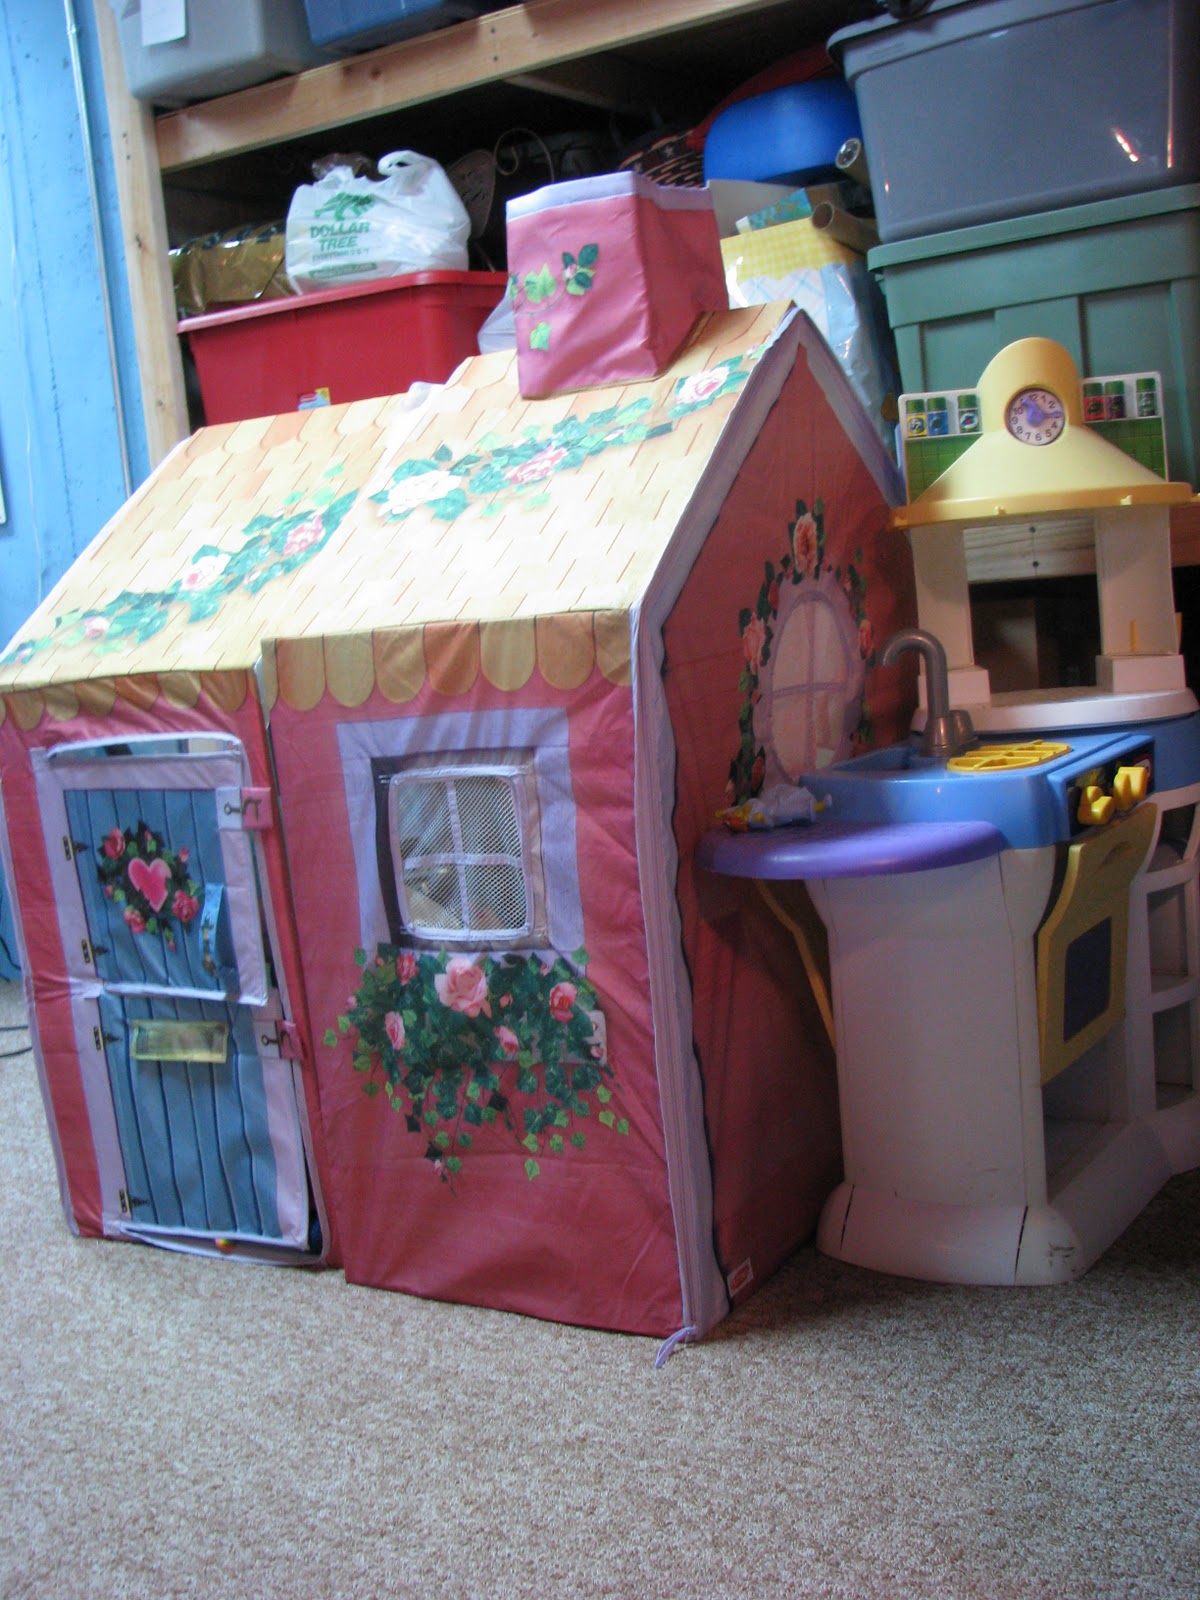
Finally, the play area.  This is where Landry spends most of her time and after awhile Abie gets bored crafting and she ends up in the house with Landry too.  :)


Alright friends, sorry for the long post.  Thanks for hanging in their with me!  I'm really happy with how this organizing foray turned out.  Also, I hope this inspires someone who has an unfinished basement to see that you can make a great use of your space!  Let me know if you have any questions. 

Thanks for stopping by and have a totally awesome crafty Monday!