Oh...my...goodness... I am beyond obsessed! Ha! It all started with my friend
TRACY. So I'm going to blame her :) She posted an awesome video
HERE and did another blog post
HERE all about picking out her planner and then craftifying it! That's what I'm going to call it :) There is a whole community out there dedicated to Filofaxes and organizing them. Tons of videos on Youtube, groups on Facebook (thanks Steph!) even blogs! I've been researching for awhile now and placed an order for my very first ever Filofax last Monday, the 6th.
I ordered the
Ultra Violet Domino Organizer in pocket size. It was 50% off. I started out with this one because for the last few years, I've been using the calendar on my phone and doing okay with it (it was a HUGE issue for me to switch from a paper planner to digital) so I didn't want to invest too much money into this, just in case I would end up not using it as much as I hope too. Just between us, I already have my eye on a couple more I'm thinking about buying. Haha! It arrived on Saturday, and it was pure torture waiting all those days for it to get here!
So, on to the pictures!!
Here's a look at my planner from the front, closed. It's slightly bigger than an A2 card :)
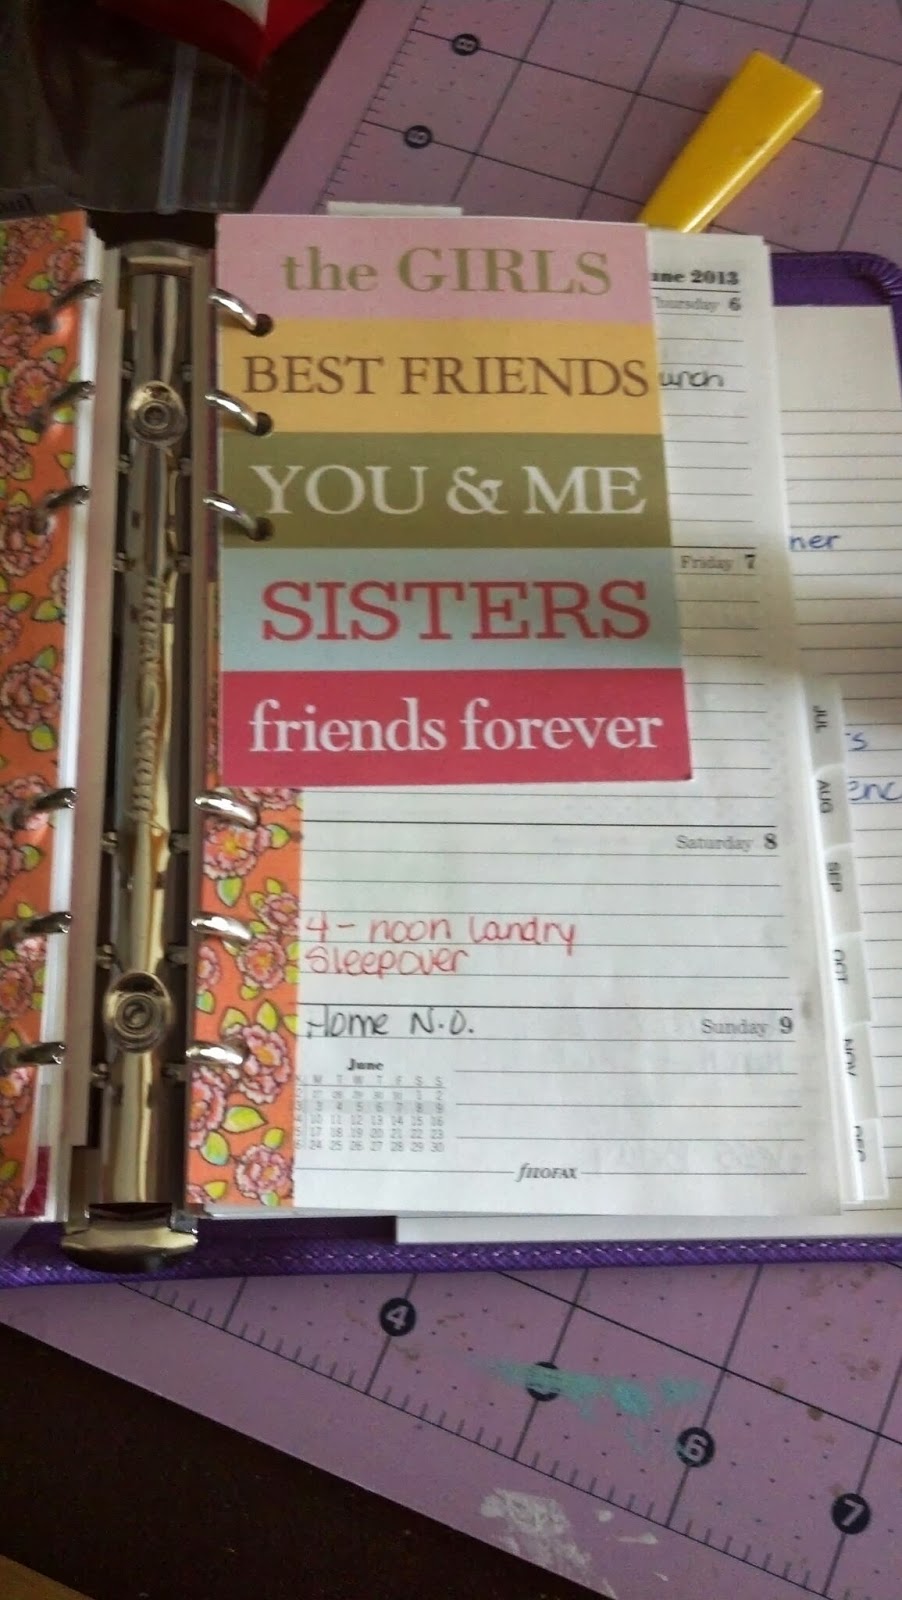
When you first open it, to the left are four card pockets, which I don't have anything in yet. On the right is a clear plastic sheet that came with the planner. I'm not sure if this is called the flyleaf or not though. I've see on a few videos where they call the clear sheet a flyleaf, but on the website you can order a flyleaf which has an actual tab on the side of it. So the jury's out on that one. The other thing I've heard on videos, is people refer to the next sheet as their dashboard. I guess that's just the next piece of paper after your flyleaf? (total novice here...) So I added a favorite piece of patterned paper and will keep important notes here. I've also stored a couple fun shaped paperclips (picked those up at Target in the Dollar Spot) for safe keeping. I've seen others keep pictures or quotes in this area.
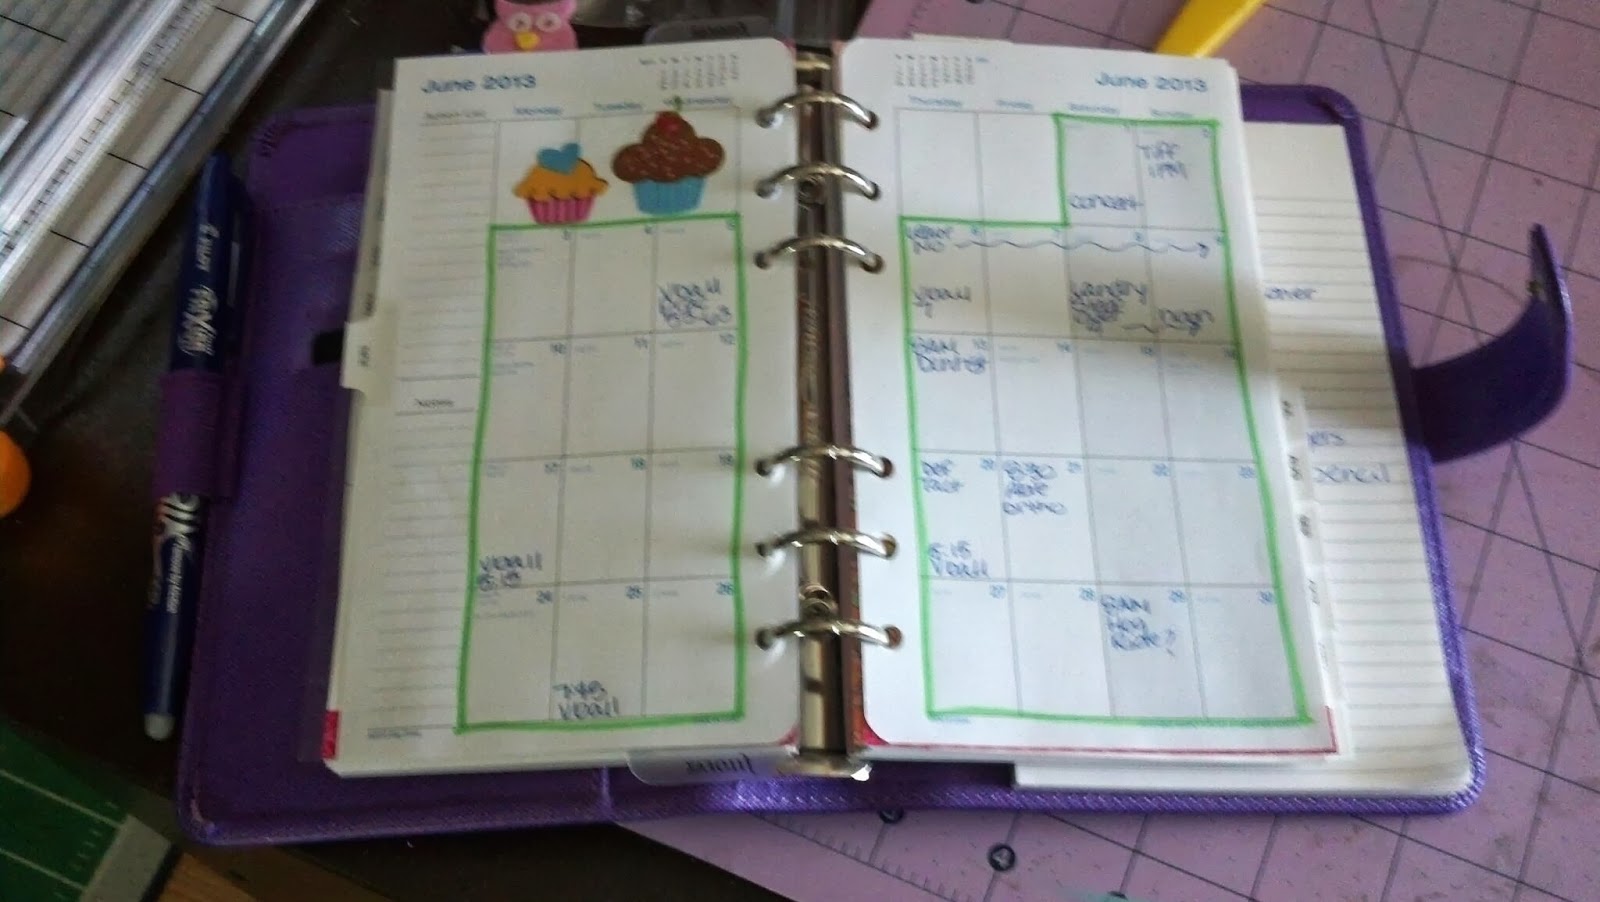
The next section are my actual calendar pages, but I'm saving those for the end... Let's move on to my tabbed dividers, shall we?
The planner came with six manila colored tabs that were numbered from 1-6. Well, that just didn't work ;) I used
THIS
punch and it was an almost identical match for the tabs. I used it to
cover up the numbered tabs first and then trimmed patterned paper to fit
the large portion of the divider. I used the larger hole of my
Crop-a-dile to punch out the holes, which matched perfectly. Since the tabs were on the side, I also added a tab to the top or bottom, depending on the divider, using the Stampin' Up! Round Tab Punch. I'm finding it much easier to flip to these sections using these tabs then the side tabs. Since I took these pictures though, I've moved all of the Round Tabs to the tops of the dividers. It's just easier for me that way.
My first section is titled Blog. I'm using this to keep track of blog ideas for posts or anything blog related.
My next section is for Crafts. I've always kept a list of craft ideas and projects that I need to work on. That list is now kept here.
Next up, Shop/Buy. Target, Walmart etc all those lists will be kept here.
This section is for Family. It's currently empty. Ha! I know I'll use it soon though. Birthday party ideas, gift ideas, etc.
The last labeled tab is To Do. I think that speaks for itself :)
I had one more tab, but couldn't think of anything to label it. So for right now I'm keeping passwords in it.
Behind my dividers is my address book. Pretty plain. I'm trying to decide if I want to fancy up the dividers on those too...
Next up is this neat plastic envelope. I'm keeping my extra sticky notes in it for now.
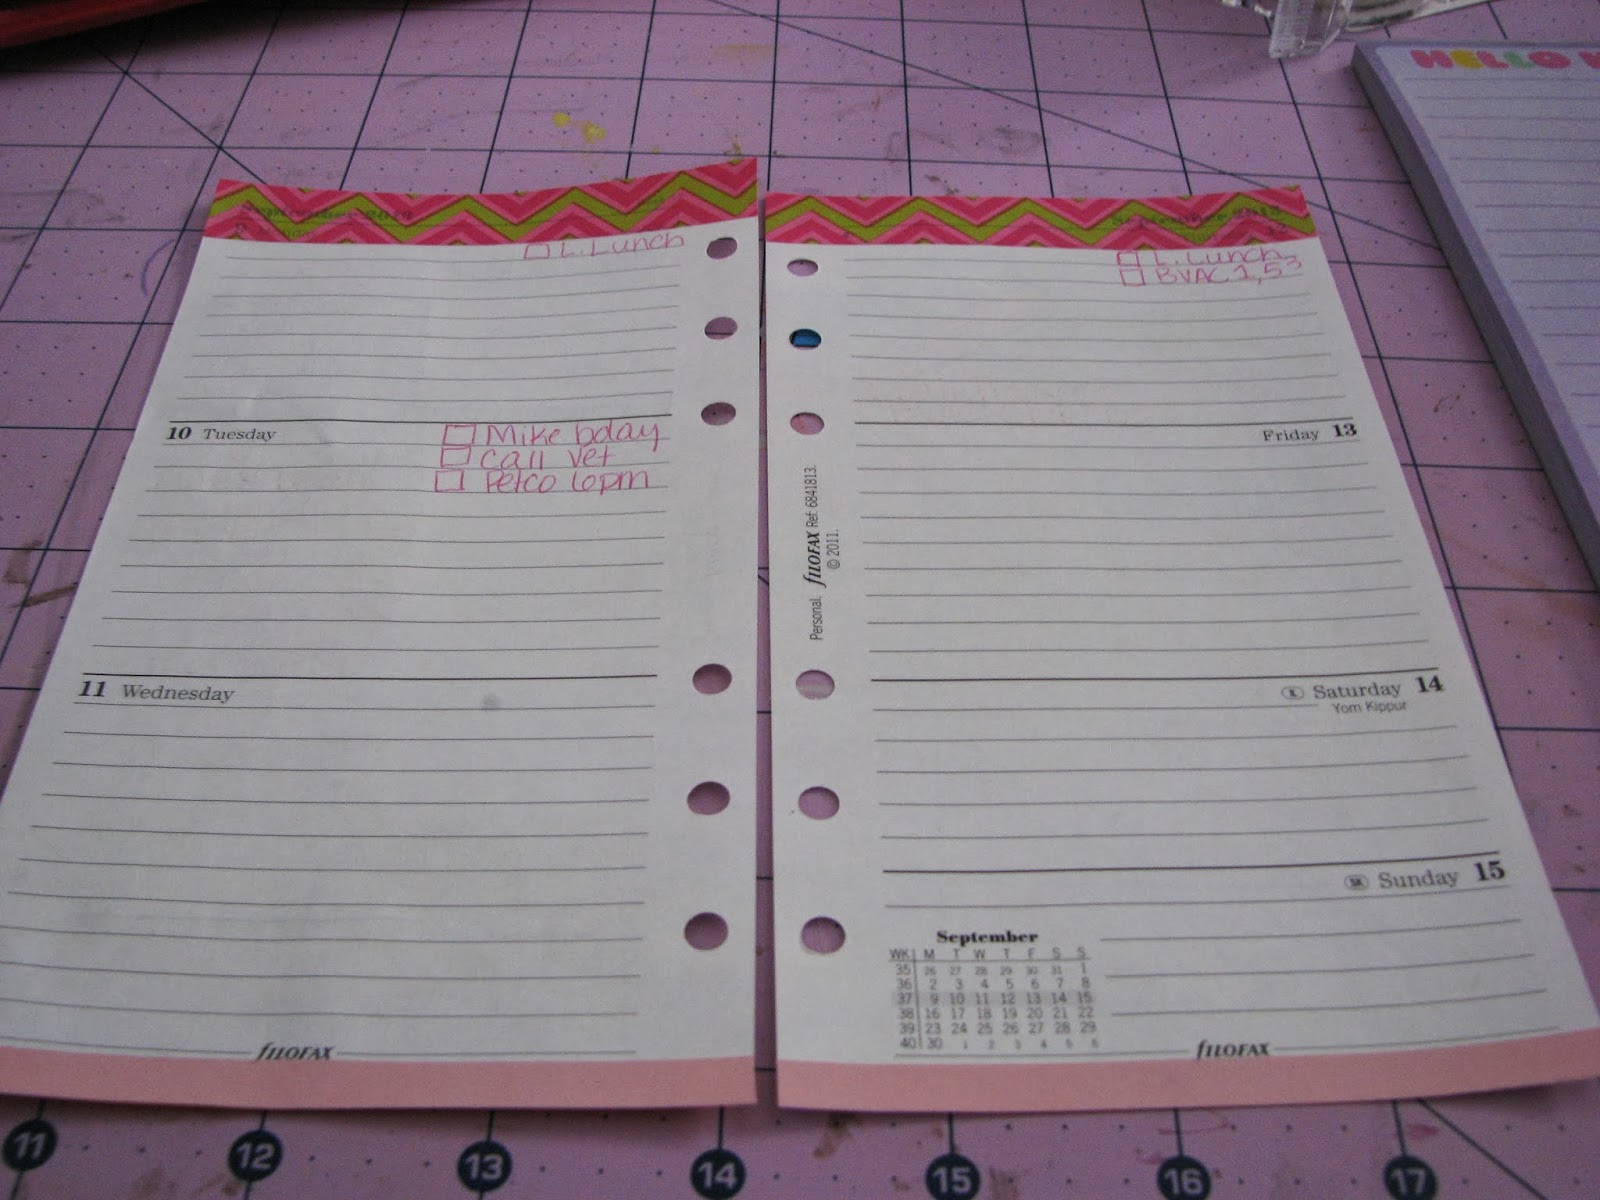
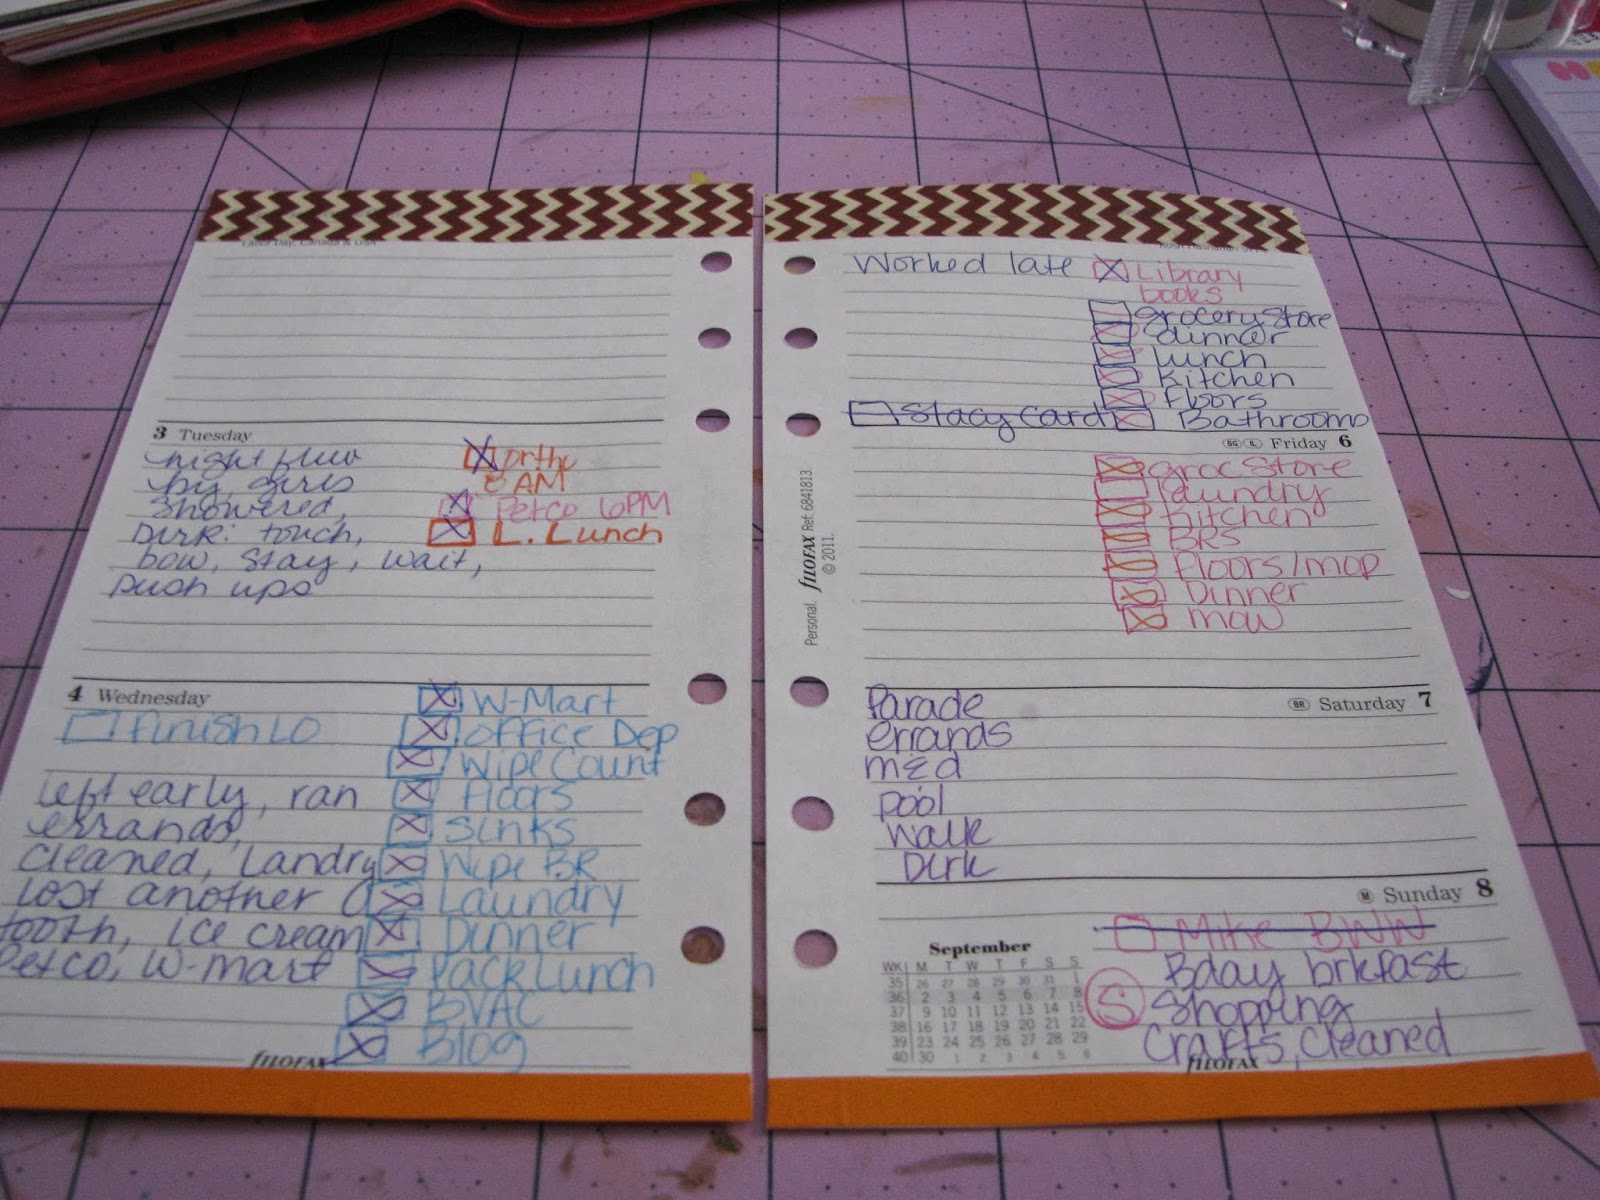
On to my decorated calendar pages! I had a picture of this week all ready to go and then I realized it had a bunch of WAY personal info on it that I probably shouldn't post on the bloggity blog. Soooo, I'm going to share next weeks week, which isn't nearly as fun, because it isn't all the way done yet, but you'll get the idea :)
This is just what I have so far. Tracy posted
THIS VIDEO and I was completely inspired on how to trim my washi into two narrow pieces, perfect for my tiny Filo! I'm not sure if I'm diggin' the week on two pages. I might switch to one day per page. We'll see though.
Here's a look at my Filo from the top...
And from the side.
Aaaahhhh. I'm in love :) completely and utterly in love :) Are you obsessed with anything right now? What about a planner? Paper or digital? I'd love to hear your thoughts!
Thanks for hangin' with me for this ultra long post! I'll see you back here tomorrow. Have a fantastic Thursday!